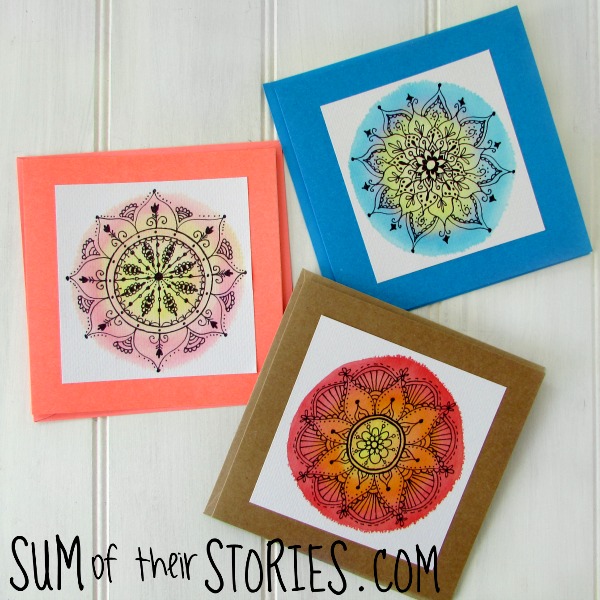
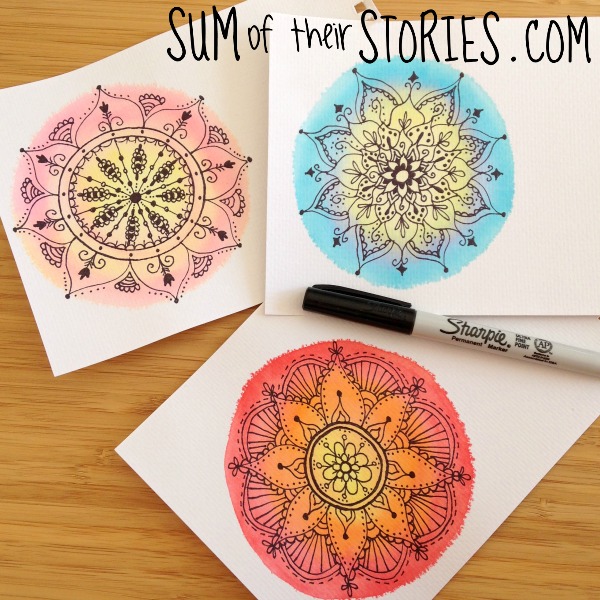
These ones I did freehand, you can see they are a little wonky but I'm not unhappy with that look.
You can see my tutorial about drawing more symmetrical mandalas
here if you want some more ideas.
Next I simple cut them out and glued them onto card blanks.
Next I tried a more rectangular shape of felt pen 'watercolour' and drew feathers on top.
I added the greetings with stamps.
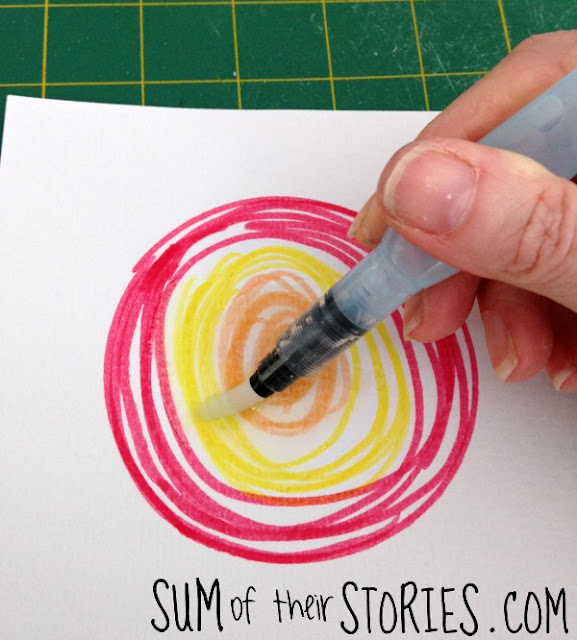
There are no step by step photos here but they are done in exactly the same as the mandala ones. Scribble with the water soluble felt pens, wet with the paint brush and then leave to dry completely.
Then doodle whatever you fancy. I did feathers filled with doodle but I'm thinking they could easily be tweaked into leaves.
The colours don't blend quite perfectly but I love that you can get this effect with something as simple as a kids felt pen or two.
I do have some bits and pieces of actual water colour and some water soluble colouring pencils that I had as a teenager (never throw anything away that might be useful!) so I'm going to do some more experimenting soon.
There are millions of ideas online for zentagling and doodling (I have
a board on pinterest if you want some more inspiration). If you are not feeling very artistic then you could use stamps, but honestly the doodling doesn't have to be complicated to look pretty. It's all about overall effect rather than expert drawing - have fun!


These are so great Julie. Such a fun and achievable idea for everyone to try!
ReplyDeleteThanks Caroline, I was so pleased the felt pens worked so well. It's actually a great way to use any that have almost run out too.
DeleteI love these so pretty and different. Have you tried the new Chamelon pens they are fantastic. Have a good week
ReplyDeleteHello Caroline, the Chameleon pens look amazing and are on my Christmas present list! I used just regular kids ones for this but I do have a few lovely Tombow brush markers and a set of 6 promarkers. They are the ones I selfishly don't let anyone else touch!
DeleteWhat a lot of fun! Your mandalas are very pretty, too. Thanks for sharing with us at Creatively Crafty #ccbg :) I'm going to keep an eye out for the kiddie markers and give this a try!
ReplyDeleteThanks Lydia, it was such fun to play with, I was so surprised I was able to get this effect without having to buy lots of new products.
DeleteThis looks so easy and fun!! Thanks for sharing on the Pleasures of the NW's DIY party!
ReplyDeleteJulie these are so pretty and they do not look wonky at all. Your wonky would be my best job ever!!
ReplyDeleteHa ha, thanks Mary. It was only when I cut them out I realised they look very strange it you turn them sideways. The answer of course is not to turn them sideways!!!
DeleteThese are really fun and pretty. I love how the colours blend together and really appreciate the tutorial. Pinning to try.
ReplyDeleteThanks Leanna, they are pretty easy and lots of fun so I hope you enjoy if you do decide to try this out.
DeleteYou make it look so easy with your beautiful black ink overlay #TheRealCraftyLinkParty
ReplyDeleteWhat a clever idea Julie and I love the effect it gives
ReplyDeleteThey look great, so pretty. I could never draw that freehand, so I really admire your work. Thank you for sharing at The Really Crafty Link Party this week. Pinned!
ReplyDelete