Showing posts with label Hand Lettering. Show all posts

Saturday, 10 December 2016

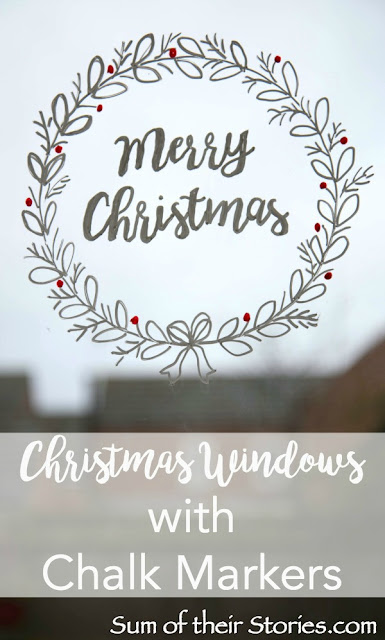
Christmas Windows with Chalk Markers

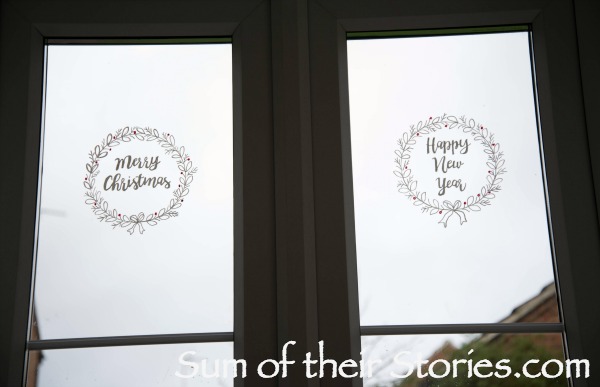
Simple designs drawn on the window in fantastic Chalkola chalk markers that just wipe away in the new year.
Christmas Window doodles with Chalk markers
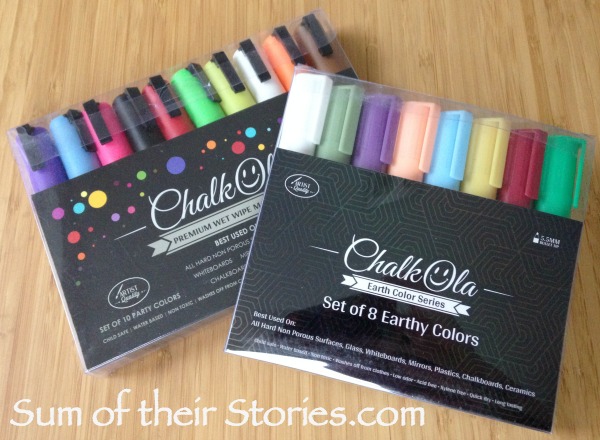
I was lucky enough to receive some Chalk Marker pens from ChalkOla in exchange for a review. 
Scroll down to the bottom for a 20% off discount code.
ChalkOla Marker pens
I have loved trying these Chalkola Chalk Markers out. They are so simple to use, smooth to write or doodle with and the colours are way more vibrant that I was expecting. They contain a high density chalk ink and it takes a couple of minutes to get them going when they are brand new. You pump the nib down a few times (like you would for any paint marker) and the nib gradually fills with colour - then you are ready to go. After that the ink flows pretty constantly even vertically like I was using them. If the ink flow slowed a little I just gave them a shake, depressed the nib again then it flowed freely again.

I've tried a few idea out with them so far, the first is a Christmassy wreath and greeting on the doors to our back garden.
That IS glass, it's just evening. Here it gets dark pretty early (about 4pm) this time of year so most crafting has to happen in the dark!
Start by drawing round a side plate with a white chalk pen.
Then add a very simple sets of leaves and then twiggy lines to make a wreath design.
Christmas Windows with Chalk markers
Add a few dots with a red Chalk Marker pen for just a little touch of colour. You could do your wreath in green if you prefer, the sets from ChalkOla have loads of colours to choose from.


This next bit I did a bit earlier the next day so daylight - yay! This is what I had so far.
Christmas Windows with Chalk markers
Next print your chosen greeting onto regular printer paper. I used a font called Bromello which I downloaded from DaFont. You might need a little trial and error before it is the right size for your wreath, I got lucky with mine. Or you could be super organised a measure everything properly first.
Blue Tack the greeting to the glass outside lining it up centrally.
Christmas Windows with Chalk markers
Doodling Christmas Windows with Chalk markers
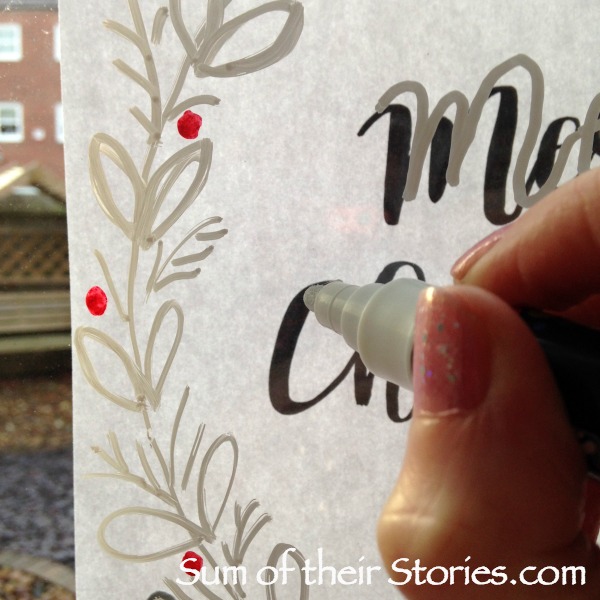
Now you just need to trace over the words with your Chalk Marker pen. I found I needed one eye shut to do this, I'm not sure why, it just made it easier!
Christmas Windows with Chalk markers
It looks like I was a bit off with the tracing, but remember the camera is off the the side so it's a bit of a weird angle.
Christmas Windows with Chalk markers
Next just thicken up the down strokes next to give them a little more of a modern calligraphy look.
Christmas Windows with Chalk markers
The white pen shows best where there are no curtains or binds as once it's dark the design really shows beautifully. I'm going to try the other brighter colours on our front windows, where we have shutters, if I get time before Christmas.

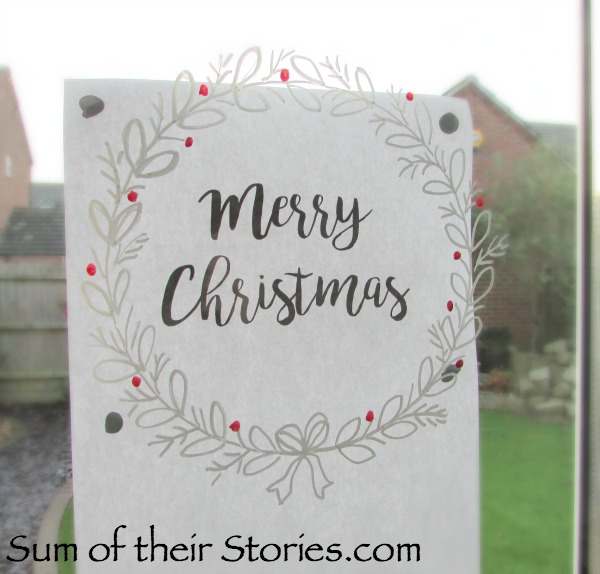
In the daytime, with gorgeous dull grey UK skies the effect is more subtle but still pretty festive.
Christmas Windows with Chalk markers

These are the UK links to the products I tested :
https://www.amazon.co.uk/Chalk-Pens-Whiteboard-Chalkboard-Blackboard/dp/B01E17WAQO

https://www.amazon.co.uk/Chalk-Pens-markers-Whiteboard-Chalkboard/dp/B00VVOWCSC

Christmas Windows with Chalk markers
I've had SO much fun playing with these pens already and have more ideas to share with you using them. Photographing anything on glass is a challenge though! Hopefully you get a good idea of the fun and vibrant effect you can get with these pens. And as long as you use them on a non porous surface they just wipe away easily when you've had enough of them.
Update 7th Jan 2017
Just to reassure everyone that they really do just wipe away here is a quick photo from last night when I finally cleaned off our window wreaths using a damp cloth.


You might also be interested in:
Festive Mirror Fun
Festive Mirror Fun
Papercut Christmas Tree Picture
Paper Serviette Poinsettias
Origami Christmas tree ornament
Origami Christmas Tree Ornament
I'll be linking up at all these great link parties, pop over and have a little look round at all the lovely ideas.

read more

Saturday, 9 January 2016

How to draw Mandala Greeting Cards

I've been really enjoying making these Mandala inspired cards so I thought I would share the process with you in case you fancy having a go at making your own.
How to draw Mandala Birthday cards
Even though I have enjoyed making these SO much I have been in two minds about whether to share them publicly. I am aware of issues of cultural appropriation and the rampant taking/stealing of things of cultural significance to others. Mandalas and Rangoli are sacred geometric art for many people so I do not create them lightly. A quick internet search will find you lots of information about them, traditional symbolism, meaning and uses if you want to know more.
I have asked several friends who are Buddhist, Hindu or Sikh and none had any issue with my cards, in fact they all asked if they would be getting one on their birthdays. With their nod of approval I feel comfortable sharing here and hope no one is upset as that is not my intention.

To make one you will need:
A square card blank and envelope
A pencil and ruler
A good eraser
A compass (the kind to make circles not to navigate!)
A black fine liner pen

Using the ruler and pencil, draw diagonal lines faintly from corner to corner on the front of your card blank.
Then going through the centre point where those lines cross draw a central line vertically and horizontally. I'm not sure how best to describe this so here is a diagram!
Now take your compass and with the point in the centre of the card front, where all your lines are crossing make a series of circles in faint pencil 
This photo shows this but might be a little hard to see as the pencil is faint so that it's easy to rub out later.
 Now just start drawing. Circles, lines, swirls, ovals, whatever you like.
If you are not confident just keep it really simple; circles joined by lines, a swirl or two.
 I've generally started in the centre and worked out. 
drawing your own mandalas
Use the circle guide lines to keep the design round and the straight guide lines to help you keep everything symmetrical.
I think it looks best if each "slice of pie" is the same, has the same number of each element in it, the same number of circles etc.
Stop once you have the basics of a design in place and then start inking it in using a fine liner pen. Mine was black but you can use any colour, I suggest you check on some scrap card that it doesn't seep through first though.
Once you have inked in the design so far you will find it much easier to see any gaps that you think need filling in with more design elements.
It can be hard to know when to stop, I say just stop when you think it's enough! 
These are incredibly relaxing to draw. Because you can do very simple shapes and just repeat them it is quite meditative. You need to think about what you are doing so you don't make a mistake, but then that means you are not thinking about everything else - like what is for dinner etc! 
Normally I would have the radio on when I'm making anything but for these I just liked it quiet.

This next design is a little more flowery but you can see it was built up in exactly the same way.
In this close up you can see what I mean about using the guide lines to keep things symmetrical.
I drew one petal centrally over the guide lines, then another centrally between them. Finally I filled in the gaps. Does that make sense? 
Here are some of the other designs I ended up with:
How to draw your own Mandala designs
I ran out of square card blanks so made some on 5 x 7" rectangular cards and added some twirly writing.
How to draw your own Mandala designs
I made a mistake on the outside border of this last one below and had to end up putting more lines with a loop in that I originally intended, if you look closely you can see it's not very even. However I think it finished up being pretty so I'm including it here so you can see little mistakes don't matter too much!
draw your own Mandala birthday card
This whole thing started when "Mandala" was the word of the day on the brilliant #DNDchallange over on instagram. It's a doodle and hand lettering challenge organised by the super talented Dawn from Dawn Nicole Designs, details on how to join here
This was my entry on that day, I liked it so much I just wanted to draw more!

It's a really lovely challenge, you might remember I did it back in September too. Dawn also does a facebook based class for learning fancy hand lettering, where she gives helpful hints and homework. You can find more details are here.

I've left all my Mandala designs just black and white but you could colour them in too if you like. 
I hope you have a go and enjoy drawing these Mandala's as much as I have.

read more

Wednesday, 30 September 2015

My Lettering and Doodle Adventure

Anyone who follows me on instagram will have noticed I've been taking part in a Lettering and Doodle Challenge this September.
Lettering and doodle challenge
I have had way more fun than I thought I would and have produced little doodles and lettering that are much better than I thought I would ever be able to do. The challenge was set by the lovely (and super talented) Dawn Nicole. I've been a big fan of her beautiful handlettered work for some time so when I saw her instagram challenge with it's daily word prompts for either a doodle or lettering it seemed like a fun thing to join.
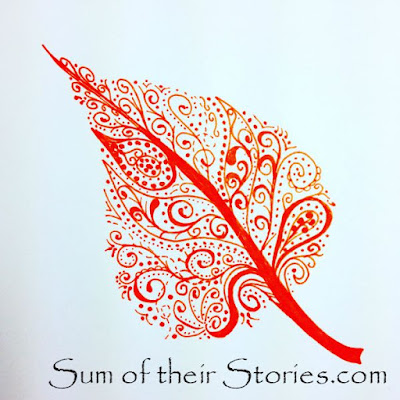
Swirl and dots leaf doodle
I didn't manage every day, but I kind of knew that would be impossible before I started and am pretty pleased with the 19 out of 30 that I did.
Shine Bright doodle
Half way through the month Dawn started a Facebook group too where she gives us hint, tips, lessons and homework as well as links to resources and loads more. Check out Dawn's facebook page for more details.

I haven't rushed out and bought any special equipment (yet!) This is what I used through the month.


I used the thinner supermarket sketch book for my "sketches and ideas" phase then did most of my "proper" versions on the better quality drawing paper. For some though, I just used the thinner paper, usually when the initial sketch was turning out ok and I had no time for a do-over! 
Most of the lines were either with the Stabillo fine liner pens or the ultra fine or fine Sharpies. 
The most expensive thing in my collection are the lovely ProMarker coloured pens which I used for this "Circles" doodle,
Circles doodle Lettering and doodle challenge
 and this "Wild and Free" lettering 
Wild and free handlettering

I was given them about 3 years ago and they are still going strong and blend beautifully. They do also bleed through all the papers I've tried them on, but you win some you loose some! 
I'll just treat you to a special close up of my awesome eraser. I think a new one is long overdue, but this one does rub out pretty well without leaving streaks or marks on the page.

Dawn has recommended a good brand so I'm going to check that out.

Most of my (almost) daily doodles were several to a page.
I had issues with my first version of the "Steam Punk Cogs" doodle - and on the good paper too :-(
Garlands Lettering and doodle challenge
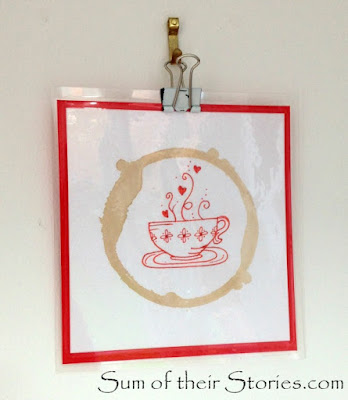
I have turned some of my doodles into greeting cards, and the "Teacups" doodle which was Day 1 I've mounted on card, laminated and it's hanging on the kitchen wall as part of my ever growing but not yet finished gallery wall.
Teacup doodle
Some days I sketched a few ideas last thing at night, other times I did 3 or 4 at the same time in advance when I had a minute. It was really therapeutic to just switch off from everything for a short time and loose myself in a little light doodling.
The instagram participants are super supportive, lots of people dipping in and out as they can, no pressure. Lots of different ages and levels of experience from all over the world, all just enjoying sharing their arty endeavours.
The October prompts are ready now if you fancy joining in. I don't think I'll have time to participate as much this month but I will certainly be dipping in now and again. I'd love to be able to do beautiful lettering of my favourite quotes to put up on the wall, or turn into cards - practice, practice!

read more