Showing posts with label Sewing my Stash. Show all posts

Wednesday, 1 November 2017

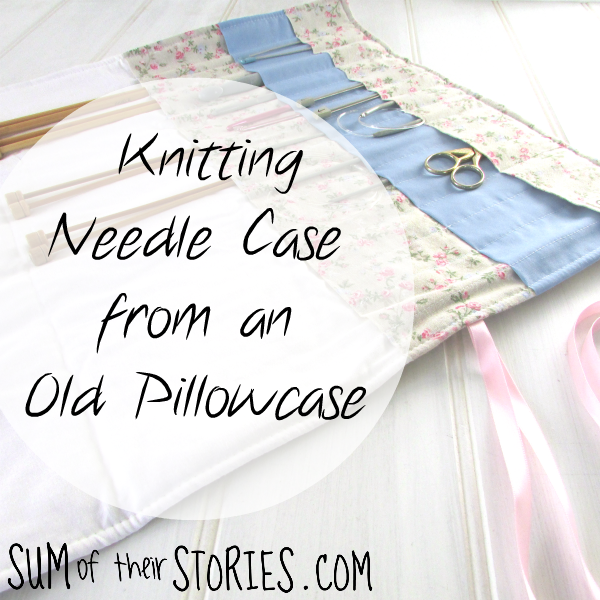
Knitting Needle Case from a pillowcase

Make a case for all your knitting and crochet needles, hooks and accessories from an old pillowcase.
How to make a knitting needle case from an old pillowcase
This post contains affiliate links, if you do decide to click through and make a purchase using these links the cost to you is the same but Sum of their Stories will be paid a small commission.
I have a confession, I find it really hard to walk past a Charity shop (a UK version of a Thrift store) without going in for just a 'quick look'. Last week I was sourcing fancy dress costume elements for a halloween party so I had a good excuse for going in and I fell across this set of 2 quilted pillowcases that were just too pretty to leave behind. (I did get the costumes sorted too) 
The patchwork is that printed 'fake' patchwork, but the tops were thick and quilted. The brownish border was a separate piece so I cut that away. The back was in 2 pieces, one big-one small, with ties. 
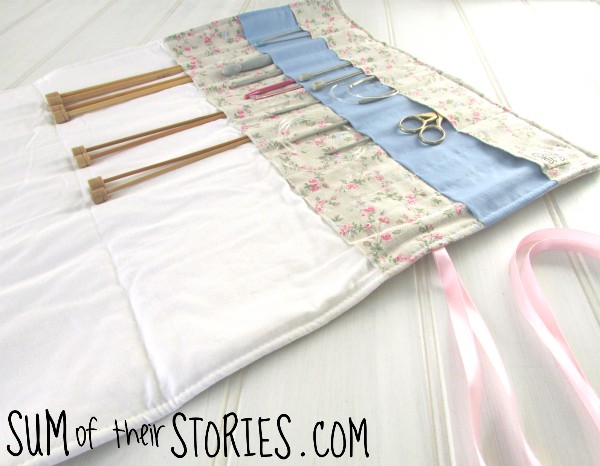
I decided to make a roll up case for knitting needles and crochet hooks with 3 rows of pockets, so there would be room for accessories as well. I used the front of the pillowcase as the main part, the back as 2 pockets and then needed to add in some white and blue fabric from my stash for the lining and the middle pocket. 

To make a Knitting needle case like this you will need:

Main case piece - 17" x 20" (44cm x 51cm)
Lining piece - 17" x 20" (44cm x 51cm)
Pocket 1 - 17" x 19" (44cm x 48.5cm)
Pocket 2 - 17" x 12" (44cm x 31cm)
Pocket 3 - 17" x 7.5" (44cm x 20cm)
Ribbon 39" (100 cm)
Thread
Water-Erasable Fabric Marking Pen

All the pocket here are doubled over, this is because the fabric I had from the back of the pillowcase was very thin. You could make your pockets half the height and just turn a small hem.
Press each of the pocket pieces in half and then arrange then on the lining like this:
Hold the layers in place with a few pins and mark the pocket sections with an erasable pen. 
Working from right to left, I marked 3 sections 1.5" wide and then 12 more at 1" wide.
You can see them a little better in this close up. 


Stitch over the lines, going back a few stitches at the top end to make sure the stitches don't come undo when your case is in use.


When you get to the last 6 rows on the left side, pin back the top layer and just stitch through the 2 larger pocket layers for 2 rows.
Then replace the smallest pocket layer for the next row. Then pin it out of the way again for the last 2 rows. 
This will create some larger pockets on the bottom left, which are useful for tape measures, scissors etc. 

Next lay the pocket layered piece and the main piece right sides together. Fold the ribbon almost in half. That sounds a bit odd, fold it in half but unevenly, so one end is about 60cm and one is 40cm. Position the ribbon on the left side of the case, 7" (18cm) from the bottom with the long ends all inside.

Stitch all round the case using a half inch (1.5cm) seam allowance and leaving a 3" gap on the right edge. Be careful not to catch the ribbon in the seams.
Trim the corners and excess seam allowance and then turn right side out.
Press with the iron then top stitch all around to neaten and close the gap you'd left for turning. 
You can remove any remaining erasable fabric pens marks just by rubbing then lightly with a damp cloth. 

Now just fill the case with all your knitting and crochet bits and pieces, fold the top flap over, roll it all up safely and secure with the ribbon ties.
How to make a knitting needle case from an old pillowcase

How to make a knitting needle case from an old pillowcase
On reflection I'm not sure I need all 3 pocket layers, so next time I might play around with their depth and maybe only do two. I was guided by the sizes of the pillowcase back fabric on this occasion. The nice thing about making your own is that you can make it any size you like with whatever pockets you like. 
How to make a knitting needle case from an old pillowcase
I'll be linking this project up with some of these link ups

read more

Wednesday, 4 October 2017

10 ways to make Felt flowers

Simple and beautiful flowers made from felt.
10 easy ways to make flowers from felt
It's really easy to make brooches and corsages from old felted jumpers and cardigans, but with so many different ways to make them it can be confusing. So I've been testing out various methods to see which I like best.
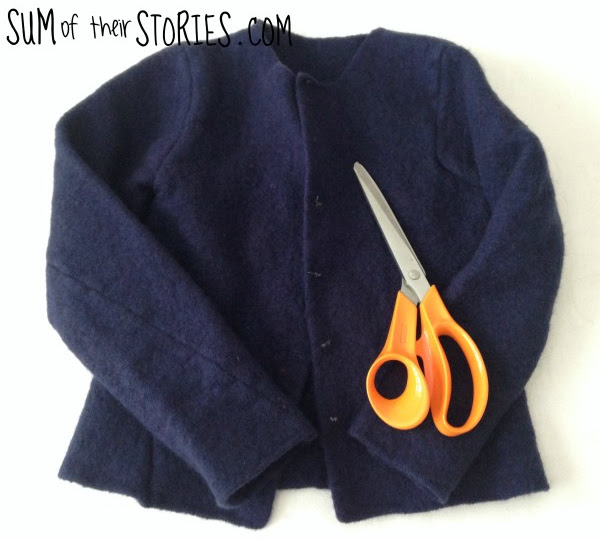
This is what I started with, the scissors give some sense of scale, this cardigan had shrunk down pretty small!
felted cardigan repurposed into felt flowers
I cut the cardigan along the seams so I could see what useable pieces I had.
Then, with the help of my pinterest board, I just started making flowers

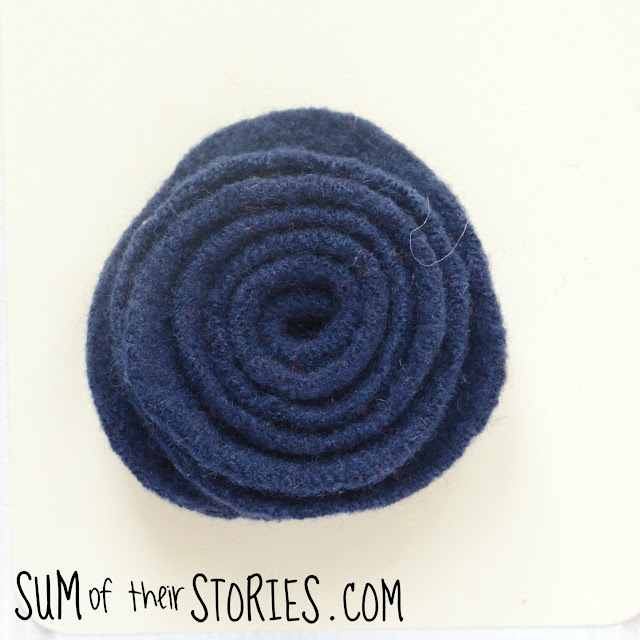
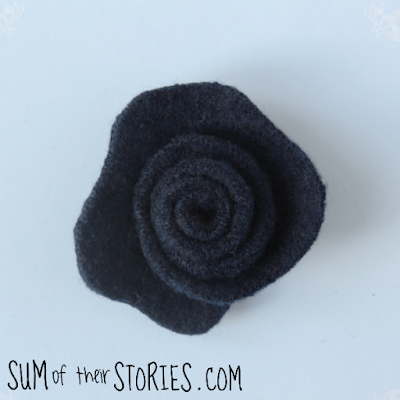
The Rolled Rose
10 easy ways to make flowers from felt

This one is fun and fairly difficult to get wrong. 
Draw around something round, a side plate or lid of something is ideal.  
Cut out the circle and the cut a spiral, leaving a bit of a round in the middle. I forgot to photograph this stage so you have to manage with a picture instead!
 
Now roll the spiral up starting from the thinnest point, the outside of the circle. You can glue every few cms with a hot glue gun or stitch the layers together with thread the same colour.
When you get to the end, the round in the middle forms a nice tidy base. Glue or stitch round it.
Then you can add a brooch fastening or glue or stitch it to something else.

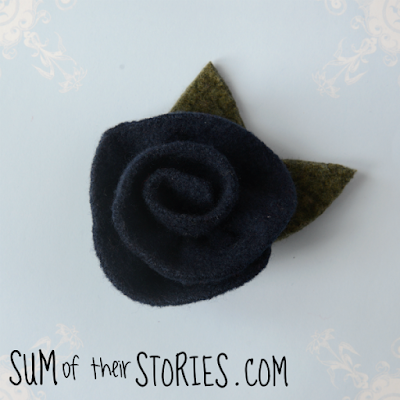
Rolled Rose take 2
10 easy ways to make flowers from felt
This rolled rose is the same as the one above except this time it was a little bit smaller and the spiral cut was wiggly.

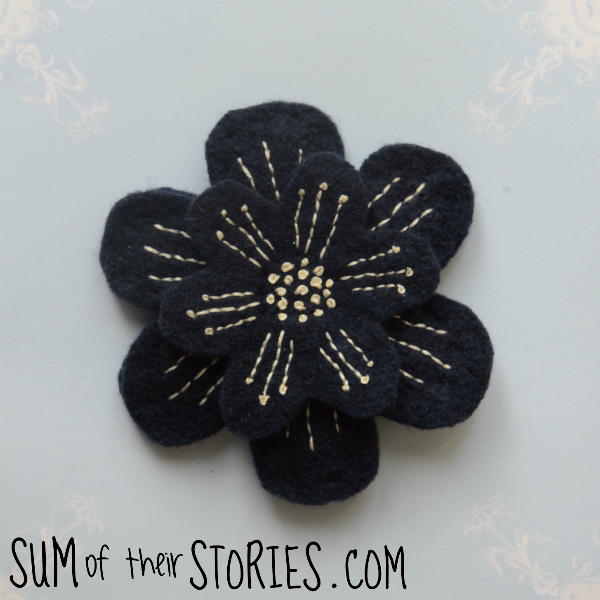
Simple Embroidery

10 easy ways to make flowers from felt
This time I made 2 flower patterns. The larger is 9.5cm in diameter and the smaller one 6.5cm. 
Take a piece of scrap paper and fold it in half.
Fold in in thirds, then mark just over 4.5cm from the point and 2.5 cm on each side. 
Draw a curve joining all the points and cut out.
When you open it out you should have a flower shape with 6 petals. 
For the smaller flower just make your marks 3.75cm and 2cm from the point respectively.

Cut out 2 large and 1 small flower.
Embroider using 2 strands of embroidery thread as takes you fancy on the petals then use french knots through both layers to join them together. Just don't waste too much time on embroidery that won't be seen on the larger flower underneath.
To finish it off I used the 2nd of the larger flowers and stitched the 2 together using a navy blue sewing thread and an oversew stitch to cover the back neatly and added a brooch pin. 

Gathered Rolled Flower

10 easy ways to make flowers from felt
I tried this out to use a long scrap of felted cardigan (the sleeve) than wasn't big enough to make a rolled rose.
I simple cut a length about 5cm at it's widest point by 45cm and made it taper off at one end. Using sewing thread doubled up for strength I stitched a line of running stitch all along one side and pulled it up to gather the strip of felt.
I rolled it up and stitched it together to secure.
I added a leaf shape of green felted jumper to the back of this one to tidy it up, then stitched on a brooch pin. 

Button Centre Flower

This flower is made from separate petals so is great for using even the tiniest scraps. 
10 easy ways to make flowers from felt
Make yourself a petal template, this photo gives you an idea of the shape you are aiming for. 
Cut 6 petals from felt, then pinch each petal in half at the flat end and stitch or glue them together. Then you just attach all the petals to one another in a circle. I didn't seem to take any 'as I go along' photos here but it's pretty self explanatory.
I added a button to cover the small hole left in the centre.
I tidied up the back with a circle of felt and added a broach fastening. 

These are the 5 methods of making felt flowers that I've tested so far but there are loads more. I've got a Pinterest Board dedicated to all kind of flower making which you can check out. Plus I've found some more lovely ideas from other websites:

These roses from Pillar Box Blue are also made from old felted knitwear. There are great step by step instructions to show you how to make these.


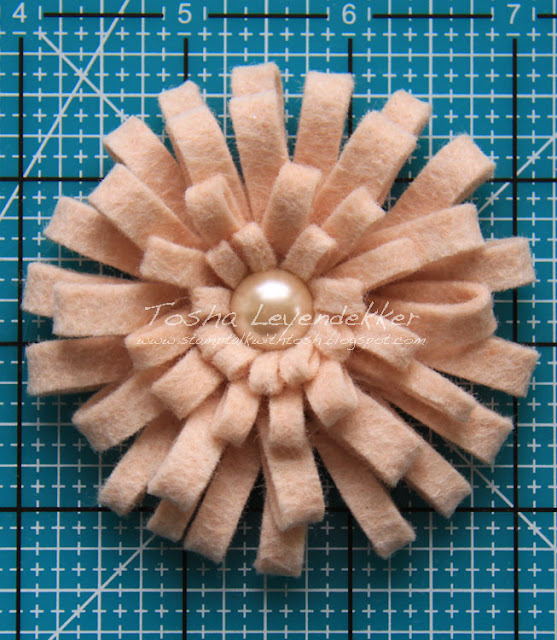
These loopy flowers from Stamp Talk with Tosh are so much fun, they look really easy to make too.

What about these lovelies from Craft your Happiness? You can make them in just 5 minutes, I love a quick craft don't you? 

Just look at these embellished beauties from Sewn Up, so pretty.

Last but by no means least what about this stunning faux succulents vertical hanging wall garden from Julie Measures. Julie has mixed felt and pinecones, what a brilliant and completely mess free idea. 

So much choice! 
10 easy ways to make flowers from felt
Do you have a favourite?


read more

Wednesday, 27 September 2017

Little House Lavender Bags

Use an old sweater and a little embroidery to make pretty little house lavender bags.
felt house lavender bags
With autumn well and truly on us, we've been looking out our warm cosy clothes. Several wool jumpers had got past the repair stage and so I've been experimenting doing a little felting.
One cream coloured jumper was a pretty small size to start with but after a hot wash in the machine it shrunk up to next to nothing. This jumper needed to be made into some thing small!
I almost forgot to take a before photo, it did have 2 sleeves! The original jumper was quite fine so the felted material was not especially thick. I had so much fun making some little house shaped scented sachets filled with lavender.

To make your own you will need:

Felt, an old felted jumper/cardigan or shop bought
Scraps of fabric - something with small patterns work best
A length of ribbon about 5.5"/14cm
Embroidery thread and needle
A sewing machine and thread
Scrap paper

First you need to make a house shaped pattern and a roof pattern.
felt house lavender bag pattern
Cut 2 houses from felt and 1 or 2 roofs from patterned fabric. Originally I wanted to have the patterned roof front and back, it's possible but it is tricky to stop the fabric on the back puckering and catching when you stitch. It's your choice, but having tried both ways I'd recommend only putting a fancy roof on the front.
Cut a tiny door from patterned fabric about 3cm x 2cm
Pin the fabric pieces in place then machine stitch the roof onto one felt house piece just along the bottom, and stitch round the door on 3 sides as shown.
Using 2 strands of embroidery thread, stitch a little window and some plant life. I used simple straight stitches, lazy daisy stitches and french knots.
embroidery on a felt house lavender bags
When you are happy with your embroidery, layer the 2 felt house pieces wrong sides facing and pop the ribbon in the top folded in half to form a hanging loop. Pin it all carefully as the felt has a tendency to move once you start stitching. Stitch round all the sides apart from the bottom. Go slow and take care as you sew through the fabric roof, I found it liked crease a little bit and catch on the stitches.
making felt house lavender bags
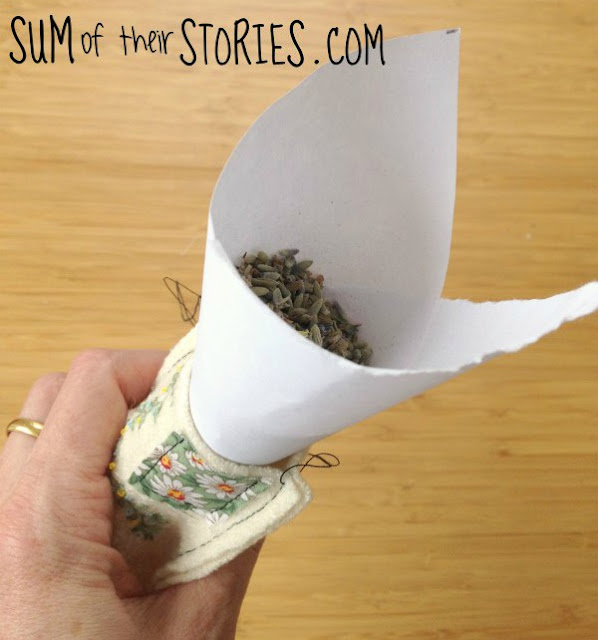
Make a funnel with a piece of scrap paper and use to fill the house with lavender. I found 3 good pinches was about right.
filling felt house lavender bags
Stitch the bottom of your house closed.
felt house lavender bags
Tidy up the threads, I am a bit obsessive and like to sew the top thread through to the back, knot them and then sew them into the bag. you could just risk it a snip them off. 
felt house lavender bags
Now make loads more!! 
felt house lavender bags
If you don't want to make your own, these little lavender bag houses are now listed in my brand new Etsy shop.

read more