Saturday 30 November 2013

A Little Tribute to Pearl

My Nan, Pearl was born on 30th November 1906 and she was one of those whose stories I am the sum of.
She spent her whole life making things, today I would like to share just one of them with you.

She made this doll as my Christmas present one year. I named her Emily and I loved her. Here I am holding her at the Christmas dinner table! Judging by the photo it must be about 1977/78.


She has lost her shawl along the way but other than that she is pretty intact. She now lives with my nieces.


She was really beautifully made and very "playable with". All her clothes are removable, and she has a pretty vest, petticoat and proper long pants/bloomers.
This is the hand stitched pattern on the petticoat. I remember my Nan showing me how to do this, I must try it out sometime, see if I can still do it.

Here she is in just her vest

The embroidery round the hem of her underpants/bloomers

The dress fabric has faded quite a bit on the front, but the back is still like new.

She used to have a little bit of blusher on her cheeks and she smelt of my Nan (Lavender and Johnson's baby powder) for years. 

So today I'm remembering a prolific crafter for whom making things wasn't a hobby, just a way of life.x


You might also be interested in:
Tea Towel Tote
Tea Towel Tote
Crochet Earphone Wire tidy
Crochet Earphone wire tidy
Lace Top Refashion
Lace Top Refashion
Saving thread tip
Thrifty Thread Tip

read more

Wednesday 27 November 2013

Earring Organisation Update

One of my first Bloggy posts back in September was my idea for organising my earring by re-purposing a wire pen tub, I just have a quick Update for you!

I succumbed to the power of the gold spray paint and gave it a quick respray just over a month ago, whilst I was making my plant pots from plastic tubs

I've waited to see if it scratches off (like I thought it might) and I have to report - No, it doesn't seem to scratch off at all, earrings have been in and out of it every day since the respray and all good, bonus!


To see the full instructions (well, couple of steps really, it's not complicated!) pop over to the original post here

I think the Black was nice, the gold is nicer! 

You might also be interested in:
Old bracelet to new statement necklace
Old Bracelet to New Statement Necklace
3 Pink Bracelets
3 Pink Bracelets
Lace top refashion
Lace Top Refashion
Infinity Loop Scarf Tutorial
I'll be linking up at all these amazing link parties, do make sure you check them out.

read more

Saturday 23 November 2013

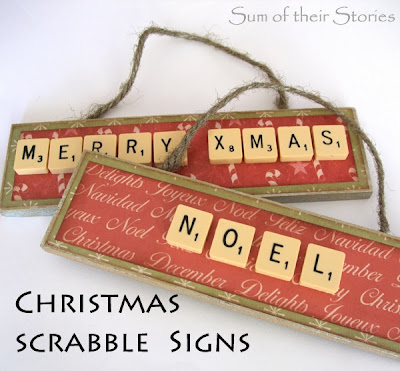
Scrabble Tile Christmas Ornament

Make Christmas decoration with scrabble tiles
I acquired an old scrabble set and have used the old tiles for a few projects. I have quite a few left and played around to see what words I could still make. Turns out I had the letters for a few Christmassy words:

I found these little signs in a charity shop for 50p each:

I gave them a quick spray of my favourite gold paint (this project has details) then cut out two pieces of scrap book paper, one just a little smaller than the sign and one a little smaller than that.

I inked the edge of the papers with a brown ink pad, I thought it helped with the rustic look - goes nicely with the string on the sign.

I spread PVA glue all over the back of the larger paper and stuck it onto the sign, then repeated for the smaller paper. I did try to photograph that but with my white scrap paper underneath it really didn't show. I'm guessing you all know what a gluey piece of paper looks like!

I then covered the whole thing in a layer of PVA glue (if you have Mod Podge I'm guessing it would work a treat)

I used my glue gun to attach the scrabble letters, just a little blob in each corner. I got my youngest to take these photos again, (this is definitely a two handed job) he took about 20 pictures and this was the best! 

 Ta dah!


Scrabble tiles Christmas Ornaments


I actually tried this project a month or so ago for a birthday present. 

(what can go wrong) I hadn't found the signs then so tried to make one from balsa wood. It worked ok except the wood I had chosen was a little bit too thin for the screw in eye things and the wood split a bit.


It was rescueable as I made that the back, but if you do try this, make sure your wood is at least 5mm thick. Otherwise I made it in pretty much the same way as described above. The differences here are that there is only one layer of paper, which went right to the edge, and I used a ribbon with some beads to hang it up.
DIY name ornament with scrabble tiles

The other thing I made with these tiles is a picture of all our names in a sort of scrabble arrangement which hangs in our hallway. (incidentally next to the Coin Picture) It looks great but it used the W's, the J and the K so I couldn't do any jingle bells or winter/snow words for this project!

If you can't get hold of any actual scrabble tiles for something like this there are sites that you can download them from, print them on card and fashion your own. I've not tried any myself but I know there are a few about. Just google "download scrabble tiles" and I'm sure you will find something.

I've had some feedback that some people are concerned that by putting Xmas here I have taken Christ out of Christmas.
The X is Chi, the Greek letter for Christ so He is still very much there and this is just a commonly used shorthand from as far back as the 16th century. It is not my intention to offend anyone, but personally I'm happy to use Xmas.
There are loads of website that go into way more detail if you are interested in further research.

You might also be interested in:

Sequin Christmas Trees
Christmas Pud Sweets from Chocoloate Buttons
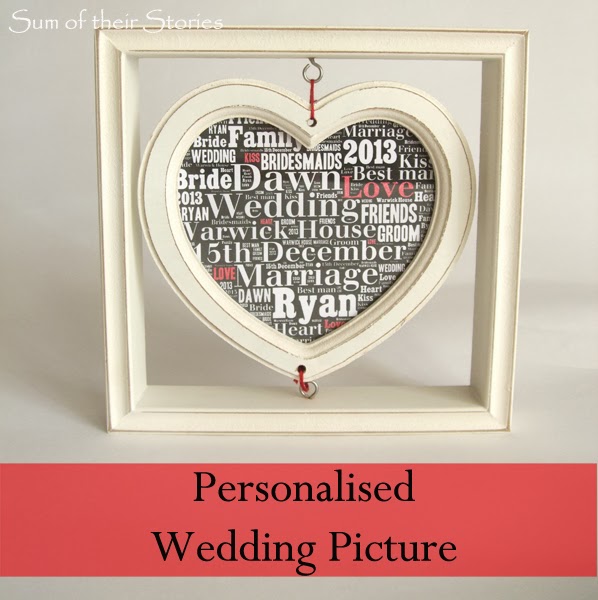
Personalised Wedding Picture
Mini Knitted Christmas Tree Pattern
I'll be linking up at all these great link parties, why not have a little look?

read more

Wednesday 20 November 2013

Day of the Doctor Tribute

This Saturday, the 23rd November is the Day of the Doctor.

For the uninitiated this is the 50th anniversary episode of Doctor Who and we are a little bit excited!

In our house 4 out of 5 are massive Doctor Who fans and over the years I've made a few Doctor Who themed things which I thought I might share today in anticipation of the Day of the Doctor.

This Tardis card was made for our youngest when he was about 8.
It's just navy blue card cut into shape. The windows are little squares of mirror card stuck on, the signs I made in word, printed out and stuck on and the details are drawn on with a black pen. The door handle is kind of cute, just a strip of card glued on so you can open it and see him inside:
I had to get him to pose for a photo, peeking out from behind the kitchen door without telling him why, hence the slightly odd "what am I doing" expression on his face!

I just drew an "inside the Tardis" background on white card and glued it on the inside to fill in the gap. People who know about such things can date this card from the Tardis interior!

This card was for our other son when he was about 12 I think.
We have quite a history of home made cards with the "cutting out a photo of your face and sticking it onto someone else" theme. Star wars characters and super heroes are a particular favourite. Nowadays the kids use the computer and its all digital but this was quite a few years ago so I made it the old fashioned way. I did use the computer to print out photos on just regular paper, I didn't want to use proper photos and some of us needed to be coloured in!

I just drew the bodies (you can see I'm no great artist!) then cut out our heads and stuck them on. Our daughter is in the Dalek (she wasn't especially impressed!)
Again fans of the show will know straight away the Doctor Who era this is from!

This cake I've already shared here along with some other cakes decorating ideas; the slightly too short, slightly lopsided dalek.

And this one got missed from my previous cake decorating post somehow, just a simple drawing of the Tardis using icing pens.

One day I will make a proper 1970's Tom Baker Doctor Scarf, but that's quite far down my To Do list - that's a whole lot of knitting! 

The internet is full of lovely crochet patterns for tardis hats, scarves and bags. There are instructions on how to make all sorts of lovely Doctor Who themed things, I have a few pinned on pinterest, one day maybe I will get round to making them all!

You might also be interested in:
Harry Potter Scarf Pattern
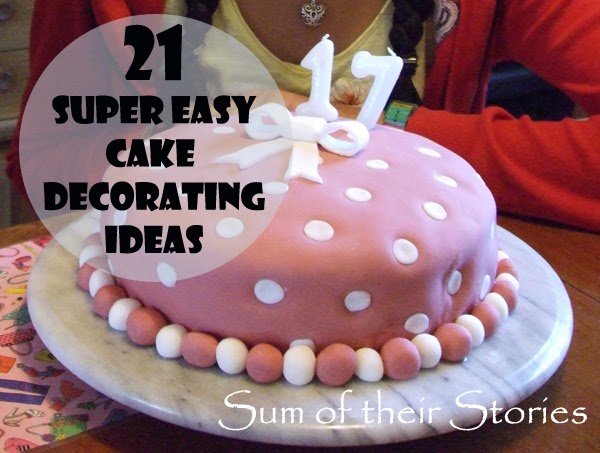
Easy Cake Decorating Ideas
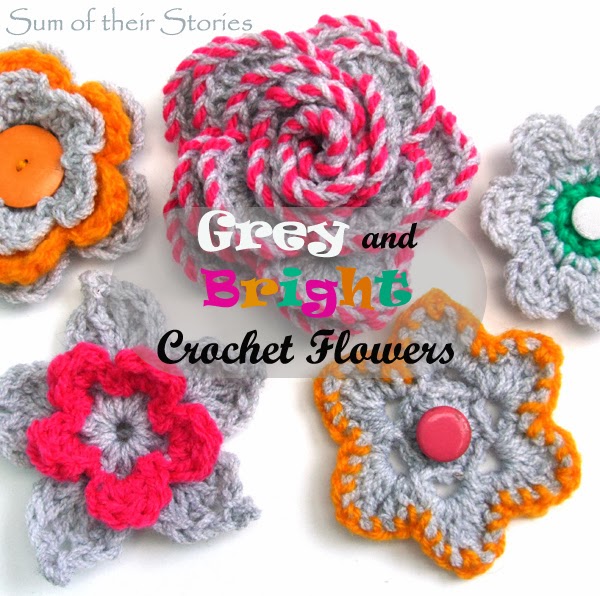
Grey & Bright Crochet Flowers
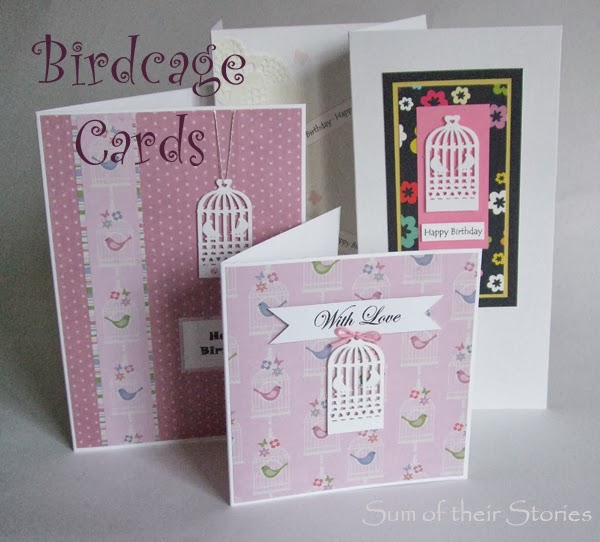
Birdcage Card Ideas
Birdcage Card ideas
I'll be linking up at these great link parties, go and have a look if you have a minute or two!
read more

Sunday 17 November 2013

Cheap Chocolate Chips

Just a really quick tip today.

I was baking last weekend and as I chopped my cheap & cheerful chocolate for chocolate chips I wondered if everyone does this?

Chocolate chips for baking between 80p & £1.07 for 100g 

Any supermarket own brand value range chocolate between 27p & 30p per 100g

I just chop it up with my great big knife. It takes 2 minutes.

Obviously if your recipe calls for 80% cocoa fancy chocolate this is not going to work, but for pretty much everything I cook it's great.

You might also be interested in:


How to freeze eggs
How to freeze eggs
Easy Peasy Banana Muffins
Easy Cake Decorating Ideas
School Reunion Cake Toppers
I'll be linking up at all these great link parties, check them out!

read more