Showing posts with label organising ideas. Show all posts

Tuesday, 16 February 2016

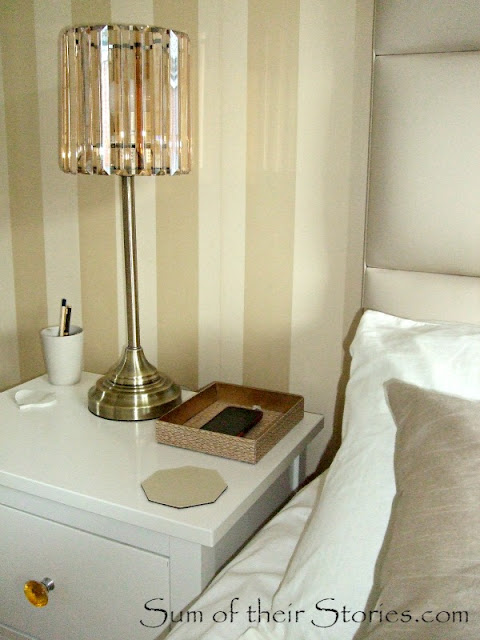
Bedside Phone Charging Tidy

Where do you put your phone when it's charging? Do you have a special place for it?
a home for your phone overnight
We have coasters on our bedside tables, for that late night or Sunday morning cuppa. Very sensible, very normal. Except someone had a slightly odd habit of putting his mobile phone on his coaster! When you're carrying two mugs of tea you really just want to be able to put one down, not faff about moving a phone first.
I thought if I made a place especially for the phone it might help so this is what I came up with; a "Bedside Phone Charging Tidy" 

It started life as part of some packaging from a nail varnish set. I'd used this in our old house on my bedside table to corral my bits and pieces (pen, bookmark, hand cream, nail file etc) It was just too nice to throw away! Any study flat box would work for this though.

But in our new house we have a classy cream/white and gold look going in the bedroom so for this to work it was going to need a makeover!
First I sprayed the inside gold. 
This was just a little left over spray paint from my geometric DIY art work and gold heart pot.
The base turned out a little lumpy so I decided to cover that with paper along with the outside.
Bedside phone charging tidy
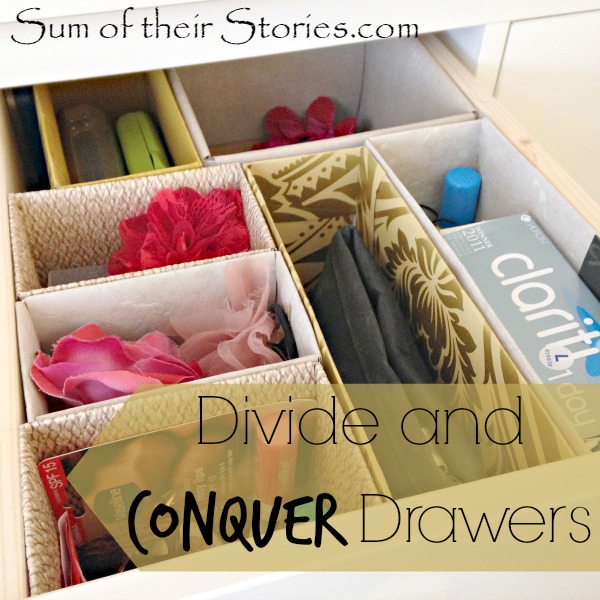
This paper is just a sample bit of wall paper, left over from my "divide and conquer" drawer dividers. As you can see I just drew round the box (using my cup of tea to keep the paper from rolling up on me!) then I just trimmed a few mm inside the line and checked it fitted inside the box nicely. I drew round the sides of the box to and cut those out as well.

Then I just used a layer of Mod Podge to stick the paper in position and another coat of the Mod Podge over the top to seal. 
I left it to dry on a tin like this so it didn't stick to the table.
The last thing was to cut a little hole for the charger lead to poke through. Once the glue was dry I just cut this carefully with a craft knife.
Bedside phone charging tidy

Bedside phone charging tidy
And look - the coaster is free, all ready for a nice cuppa!
I made a different kind of phone charging holder a few years ago, in fact it was one of my really early posts. You can find it here, it's one where you use an old plastic bottle and it hangs from the plug socket. They worked great in the kitchen at our old house, the kids have them in their rooms now. 

read more

Monday, 28 December 2015

Popular Posts of 2015

Well here we are again, the end of ANOTHER year - wow! Last year I really enjoyed looking back at what had been my most popular posts of the year so though it would be fun to do again.

1) I was quite surprised at this but the most popular post this year was the Adipose Cushion I made for my nephew's birthday. It's such a niche Doctor Who thing, I guess there are a lot of Who fans out there (of course there are - best TV show ever! Except maybe Downton Abbey, it's a tie)
adipose cushion tutorial

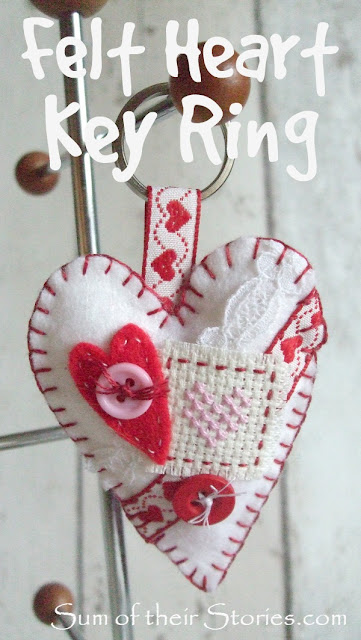
2) I made these little felt heart brooches and key rings back in February. They are easy to make and great for using up little bits and pieces of lace, ribbon and other trimmings that are too good to throw away.
http://www.sumoftheirstories.com/2015/01/felt-heart-brooch.html

3) This geometric gold DIY art was next popular. I had a few issues with this project and made it much harder for myself than I needed to. However I am happy with the end result and I wake up every morning and look at it (it hangs on the wall directly opposite the bed!)
DIY art gold geometric

4) I really enjoyed making this cluster drop necklace. The funny thing was it turned out quite differently from the idea in my head originally - better thankfully! (and it's red, I love red)
http://www.sumoftheirstories.com/2015/07/cluster-drop-necklace.html

5) I made this little crocheted house and turned it into a card for a friend who loves all things craft related. Links to the free pattern are in the post.
granny square house


6) Next was an idea I had seen on pinterest, I think everyone has seen this, dividing up your drawers to organise your stuff better. Cereal boxes and sample bits of wall paper was all it took. I don't think I could manage without them now, this was definitely one of the most practical things I did this year.
drawer organisation


7) Succulents are still really popular house plants and I have a few that are REALLY easy to take cutting from, that's making plants for free - who doesn't like free stuff?
succulent plants taking cuttings


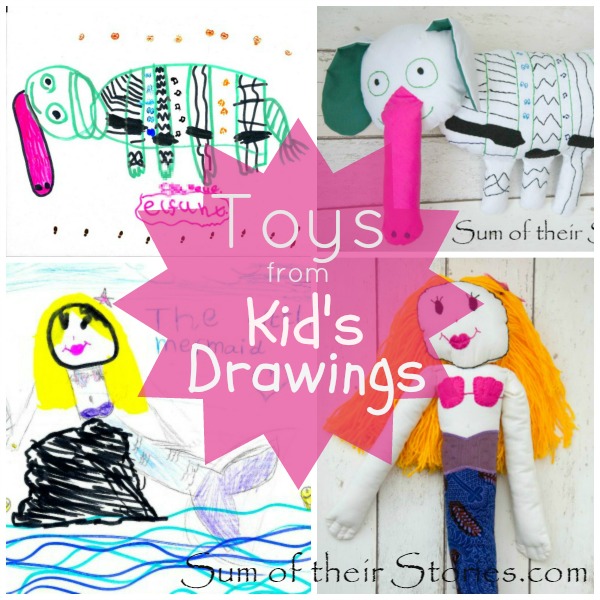
8) Making toys from kids drawings, sounds simple enough right? NO, it's really not! However it was fun and the toys are much loved so worth the effort. Impossible to give a tutorial for as every one would be unique so here I just shared a few tips that I picked up along the way.
how to make toys from children's drawings


9) I keep my make up brushes and mascara in this little gold heart pot, it started it's life full of a popular brand of chocolate spread. 
gold heart pot


10) Lastly my absolute favourite project of the whole year, our Wall of Wisdom. Hard to photograph to show it off well, this is a collection of quotes and sayings in our little downstairs toilet. Everyone who visits and uses the facilities comments on how much fun it is. We have quotes from everyone from Shakespeare to Dumbledore. Wise words from Star Wars, Doctor Who and Winnie the Pooh along side traditional expressions and saying.
displaying quotes as art

Happy New Year
Wishing you every good thing for 2016

read more

Monday, 12 October 2015

Tray Desk Tidy Tutorial

Mod Podge and paper tray
This is a project that I originally shared over at the Pinning Mama in January. It's something I use everyday so I thought it was high time I shared it here with a little "how it looks now" update.

When I'm not here, doing this blogging malarky, or doing family things, I work in an office doing spreadsheets, pulling database reports and other admin type stuff. Last Autumn I moved desks so I wanted something to both beautify my new area and help keep all my bits and pieces together. You know the idea, a place for everything and everything in it's place - well I can try...

I found this fab wooden tray in the Charity shop for £1.59 - oddly priced but I am not one to argue so I snapped it up.
I gave it two coats of white gloss paint. I think spray paint would be great for this but I was having some problems with the spray paint I had, so gloss and a paint brush did the job.
As you can see I did give the base a quick coat but then remembered I was covering that with paper so it was completely unnecessary! The gloss gave it a lovely shine look and is pretty hard wearing so all is well.

Next I measured and cut some patterned paper roughly to the size of the tray base.
This paper is the same that I used for some of the Speech Bubble Cards I made ages ago.
I'd done that thing when you buy something lovely then think it's too nice to use so it just sits in a cupboard, now I know I can't be the only one who does that!
Anyway, I digress! I just used my finger nail to push it right into the edge and crease the paper to exactly the right size.
Then I turned it over and cut along the creases.
Next I Mod Podged all over the base of the tray (no photo - I did take one but you couldn't see it on the streaky paint!) Then carefully glued the paper on, smoothing any bubbles and creases.
I let that dry, then gave it 2 coats of Mod Podge over the top.
Lastly, just to make it super hard wearing, I gave it 2 coats of clear sealer spray.
This stuff stinks to high heaven so I highly recommend doing this outside!
I made a little pen pot to match, just like I did here from an empty gravy granules tub.
DIY Desk tray
How organised is that!
So to summarise, to make something similar you need:
A wooden tray
Paint
Wrapping paper (not too filmsy)
Mod Podge
Clear Spray Sealer (optional but advised)

Now finally a little confession. Those photos are showing a few desk items, tastefully chosen to match with the paper.

I've been using this in real life for just over a year now and this is the slightly less tastefully arranged reality.
Hummm, I think I may need to make another in my elusive quest for tidiness!
The good news though is that it remains undamaged. The layers of Mod Podge and sealant are doing their job. I throw my stapler (yes - that is my name taped to the top, what a cliché!), calculator and all sorts of other bits onto it every evening as I pack up and not a scratch, rip or dent. I just need to give it a bit of a sort out.....
You might also be interested in:
Comic Book Glasses Case
IKEA Cactus Gift Wrap
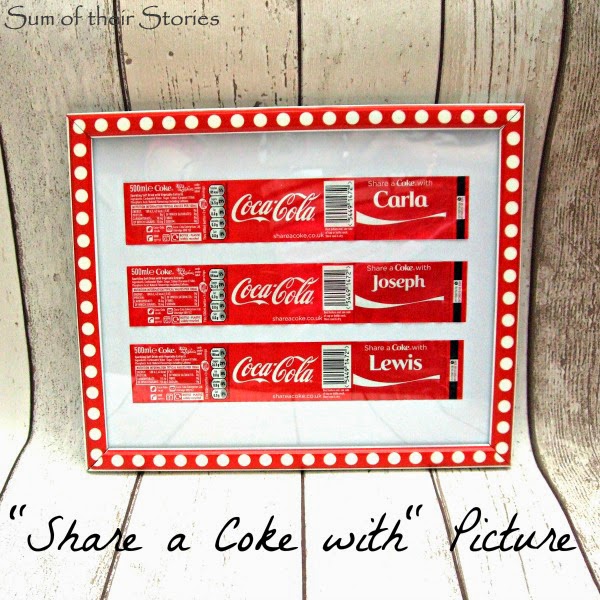
Share a Coke With Picture
Washi Tape Berry Boxes
I'll be linking up this project at all these lovely link parties

read more

Monday, 8 June 2015

Gold Heart Pot

Continuing my efforts to make old things fit with out new bedroom décor I've made a useful pot for putting things in (Winnie the Pooh anyone? Eeyore's Birthday Present?)
Gold heart makeup brush pot
 I am so pleased with how this project turned out. It was really simple and fun to do too.
There was a sneak peek of this in my post the other week "Buying New verses Using Old", now I'm ready with some photos to share how you can make this if you fancy having a go.
DIY gold heart pot

My original inspiration for this came from something I pinned AGES ago, in fact one of my first pins ever! 
But I had done that lazy/newbie thing and pinned a good idea without checking the source. Turns out my pin lead to one of those sites that takes images and makes a long tutorial pin from someone else's work. I have managed to track down the original post at heart. love. always. and re pinned from there - phew! (Thank goodness for Google image search) You can find my new properly linked pin here. 

This is what you need:
A glass (mine was one of those Nutella ones, great for recycling but didn't stack nicely with our other glasses as it's a different height and we only had 1 - perfect for this!)
Spray Paint
Stickers
Scrap Paper
Washi tape or decorators tape
First wash and dry the glass, then stick whatever sticker you have where ever you like on the glass. I'd had these peel off stickers for a long time but hadn't really used them, I think they were probably free with a magazine. 
The design on the sticker doesn't matter - just the size and shape. I chose a heart and put it centrally.
You could put lots on if you want, just don't put anything too close to the top edge.
Next take a piece of scrap paper and roll it up to fit inside the glass and secure it with some tape. Take your time with the tape, make it nice and straight.
I found it easiest to take short lengths rather than trying to do it all in one go. Also by using a tape with a pattern I was able to line everything up with the top of the glass, keep it all straight.
Give the whole thing a coat of gold spray paint. The paper will stop the paint going on the inside.
Now the most fun bit. As soon as the paint is dry carefully peel off the sticker and tape.
Give the whole thing a couple of days for the paint to really dry thoroughly and then fill with lovely things.
Gold heart pot tutorial

Now here is a second bonus project for today: The mirror frame you can also see in the "Buying New verses Using Old" post was another item that's had a makeover. It was natural wood colour and it has also had a spray of gold. 
I don't think this really deserves a whole post dedicated to it: I took the mirror out, sprayed it gold, put the mirror back, hung it on the wall - job done. 
I really do have the Midas touch at the moment - everything I spray turns to gold!
You might also be interested in:
Paper Cutting First Attempt
Paper Cutting first attempt
Share a Coke with Picture
Washi Tape Berry Baskets
Recycled Pen Tub Tutorial
I'll be linking up at these lovely link parties

read more