Saturday 30 April 2016

Ideas for your colouring pages

Have you got involved in the colouring in craze? Do you love all these beautiful colouring pages and books for adults around these days? So many gorgeous designs but what do you do with them after you've coloured them in?
ideas to use completed colouring pages
I was given a colouring book/diary for Christmas last year, it seemed like a genius idea, a week to colour each page, but my felt pens all leaked through to the other side like mad and I quickly had to decide - diary or colouring book? It couldn't be both.
I bought another diary and carried on with the colouring, just now and again when I had a minute (mostly sitting at the kitchen table whilst the dinner is in the oven. My colouring is not especially neat so no looking too closely!)
I thought it would be nice to use them rather than just leaving them in the book so I've had fun finding things to do with colouring pages.

Greeting Cards


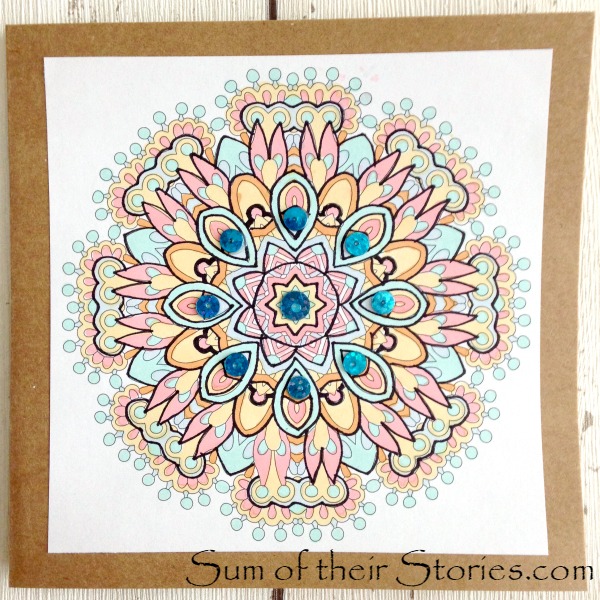
This is an easy one, use the whole design and just trim it to fit a card blank:
card made using completed colouring pages

I just added some black outlines with a fine liner to part of this design and glued on some sequins.

You can write a message somewhere in the design like this:
ideas to use completed colouring pages

Or you can cut up the finished page and just use part of it:
ideas to use completed colouring pages
  1. This page is pretty but not spectacular
  2. Draw a number or letter in pencil and cut out with scissors or a craft knife
  3. Edge the card blank with one of the colouring pens you used in the design by putting it on scrap paper and then wizzing along the edge with your coloured marker pen
  4. Glue the number or letter onto the card blank, add a few punched shapes too if you like

Gift wrap


If your pages are big or the gift small I guess you could just use your coloured page as gift wrap.
Maybe you could make a gift bag with it?

This gift was a mug that came in it's own sturdy plain box so it was easy to cut or punch out and glue on parts of a colouring page. 
ideas to use completed colouring pages
I even had enough to make a little gift tag, by cutting out a tag shape and glueing it onto card.

The other ideas I was thinking of but haven't actually tried yet are:
  • Decorating a note book
Cut the coloured page to size and glue it on. Cover with clear sticky backed plastic if you want to make it super durable or if you are really messy!
  • Making bookmarks
Cut your coloured pages into strips and glue onto coloured card, add a tassel maybe?
  • Turning it into art
If you have one that is especially lovely it would be nice to just frame it and put it on the wall?

Have you found any other lovely ways to use colouring pages?
  
You might also be interested in:
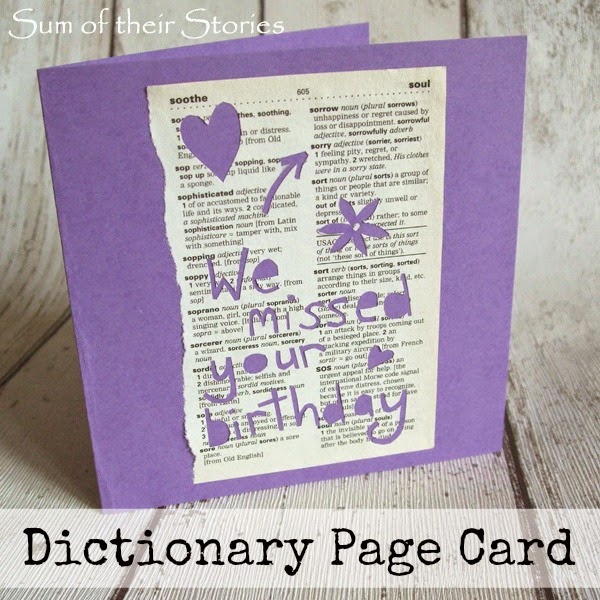
Dictionary Page Card
Circle Card Crazy
Circle card Crazy
Photo Name Birthday Card
How to draw Mandala Greeting  Cards
How to draw Mandala Greeting Cards
I'll be linking up this project at these lovely link parties.

read more

Friday 29 April 2016

Me Made May 2016

This year I've decided to take the plunge and participate in Me Made May. It's a month long challenge designed to encourage and inspire people to actually wear things they've made.
You can choose yourself exactly what you want to pledge to do. Most people seem to be pledging to wear at least one thing they've made every day. I think if I tried that I would be either a) be doing A LOT of laundry in May or b) be naked a lot of the time so instead this is my pledge:


I, Julie of www.sumoftheirstories.com and @sumoftheirstories on instagram, sign up as a participant of Me-Made-May '16. I endeavour to wear all of the clothes and accessories I have ever made or refashioned and still have (unless they are totally weather inappropriate) during May 2016

I'm hoping at the end of May I will be inspired to make more of my own clothes, especially every day practical garments. I used to make a lot more from scratch than I do now, it would be good to get back into that again.
There are a few summer maxi dresses I've made which I normally just wear on holiday so they will be weather dependant, if we get a warm spell then I will get them out quick. It will be interesting to see what is stashed at the back of the wardrobe, made and then forgotten.

If you fancy joining in then Zoe from So, Zo...what do you know? has all the details here

read more

Saturday 23 April 2016

Knitting Needle Case

Stitch a cute pouch to keep all your knitting needles safe and tidy.
Sew a knitting needle case
Here is another Sewing my Stash project. My daughter needed a new case for her lovely set of bright larger size knitting needles after I inadvertently gave away her old one. It was a bit tatty and not very well made but still, I felt responsible (mainly because I was) so I needed to make a new and nicer one.

I found a very clear step by step photo tutorial (my favourite kind) on Crazy Little Projects to make this "Diaper and Wipes Case".
I started by making a straightforward version following the instructions from Amber at Crazy Little Projects using fabric from my stash. A friend recently had a beautiful baby daughter so I gave her the finished case. I added wipes but as you can see the case is plenty big enough for nappies (diapers!) and maybe nappy sacks and a spare vest as well. 
wipes and nappy case
Wipes and nappy case
The black velcro is a little bit clumsy but I couldn't find any white until I'd finished, then I found a whole packet! This patterned fabric has a bit of family history which I will share another time. I was really happy with how it looks with the bright pink lining. Sewing my stash success!

Then I realised this pattern could be easily adapted to pretty much any size and thought maybe this was my chance to make a lovely new case for my daughter's knitting needles. The fabric I used is not strictly speaking from my stash, one of the kids gave me a bundle of fat quarters for Mother's day (top present - well done darling!) Technically though the new fabric was added to my stash and then taken out to use - does that count?

I cut my fabric based on the same basic pattern shape as the original Diaper and Wipes Case from Crazy Little Projects but made it longer and thinner and without rounding the bottom edge.
Cut 2 of each shape and then the method to make it is identical (I'm not repeating it all here, the photo tutorial at Crazy little Projects is very easy to follow) until the very last step, when I added a loop of ribbon in the end seam of the top flap before top stitching. 
Then I added a button on the front, this was a little bit fiddly as the case is pretty thin but manageable.
A button in the same place on the inside would make this completely reversible too, I haven't but you could. Because you cut two of each pattern piece, I used 2 fabrics and mixed them up so the outer and lining has one of each type of fabric.
Pattern for a knitting needle case
knitting needle pouch
This basic pouch pattern could be adapted to almost any size. Do you have anything that you need to make a handy little pouch for?


You might also be interested in:
Applique and Embroidery Cushion Cover
Making Toys from Kids Drawings
Cornishware Ruffle Tote
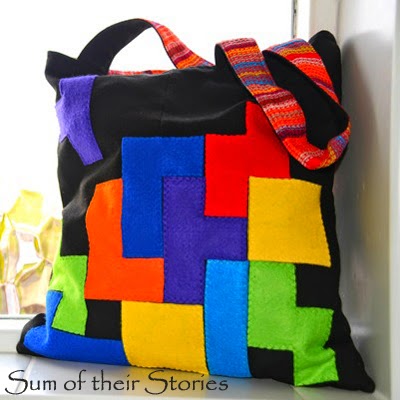
Tetris Tote Bag
Tetris Tote Bag
I'll be linking up at these great link parties

read more

Wednesday 20 April 2016

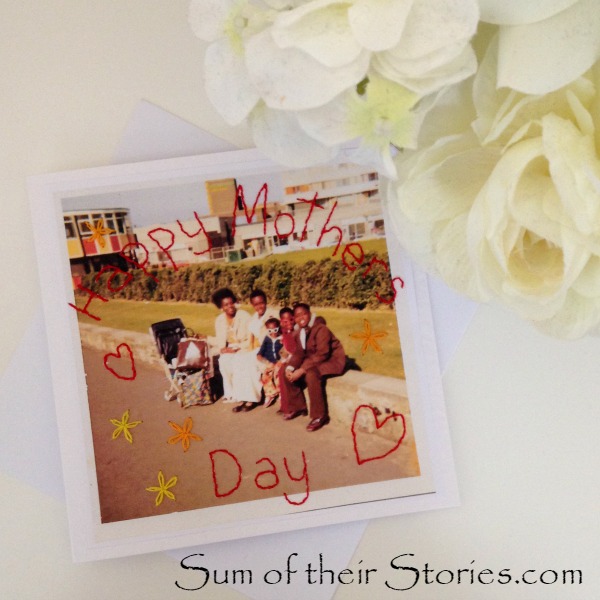
Embroidered Photo Mother's Day Card

Embroidered Photo Mothers day card
Mother's Day here in the UK was back on 6th March this year but in different parts of the world it happens on different days. In the USA it's on 8th May so today I'm over on The Pinning Mama sharing how to make a Mother's Day card using an old photo and some simple embroidery stitches. It's the one I made for my mother in law this year.
I found a fab 1970's photo of my mother in law with all her children and got to work.
Embroidered Photo Mothers day card
There is a full step by step tutorial over on The Pinning Mama here if you know a mum who might appreciate something like this the next time Mother's day comes round in your part of the world.

read more

Friday 15 April 2016

Simple DIY Name Canvas

Here's a really easy personalised idea for a child's room or nursery.
Simple DIY name Canvas
I sometimes find it hard to buy a gift for a baby or little person that I don't see all the time. What toys do they have? Are their parents already bemoaning all the stuff they have and where are they going to keep it all? I usually go with clothes as that seems safer but when someone was born in January and you gave them clothes for Christmas sometimes you just need something a bit different.

I made this canvas for my cousins baby/toddler for his first birthday. He's the baby I made the Diamond Crochet blanket for - time flies!
It was really easy and inexpensive. I went with a motor racing theme as that is what his parents are really into and as it's not babyish it should last as he gets older.

To make one similar you will need:
  • A blank canvas
  • Acrylic Paint & brush
  • Nice quality printer paper
  • Glue, Scissors, craft knife, computer & printer, sharpie
The canvas I used was 8" x 15" (20cm x 34cm), it was from a pack of 3 from Wilko's which was less than a fiver. 
I painted the top surface with 2 coats of red paint, leaving the sides white.
Next I used Picmonkey's design feature to write his name in a chunky font called Smash. I made the letters a really pale grey then printed them reversed. To do this I just imported the picmonkey image into a word document then flipped it, how you do this depends on what version of microsoft or whatever your computer runs on. 
I did a quick google search for "racing car silhouette images" and "racing flag" and found some that are royalty free, and printed them too.
I cut the letters and pictures out, mostly with scissors just using my craft knife for the tricky bits, then spent a ridiculous amount of time arranging and rearranging them on the canvas! Then I just glued them, grey side down, with Mod Podge.
Next I went over the top of the letters and pictures with a coat of mod podge to seal them.
After this all had dried I used a sharpie to draw a very simple chequered flag design round the canvas edge.
And that was it - done! A unique personalised gift which hopefully he will enjoy for years.
Simple personalised canvas
If motor racing is not your thing you could do pretty much any theme. 
The other themes I considered were a bit more traditional like:
  • Pirates - I was thinking blue canvas, simple pirate ship cut out, maybe a Jolly Roger flag. The edge could be waves perhaps.
  • Jungle - green, with vines round the edge. A couple of animal shape cut outs.
  • Knights - maybe a grey canvas with a brick pattern drawn on? The edge could be castellated, then a knights helmet and lance silhouette added. You could make it 3D with a feather coming out of the helmet!
  • Mini Beasts - green canvas, with ladybirds, snails and other mini beasts added. The edge could be grass.
  • Diggers - yellow, with a silhouette digger. The edging could be like hazard tape. 
Honestly the options are endless! You could cut an image from a sample of wallpaper or wrapping paper instead of a silhouette if you like. Have fun!
You might also be interested in:
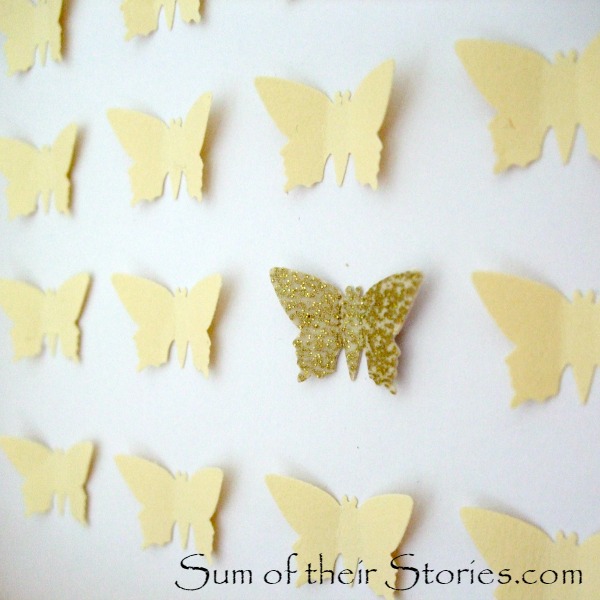
Butterfly Specimen Picture
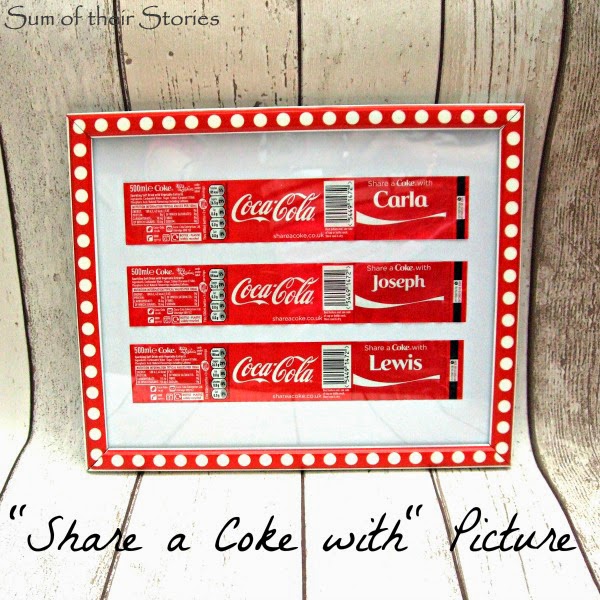
Share a Coke with Picture
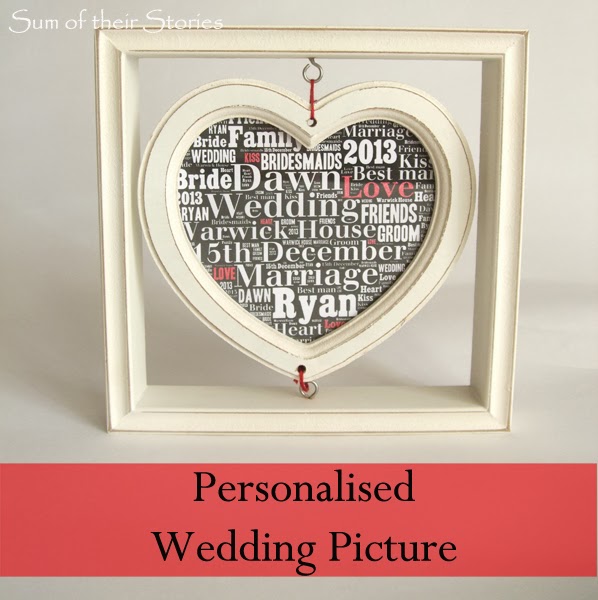
Personalised Wedding Picture
Flower Collage Canvas
I'll be linking up this project at some of these lovely link parties

read more

Wednesday 6 April 2016

Kitchen Box Frame Makeover

An old box frame given a fresh new look.
old box frame transformed

I fell over this sweet little box frame in a Charity shop the other week for just £1.99.
All the seeds and dried flower bits and pieces in it were a bit faded and a little bit "80's" for my taste but I thought it might have potential so it came home with me. It's not very big, 5" x 6.5" with little 1.25"(ish) square spaces.
Once I took the back off you can see the original, much brighter colours.
I've not played with the saturation levels on these photos at all, it's amazing how the sun takes the colour out of things over time.
I threw away all the faded seeds and dried bits and then gave the frame, glass and divider a good wash.
Our kitchen has red accessories so I searched my patterned papers and other craft stash for tiny red stuff.
I know the scrabble letters are not red but once I knew I could fit "TEA" in that was decision made! Of course I could have put "EAT" instead...
I've lots of scrabble tiles in a box, I buy scrabble whenever I see it in charity shops as they are so much fun to make things with, in the past I've made a few things with them which you can find here.

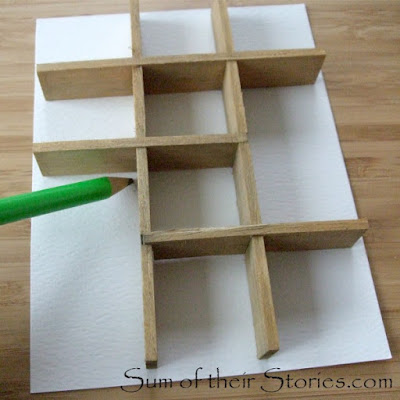
I cut out a piece of thick card the same size as the frame back and laid the divider on top, marking the spaces with a pencil.
I cut pieces of the patterned papers to fit and stuck them on. They overlap slightly, I made sure the joins would be covered by the wooden divider.
I painted the frame and divider white and then popped it all back together with a few of the little red bits and pieces glued into the spaces with my hot glue gun.
The strawberry was from an old kids charm bracelet, the "keep calm and carry on" badge had lost it's pin back. The Budwiser bottle top was rescued from the bin at Christmas!
The other bits and pieces are just things I found in my "can't throw anything away" craft stash. I used a page from an old dictionary too, the page with "cook" on it. The same old dictionary I used to make these fun greeting cards:
I'm really pleased with the transformation, another thing to add to our kitchen gallery wall.
kitchen box frame makeover

You might also be interested in:
Butterfly Specimen Picture
Share a Coke with Picture
Personalised Wedding Picture
Flower Collage Canvas
I'll be linking up this project at some of these lovely link parties

read more