Showing posts with label update. Show all posts

Friday, 7 April 2017

Pom Pom Pen Pot

A simple glass jar upcycled with pom poms to make a fun bright and cheerful desk accessory.
Upcycled pom pom pen pot
Pom Pom all the things!

Over the last few weeks I've been sharing some Easter projects made courtesy of Hobbycraft and the selection of fun Easter crafting goodies they sent to me to try. Today's pen pot upcycle is not very Easter-y or Spring like but as I totally LOVE it I am unapologetic! 
One of the Supplies I received from Hobbycraft was this enormous bag of pom poms, all shapes and sizes and colours. I used some little white ones for these bunny tails and flower centres for my Spring Wreath.

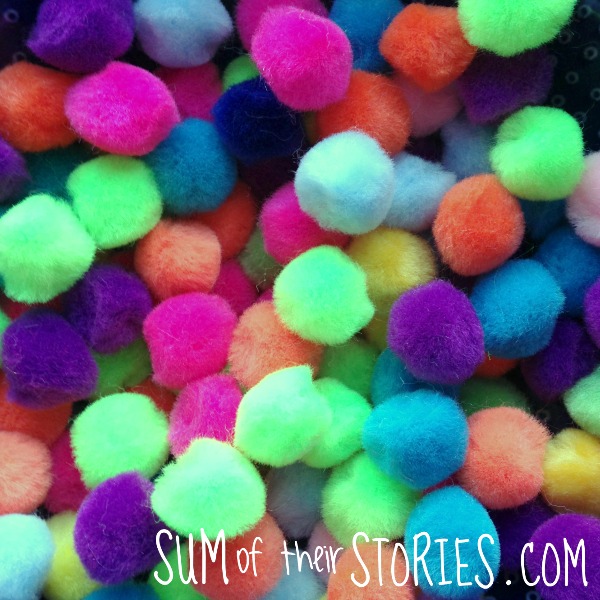
But look at all these amazing bright pom poms...
pom pom all the things
Don't they just make you want to pom pom all the things?
I knew they needed to decorate something and I knew it had to be bright and fun.
You can't have too many pen pots, everyone needs pens and in a pot they are handy and ready to grab at a moments notice. If you can make one by upcycling an old container then all the better. 
To make a pom pom pen pot like mine you will need:

An old container, mine was a glass jam jar.
Pom Poms, mine were from this big bag from Hobbycraft
A hot glue gun
Upcycled pom pom pen pot
First wash your container, remove any labels and dry thoroughly.
Sort your pom poms - this was the best bit, it's very therapeutic to plunge your hands into a big bag of soft pom pom, trust me! I separated into a bowl all the ones which were about 1 cm in diameter. Your pot will look more even if you use pom poms that are all the same size. 
I only used the bright coloured pom poms for this, I didn't include black or white or the soft pink or yellow. You can use whatever colours you like but it is definitely worth getting them all ready in a bowl. Once you start gluing you want them easy to grab.

Now just hot glue the pom poms onto the jar. It's easiest to apply a 3 cm or so length of glue then press on 3 pom poms. Then just repeat. You want them pretty close together so there are no big gaps.
I started roughly in the middle and went all the way round in a circle, then added rows above and below. 
Upcycled pom pom pen tub
It would probably make more sense to start at the bottom and work your way up - I'm not entirely sure why I didn't do that! 
I went for a totally random colour scheme but you could do a fab pattern if you felt so inclined. 
Upcycled pom pom pen pot
That's it. Easy peasy, lemon squeezy and you have a fabulous, colourful pom pom pen pot to brighten your day. Your desk will have never looked better! 
Upcycled pom pom pen pot
Doesn't it just make you want to pom pom all the things?! 
Update: This also helps if you are a little clumsy and drop pen pots on the floor occasionally - no breakages here - whoop whoop!

You might also be interested in:
Plastic tub planter
Plastic tub Planter
Comic Covered Pen Pot
Ikea Cactus gift wrap
Ikea cactus gift wrap
Tetris Note Book
Tetris Note Book
I'll be linking up at these great link parties, why not check them out!

read more

Monday, 6 July 2015

Butterfly Specimen Picture

It's easy to make your own art for your walls, and specimen art is so simple to make to suit any colour scheme.
DIY specimen butterfly art

This is another "change things we already have to suit our new house décor" post. Catchy title eh! Previously I've shared changes to our bedroom things here and here. I've not wanted or needed to buy all new in our new home, some things can just be tweaked to feel like new. 
We had a couple of small pictures in the old bedroom that I had made quite a few years ago, both turquoise to match the wallpaper we had.
One was made from a lovely laser cut birthday card I had been given. It was just too pretty to not keep so I simply framed it in a box frame with a vibrant turquoise card behind.
The other was a simple specimen butterfly picture.
This was so easy (and cheap) to make using a butterfly punch and paint swatches.

I still really like both pieces but in our new bedroom there are no turquoise accents, we have a much more subtle colour pallet of just white, cream and gold so rather than get rid, I gave these two little pieces of art a do-over.
Did you see my post a few weeks ago about making drawer dividers to help get my dresser drawers organised? I mentioned I had wall paper samples left over from another project. This is that other project! I chose a gold and cream striped wallpaper and used the gold sparkly sections for both these projects. 
The laser cut one was super simple.
framing a birthday card
I took the back off the frame and the turquoise card was replaced by a piece of the gold wallpaper. The stripes of the wallpaper weren't quite wide enough so I joined two pieces, glueing them to the paper that came in the frame originally, then trimming them to size.
I then just reassembled the frame, so the laser cut is right up against the glass and the gold wallpaper layer is at the back.

For the specimen art picture I thought about using a different punch but I do really like the butterflies still. This time, instead of paint swatches I used cream card and a scrap of the gold sparkly wall paper.
Butterfly specimen art picture
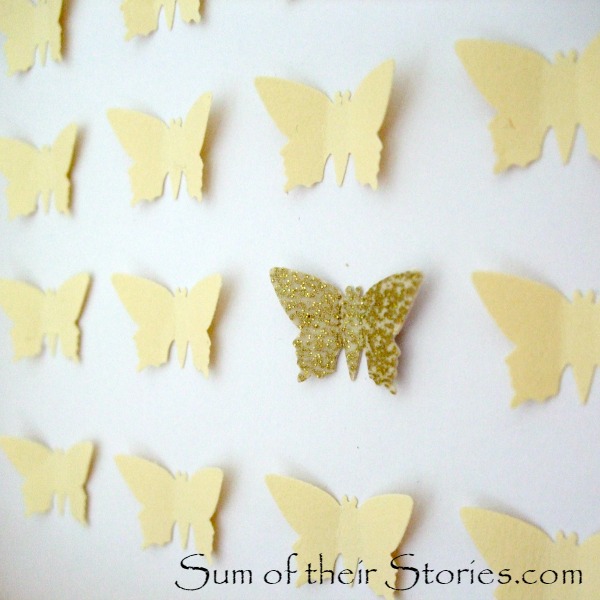
I punched out 19 butterflies from the cream card and one from the sparkly wall paper and arranged them on a piece of good quality white paper. I didn't measure, I just lined them up by eye, but you could be precise and measure this all out if you want.
I folded the wings of the butterflies up a little, then carefully glued just the bodies to the paper. I just did them one at a time, so I didn't mess up the arrangement and spacing.
How to make specimen art tutorial
Butterfly punch to make specimen art
The sparkly paper is actually way more sparkly that showing up in these photos.
I have no idea if specimen art is still in fashion or not, I just know it is really easy to DIY and I like it! It needs zero artistic skills and can be made to suit any décor. It's worth getting a punch as it makes it so simple but at a push you could just cut shapes with a pair of scissors.
You might also be interested in:
Flower Collage Canvas
Geometric DIY Art
Geometric DIY Art
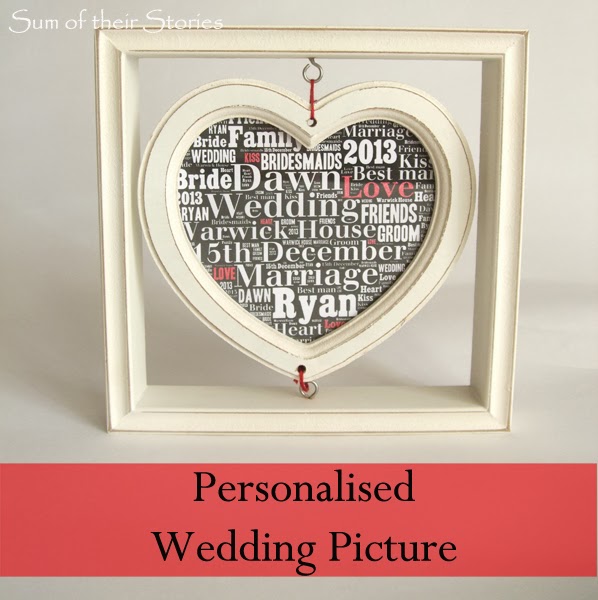
Personalised Wedding Picture
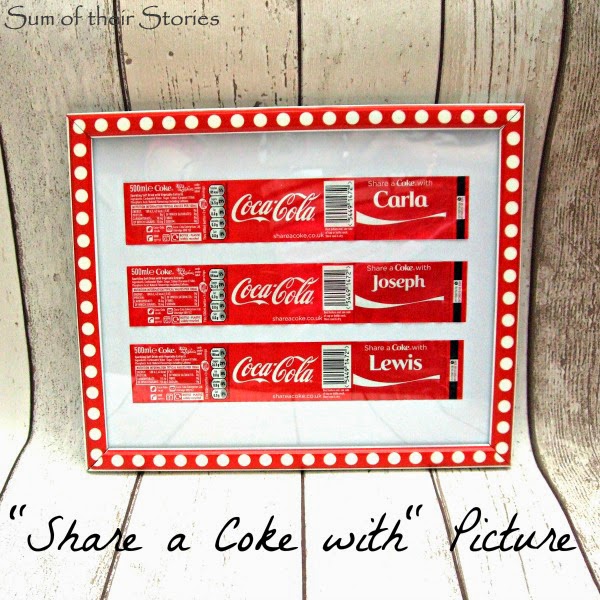
Share a Coke with Picture
I'll be linking up this project at all these lovely link parties, pop over for a look at loads of projects from other blogs

read more

Monday, 4 May 2015

Buying New v Using Old

Moving house is expensive! Most people can't afford to buy all new everything to decorate the new place. We've recently moved and can't (and wouldn't want to) buy all new for the new house straight away so I'm looking at ways to adapt things we already have.
gold spray paint bedroom accessories
A step by step tutorial to make this little gold heart pot can be found here
I've been mostly working on our bedroom in the last few weeks. In the old house it was natural colours (cream/beige/brown) with quite a lot of splashes of turquoise picked out from the wallpaper as an accent colour.
In the new house we have inherited cream painted walls with one wall a gold strip wallpaper and white woodwork, included built in wardrobe doors. We also have these beautiful glass light fittings left by the previous owners. 

A little while ago we visited Dubai and on that trip went to the Sheikh Zayed Grand Mosque at Abu Dhabi. It's VERY beautiful and I loved the white and gold colour scheme.

So in a spirit of using what we have and not redecorating a perfectly nicely decorated room (that's SO not going to happen around here) We're adapting some things to fit our new classy cream/white/gold look. Luckily a lot of our stuff already goes as the colours are not that different to what we had before, I've just been doing a little tweaking.

Remember how I made this earring holder with the pom pom trim. This was one of my first ever blog posts!
I pulled the pom pom trim off and left a bit off a mess.
Also, remember this trim I added to a little cardi to make it fancy for evenings out? I had a little bit left over.
I super glued the trim on to cover the damage and gave it all another spray of gold paint. 
I think I like it better than ever (though I do still love pom poms - I haven't completely lost my mind!)
DIY gold earring holder

We had a complete absence of drawer space in the new bedroom so I have splashed out and bought this IKEA Hemnes chest of drawers and matching bedside tables.
 
 
They are a great size with masses of storage but those black handles are not right with our new look, I like them but it just doesn't fit with the rest of the room. I can't decide if they give it a country look or an industrial look, maybe both? Industrial country chic?
It was so quick and easy to switch the handles for these pretty amber glass ones from Trinca-Ferro which they were kind enough to send me to review.
I love how a simple change like switching the handles can make a piece of furniture look so different.
changing in the knobs on a bedside table
I just unscrewed the black IKEA ones and the new ones screwed right in the same holes. They were a perfect fit and I didn't need to drill anything or make any other changes.
They are very pretty, classy (which is what I am aiming for here!) and really catch the light.
Trinca-Ferro have a website chockablock with beautiful cabinet and door knobs of all shapes, colours, materials and sizes and they ship internationally. Mine arrived in just a couple of days and were well packed so no chips or breaks even though they are glass.
gold accessories nightstand
On my bedside table I have an amber coloured bud vase that I inherited from my mum, it matches the new glass knobs perfectly. Flower arranging is not really my thing (though I do have a pinterest board where I collect advice and tips) but the white flower is pretty! 
I made the little ring dish from ThermoMorph, see the tutorial here and used to use the turquoise version - now I'm glad I tried a gold version too.
And such a cute photo of us all from about 13 years ago that used to be in the living room, now acquired for the bedroom.
new glass knobs on dresser
My wooden jewellery box is staying as it is - for now. It has little gold handles and key so it kind of goes, I may revisit this decision one day, who knows? 

I've got quite a few more things to share where I've just tweaked our old things for this room, but I'll share them in a part 2 another day as I think this post is quite long enough!

Do you like to use things you already have or do you prefer to buy new when you decorate or move? Or a mixture? Would you consider a simple knob or handle switch on a cupboard or drawers to give it a new look?
Disclosure: I received the glass knobs from Trinca-Ferro for free to review here on Sum of their Stories

You might also be interested in:
Adipose Cushion
Adipose Cushion
Easy Sew Cushion Cover
Plastic Tub Planter
Plastic Tub Planter
UK Coin Picture
UK Coin Picture
I'll be linking up to all these great link parties, why not go and have a look!

read more

Tuesday, 10 June 2014

The Make it Yours Clutch Bag Contest

The "Make it Yours" Clutch Bag contest over at So Sew Easy is now closed and voting has started - actually it started last week but better late than never and all that!

If you pop over to So Sew Easy you can see all the entries and bucket loads of inspiration.

There are two categories, Bloggers Entries and Readers Entries with lots of amazing bags in each. Honestly, there are so many creative people out there!
It's really interesting to see how many different variations can be made from the same basic pattern.
You can vote before the end of June (I don't even mind if you don't vote for me - to be honest I didn't, but I won't tell you who I went for as I don't want to influence your vote at all!)
You can still download the pattern and make your own version from here too if you are inspired by all this creativity. It's a great pattern, one of many from Deby.
Full details of how I made my version are here if you want to know more.
You might also be interested in:
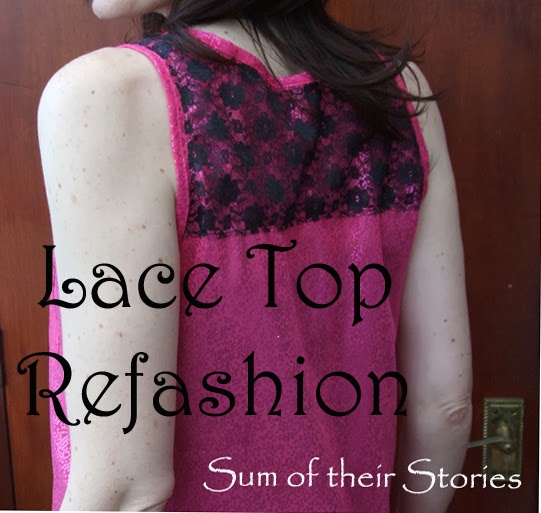
Lace Top Refashion
Lace Top Refashion
Cornishware Ruffled Shopping Bag
Easy to Sew Top
Easy to Sew Top
Tea Towel Totes
Tea Towel Totes
I'll be linking up to all these great link parties, why not go and have a look!

read more