Saturday, 5 April 2014

Doctor Who Knitted Tie

I think this might actually be my most favourite thing I have ever made! It is ridiculous how excited I am to have finished this.
I am an unashamed Doctor Who fan. Luckily the kids are big fans too so I have comrades in my love for all things Who.
The 4th Doctor Who's Scarf Tie Pattern
I mentioned once before on my little Day of the Doctor post that maybe one day I will make the 4th Doctor's scarf. That day is not today, that is a whole heap of knitting. For now I've adapted it to make a couple of smaller, more manageable projects. This is the first, a knitted tie (how very retro!): 
The 4th Doctor Who's Scarf Tie Pattern
 Our oldest son is in 6th form at school at the moment and has to wear a shirt & tie but not school uniform and on Fridays they have Funky Tie Friday. Perfect opportunity to wear a mini version of the Doctors scarf. 
The 4th Doctor Who's Scarf Tie Pattern
I had a few false starts with this project, it was too wide, then to floppity, I had to frog it and start again more than once. This version gives a good balance between what you need a tie to do (ie not to wide at the knot, good length, you can get in on and off again without having to tie it each time!) whilst still looking basically like the Doctor's scarf. 
I know some people crochet Doctor Who scarves too, which is probably way quicker, but for me it has to be authentic garter stitch.

Basically you need 7 colours of DK wool: purple, camel, bronze, mustard, rust, grey and greenish brown. This is according to the original BBC pattern which I've pinned and you can find here.
This is what I chose, after studying old pictures.
Wool for the 4th Doctor Who's Scarf Tie Pattern
Most I had already in my wool stash, so I can't tell you quantities for each. To be honest I followed the original pattern in terms of the stripe widths etc but if you ran out of something part way through and substituted I'm pretty sure you'd never be able to tell.

Here's the pattern: Printable PDF Version here
Using 3mm needles, cast on 12 stitches in purple.
Using knit throughout work the stripes like this:
work 3 purple rows
26 camel
8 bronze
6 mustard
10 rust
4 purple
10 green
4 mustard
8 camel
6 rust
4 bronze
6 purple
20 green
4 mustard
8 grey
4 rust
26 camel
6 purple
6 green
4 mustard
8 rust
4 purple
18 bronze
6 camel
4 grey
20 rust
6 mustard
10 green
4 purple
20 camel
6 bronze
10 grey
4 rust
6 purple
2 camel
6 mustard
26 green
8 rust
6 grey
4 mustard
10 bronze
6 purple
6 camel
16 grey
6 rust
8 mustard
4 purple
26 camel
8 bronze
6 mustard
10 rust
4 purple
10 green
4 mustard
8 camel
6 rust
4 bronze
6 purple
20 green
4 mustard
8 grey
4 rust
26 camel
6 purple
6 green
cast off in green
Now you just have to sew in ALL those pesky ends, sigh, this is the downside to this project!
The 4th Doctor Who's Scarf Tie Pattern
The finished tie measures 5cm x 150cm (2" x 59")
The 4th Doctor Who's Scarf Tie Pattern
The sides wave in an out a little as not all DK wool is the same, I guess you could avoid that by buying all the same make of wool, but I don't care, I think it is the most awesome tie ever! 
Now I'm off to enjoy the restorative powers of a cup of tea!


You might also be interested in:
Harry Potter Scarf Pattern
Day of the Doctor Tribute
Mini Minion, Tiny Ted and Beautiful Bows
Doctor Who Scarf Bracelets
I'll be linking up at these great link parties

read more

Thursday, 3 April 2014

SITS Day

Whoop Whoop - today is my SITS day! Welcome, SITS visitors, I hope you have a cup of tea/coffee at the ready and a few minutes for a look round.

In case you don't already know, The SITS Girls is a great site packed with help and advice for bloggers, with forums, hints and tips. They also feature blogs and today is my turn! Check them out if you haven't already, their button is on my side bar. 

I've only been blogging since August last year and still feel like a complete beginner most of the time. I am loving it but the housework has taken a serious hit, I figure you can't have it all! 
I am just here to share my ideas and things I've made, I'm no sort of expert, just an enthusiastic crafter who has yet to try a craft they don't like (except tatting, I tried that when I was about 11 and just got a tangled mess - Ooooo, maybe it's time to revisit tatting, if you know a good site with help and tutorials please let me know in the comments below)
I get ridiculously excited and enthusiastic about making things; ideas whirl round my head so I have about 10 projects on the go at any given moment, and another 10 half written blog posts. There's no schedule here I'm afraid, when it's ready I share it.

So have a little look around, see if anything inspires you. It would be great if you came away feeling like you can have a go at making something, but if you don't - no worries, I'm just happy you stopped by to say "Hi!"

Oh and one more thing, I've recently taken the plunge and signed up for Twitter, so if you want to take pity on me and follow my poor almost followerless "Billy no mates" twitter self, please do.  I have no idea what I'm doing but I'm sure I'm gonna love it once I get the hang of it! 
You might also be interested in:
Geometric Bangle Refashion
Embroidered Gloves
Embroidered Gloves
Crocheted Earphone Wire Tidy
Simple Speech Bubble Cards

read more

Sunday, 30 March 2014

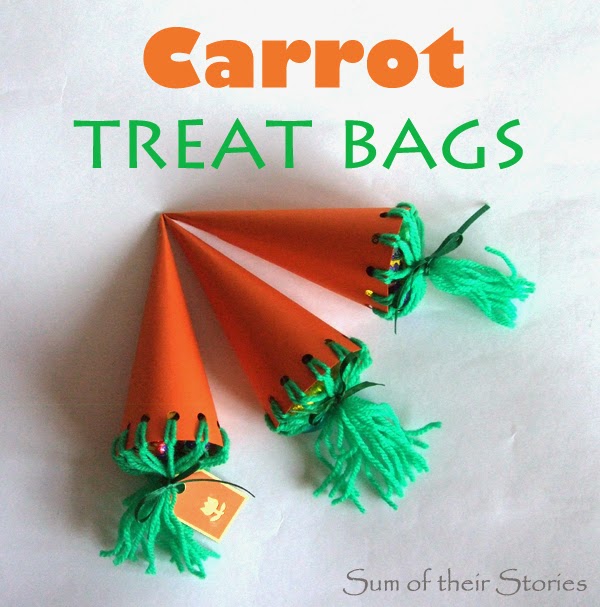
Carrot Treat Bags

Carrot Treat box tutorial from Sum of their Stories
With all the Easter and Spring time projects around at the moment I've seen a couple of carrot shaped treat boxes & bags, they reminded me of these little cardboard treat bags that I remember making when I was little. I have no idea if this idea is from a book or magazine (it can't be the internet as I was little long before then) but here is my version from memory (and a few trial runs!)
You will need:
Thin orange card - I guess thick paper would work too
Green wool & a length of green ribbon
Hole punch, glue (I used Pritt stick), ruler, pencil and compass

Using the compass. mark two 1/4 circles in the corner of the card, one 14cm and one 13cm. I've done two here in the photo, one in each bottom corner.
Carrot Treat box tutorial from Sum of their Stories

Cut out along the outer line.
Carrot Treat box tutorial from Sum of their Stories
Mark 1.5cm in from the right hand side and cut a slither off the shape so it's a little less than a 1/4 circle now.
Carrot Treat box tutorial from Sum of their Stories


Carrot Treat box tutorial from Sum of their Stories
Along the compass line, mark dots at 1.5cm intervals, starting 1cm in from the edge. You should end up with 12 dots in all, evenly along the line.
Carrot Treat box tutorial from Sum of their Stories
Using a hole punch upside down (and with the base removed if it's not see through like mine) punch a hole where each dot is. Line the dot up in the middle of the hole carefully or the holes won't be straight and it will look a bit rubbish (guess what happened in my first attempt!)

Carrot Treat box tutorial from Sum of their Stories
Roll the paper shape up a bit to start it curling - this will make the glueing bit much easier.
Carrot Treat box tutorial from Sum of their Stories
Apply a little glue just along the edge then roll up and glue the edges together. The two edge holes will overlap and line up and you will only have 11 holes round your carrot top.
Carrot Treat box tutorial from Sum of their Stories
Press the seam firmly, I used a pencil to press down inside the carrot as far in as I could, then I added a teeny tiny bit of sellotape at the bottom on the outside to make sure it holds. 
Now you need to cut 11 30cm lengths of green wool.
Carrot Treat box tutorial from Sum of their Stories
Fold each length in half and poke through the hole just a little way, poke the ends through the loop you've made then pull gently to secure. 
Carrot Treat box tutorial from Sum of their Stories
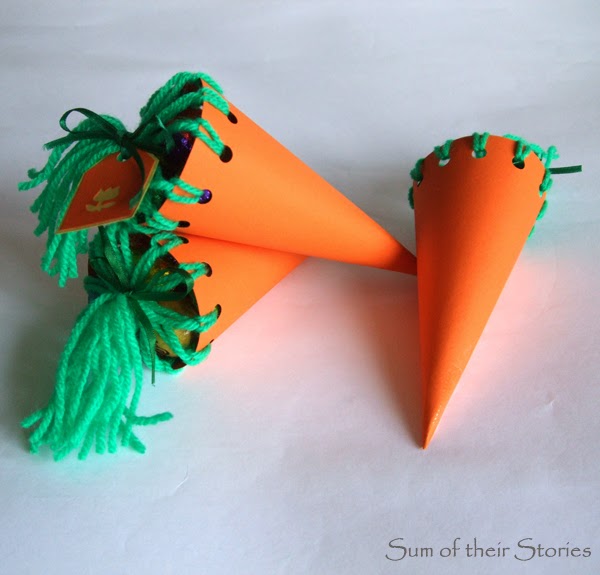
Do this for all the holes, then fill with sweets, treats, whatever you like. I've used mini Easter eggs.
Carrot Treat box tutorial from Sum of their Stories
Finish off by drawing all the strands of wool together and tying with green ribbon. Trim the ends of the wool to level them off and Ta - dah, you're finished!
You can use more wool instead of ribbon like I did in this photo but then I was thinking it looks like it would be difficult to find the right end to undo the bow and get to the treats! So on reflection I'm thinking ribbon is better. 
Carrot Treat box tutorial from Sum of their Stories

Carrot Treat box tutorial from Sum of their Stories

You could even add a little gift tag if you wanted to.

Carrot Treat box tutorial from Sum of their Stories
You might also be interested in:
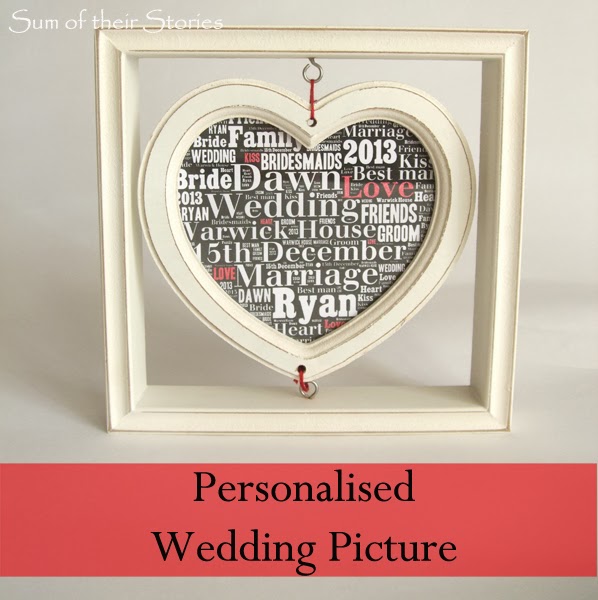
Personalised Wedding Picture
Spring Easter Wreath
Washi Tape Berry Boxes
Easter Decoupage Book Bunny
I'll be linking up this project at all these lovely link parties, pop over for a look at loads of projects from other blogs

read more

Friday, 28 March 2014

A little tribute to Ellen

28th March was my paternal grandma Ellen's birthday, and as she is one of the people whose stories I am the sum of, today I'm sharing something she made for me when I was little.
This is an epic photo of me in about 1974/75 on the beach in Cornwall wearing a towelling beach robe my Nan made for me. My brother had one too, but I can't remember what colour his was and unfortunately there doesn't seem to be any photographic evidence of it.

The idea was that we would come out of the sea, freezing cold and we could pop on our beach robes to warm up!


My Nan made a lot of clothes and often visited us with a suitcase of not quite finished things that we would then try on so she could get the fit right. Sometimes they were full of pins and we used to moan a lot as kids. Now of course I really appreciate how lovely and totally unique the items she made for us really were.


I think we can all agree I am rocking this beach look - I don't think I said it enough at the time, thanks Nan x

You might also be interested in:

A little tribute to Jenny
My Nan's Shortbread Biscuits
Mini Minion, Tiny Ted & Beautiful Bows
A little tribute to Pearl

read more