Saturday, 31 January 2015

Crochet House Card

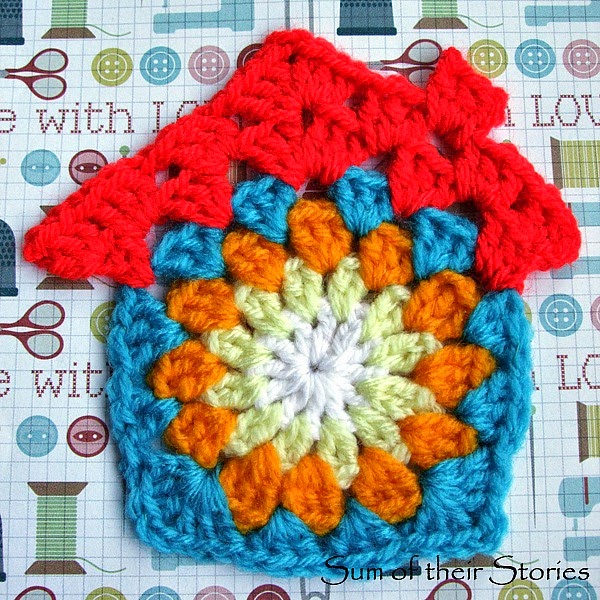
I crocheted this cute little granny square house after seeing it on pinterest and then made it into a card for a very lovely friend.

Crochet Granny Square House
This post has been a long time coming. It's nearly my friend Angela's birthday again! Somehow this got temporarily misplaced in my archives. When I was invited to join the 2015 Pinterest Challenge* I remembered this project and how much I had enjoyed making it.

I saw this lovely little adaptation of a granny square to crochet on pinterest (of course) from Polkadotted Rainbows and knew I had to give it a try.
Here's the pin link too if you want it. 
There is no pattern but there is a link to a variation on the house pattern. It was not too difficult to follow what Polkadotted Rainbows had done (just squared off the bottom corners basically) and I love how it came out.
Crocheted House Birthday Card
My lovely friend Angela is a very crafty person who even has a sewing room (not jealous, not jealous, just happy for her!) so I figured she would appreciate this little bit of crochet.
I just stitched it loosely onto this cute sewing themed paper and mounted that on card. This is what the back looked like.
I thought maybe Angela could snip it off and use it as a coaster in her lovely aforementioned sewing room.
Card with Crochet house
I would love to make this again sometime and use it for a house warming card or picture.

*The 2015 Pinterest Challenge is a group of creative bloggers who plan to share something they've made each month inspired by something they first saw on pinterest. For me this is a no brainer, I see a lot of things on pinterest that inspire me! 
Here are the contributors for January, check out their lovely project and be inspired!
The 2015 Pinterest Challenge January

You might also be interested in:
Diamond STitch Crochet Baby Blanket
Diamond Stitch Crochet Baby Blanket
Earphone Wire Tidy
Earphone Wire Tidy
Harry Potter Scarf Pattern
Crochet Owl Brooch
Crochet Owl Brooch
I'll be linking up to all these great link parties, why not go and have a look!

read more

Wednesday, 28 January 2015

Desk Tidy Tray

I've over at The Pinning Mama again today sharing a Charity Shop bargain tray makeover which I am hoping will help me keep my desk tidy!
Desk Tidy Tray
Tidy and me are not normally BFF's so time will tell how it goes. But we don't stop trying just because we fail now and again now do we?
This photo is the after, pop on over to The Pinning Mama to see the before (and the middle bit too!)

read more

Friday, 23 January 2015

Felt Heart Brooch

With so much "love in the air" at the moment, I've gone all romantic and made some little felt heart brooches and a key ring.
felt heart brooch

felt heart lace brooch tutorial
felt heart keyring tutorial

To make something similar you need:

  • Felt
  • Little bits of ribbon, lace or fabric
  • Buttons, bits of old jewellery etc
  • Embroidery thread

Plus for the brooch version - 
  • Some sort of iron on interfacing or bond-a-web
  • A brooch back or safety pin
and for the Keyring version -
  • A little bit of wadding
  • An extra length of ribbon
  • A split ring (or other keyring thing of your choice)
how to make a felt heart keyring
First cut out a heart shape from the felt twice. My heart shapes are about 3" tall and 2.5" at the widest point (8cm x 6cm)
Play about with your scraps of lace, ribbon, fabric etc until you have an arrangement you like.
Using 2 strands of embroidery thread and some simple stitches sew the bits and pieces in place.

make a felt heart brooch
For the brooches I cut a piece of Bond-a-web in the heart shape too.
When everything was stitched in place like in the photo above, I turned the felt face down, tucked the ribbon ends in, placed the bond-a-web on top then placed the second felt heart on top.
Sadly I missed photographing this stage but basically you are making a bond-a-web or interfacing sandwich with the ribbon and lace ends tucked in.
Give it a quick press with the iron to seal it all together.
Ironing felt is horrible, it goes all floppy and a bit fluffy. Don't panic, just let it cool then trim any untoward bits. As it cools it should have a bit more body to it. If you want a really firm brooch just use a thicker interfacing.

felt and lace heart brooch
It should look something like this. That lovely silver coloured charm was from an old broken necklace, I've been looking for something to use it on for ages!

Then just blanket stitch, or over sew if you prefer, all round the edge, again with 2 strands of embroidery thread.


felt heart brooch tutorial
Stitch a safety pin or brooch back on the back and you're done.

To make the key ring I started exactly the same, arranging an assortment of bits and pieces onto the felt heart.
I came across the little cross stitch heart in my sewing box, I must have made it ages ago as I don't even remember! It came in just right for this.
Stitch everything in place then miss the bond-a-web stage out and just start blanket stitching the two heart layers together. This time just tuck the lace or ribbon ends in when you get to them.
Stop when you get close to the top middle.


Fold your long bit of ribbon in half and pop it through the split ring. Then open up the felt layers and pop the ribbon in place.
Then just carry on with your blanket stitch, making sure you watch the back and catch all those layers with your stitches.
felt key ring tutorial
Once you are about an inch from where you started stop and pop a little wadding into to lightly pad the heart, then carry on with your stitches to seal it all up.
felt heart key ring
Make one for someone you love or make one for yourself! They could be lovely Mothers Day gifts, maybe replace the little felt heart with a flower, a circle of lace or a larger button. I guess it depends what you have. For me little projects like this are great for using things in my stash. Have fun!
Felt heart Brooch and Key Ring
You might also be interested in:
Embroidered Gloves
Embroidered Gloves
Button Tassel Keyring
Simple Felt Needle Case
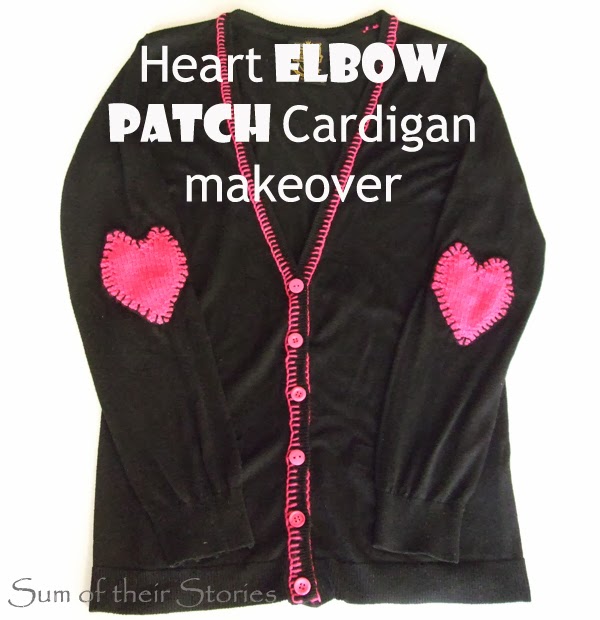
Heart Elbow Patch Cardigan Makeover
I'll be linking up at these great link parties.

read more

Friday, 16 January 2015

Paper cut Envelopes

I'm not a big fan of plain envelopes. Wouldn't it be nice if an envelope was able to hint at the loveliness inside it like a beautifully wrapped gift creates anticipation at what might be within? Too much? Maybe just not be quite so plain and boring then!
I first shared this papercutting idea to fancy up an envelope back in September last year at It Happens in a Blink and as one is quite Valentine-y I thought I'd share it here with you all now. 

To have a go all you need is a plain envelope, a pencil, scrap paper, a craft knife and a piece of contrast paper for lining.
Draw your design in pencil on the scrap paper, keep it pretty simple unless you are a papercutting master. I did Sealed with a Loving Kiss and some very simple lips.
paper cutting to make envelopes fancy

Open the envelope and place your design pencil side down, upside down on the inside of a red envelope point - face down and upside down - that is important!
Rub all over with a pencil, so it transfers to the envelope.
paper cutting to make envelopes fancy

paper cutting to make envelopes fancy

It's not the best photo every but you can just about make it out. 
Cut round each letter and the lips with a craft knife. I used my swivel-y one because there were lots of curves here but a regular craft knife will be fine too.
paper cutting to make envelopes fancy

Then line with contrasting paper and you're done.


I also did one for my Dad for his birthday card last year and took more photos on how to line it as I made that one. Just scroll down and it will all become clear....

For this one I used a stencil instead of drawing my own design.
paper cutting to make envelopes fancy

Open the flap of the envelope and flip your stencil back to front and upside down. Do the centre letter of your message first then add the rest. You may need to put them pretty close together.
paper cutting to make envelopes fancy
Cut them out with a craft knife. Remember upside down AND back to front - I learn't this the hard way!
paper cutting to make envelopes fancy
When you close the envelope the writing will be the right way up.
paper cutting to make envelopes fancy
Pop your contrasting lining paper under the envelope flap and draw round it.
paper cutting to make envelopes fancy
I was using a bit of scrap paper so had to tidy up the sides. You need to cut it a fraction narrower than your envelope and long enough to fit right down inside below the V.
paper cutting to make envelopes fancy
Glue just along the top edge of the lining paper then pop it in the envelope.
paper cutting to make envelopes fancy

I had made a papercut card too for him, that is supposed to be a camera as he likes photography and collects cameras. Not the best camera I've even seen but at the time he was polite enough to say he liked it!
Simple papercuts to make envelopes more special
It's pretty quick and easy and doesn't get in the way of the address on the front if you are posting your card or letter. 
I've a few more ideas to fancy up envelopes to share soon - I'm on a bit of a mission now, I feel my handmade cards deserve a special envelope now and again!


You might also be interested in:
Papercutting first attempts
Circle Card Crazy
Circle card Crazy
Papercut quotes
Papercut quotes
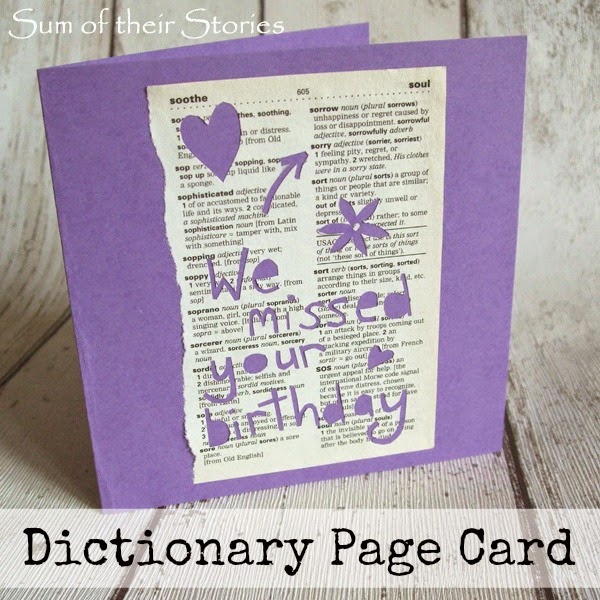
Dictionary Page Card
I'll be linking up this project at these lovely link parties, pop over for a look at loads of projects from other blogs.

read more