Monday, 30 November 2015

A Little Tribute to Pearl part 3

30th November was my Nan Pearl's birthday, so today I'm sharing something she made a really long time ago that I still have today.
My nan was one of the thriftiest people I've ever known, she kept things "just in case" and was the absolute queen of make do and mend.
This basket is one that she made for me when I was really little. It's made from a cardboard box, covered in fabric.
I love the authentic 1970's vintage fabric.
The inside is lined too and finished with some quite random large blue wool stitches.
I've been trying to work out how it is made. The base, both inside and out is machine stitched to a long strip of fabric which forms the sides. I assume she then folded the top edge and hand stitched that, then covered the join with the lace.
The big ol' blue stitches must be to keep the lining base attached to the cardboard.
It also has two very handy handles, two long loops of fabric that are hand stitched into place on the base and at the top edge.
When I was little I kept dolls clothes in it, then later on fabric, ribbon and lace.
My daughter used to keep her Barbie's and all their clothes in there when she was small, now as you can see she uses it for her bags.

So today I'm remembering a very thrifty and creative lady who taught me loads.

If you'd like to see more to explain the name Sum of their Stories or see the other makes from those that I grew up with you can find them here.

read more

Wednesday, 25 November 2015

Textilbox Giveaway

Do you want the good news or the bad new first? The good news is I have a great giveaway for you from the lovely people at Textilbox.US The bad news is it's only open to people in the USA.
Textilbox.US is a DIY creative sewing box delivered to your door. Each box includes the pattern, materials and step-by-step instructions. It's a wonderful way for novice and intermediates to improve their sewing skills, while creating a practical novelty gift.

As I'm in the UK I've not been able to try out a box and share how I've got on with it, they don't deliver here (yet...) but just because I can't have one doesn't mean you shouldn't!

The idea of a box that contains everything you need to make something both pretty and practical seems like such a good idea to me. People who have been sewing for years generally have a big ol' stash of bits and pieces collected over time. If you are a newbie though it can be off putting to think you have to go out and buy loads of things to make a simple project. If it's all in the box - problem solved!
What's on offer here is a Holiday Texilbox which they promise me will be with you before Christmas. The Holiday Texilbox will also include a DIY bonus decorative gift from Simple Stories
For a chance to win the Holiday Texilbox just enter using the Rafflecopter below, there are several ways to enter and you can do them all if you like.

And as a small bonus, if you are not the lucky winner people in the USA and Canada can still get a 10% discount off a Textilbox.us, just email: info@textilbox.us
mention Sum of their Stories and they will send you a discount code.
I'll be in touch with the lucky winner after the draw closes on 6th December and will pass your name and email address on to Textilbox.US so they can contact you to arrange to send your prize to you. 
Good luck, and remember (sadly) this draw is only open to people in the USA.

a Rafflecopter giveaway

Update: Textilboxes are available in France and Spain and Textilbox.US do post out to Canada as well


read more

Saturday, 21 November 2015

Wooden Christmas Gift Tags

Last year I made some gift tags for all the family that they will be able to use as tree ornaments for years to come.
Personalised Wooden Christmas Gift Tags
wooden gift tags keepsakes
To make them you will need:
  • Wooden Hanging Hearts or shaped gift tags
  • Christmas Scrapbook paper
  • Alphabet stickers or punches (I used my QuicKutz Squeeze)
  • Mod Podge or PVA glue
  • Bakers twine or cord
  • A needle

I found these little packs of heart shaped wooden tags on sale last October in the wedding section of our local Hobbycraft shop.
I guess wedding season was over so they were marked right down to 50p per pack of 4. Amazon have a few similar ones available here and here

How to cover wooden gift tags with scrapbook papers
  1. Place your scrapbook paper face down and draw round the wooden tag shape
  2. Cut it out
  3. Brush a layer of Mod Podge over the wooden shape
  4. Apply the scrapbook paper shape, smooth, then brush over another layer of glue. 
  5. Cut out the letters needed for the names of your loved ones
  6. Glue the names on and give the whole thing another layer of Mod Podge to seal. Pierce through the paper where the hanging hole is with the needle and leave to dry
Wooden gift tags and Christmas tree ornaments
Then just use cord or bakers twine to attach them to your gifts
Wooden Christmas Gift Tag keepsakes
If you want to, you could glue paper to both sides, maybe add a square of note paper on the other side so you can write a message. 
Or you could print a Christmassy quote or message on the computer and glue that on the reverse. 

I spent a while choosing papers I thought each person would especially like from scraps I have kept over the years. They all hung their hearts on their tree as soon as they had finished opening their presents which was lovely - I like a busy, crowded Christmas tree!
You might also be interested in:
Festive Mirror Fun
Festive Mirror Fun
Scrabble Christmas Sign
Christmas Scrabble Sign
Gift Boxes from old cards
Gift Boxes from Old Cards
Christmas Pudding Chocolate Buttons
I'll be linking up at all these great link parties, pop over and have a little look round at all the lovely ideas.

read more

Friday, 13 November 2015

My Best Ever Mince Pies

I know it's a bold statement but I honestly believe these are the best ever mince pies!
This post contains affiliate links
It seems mince pies might be a Christmas delight peculiar to the UK, and maybe one or two other countries around the world. If you have them where you are please let me know in the comments below. Mr Google is a bit vague, lots of information about the history of mince pies but very little about who actually has them.

Some mince pie facts:
  • Here in the UK, Christmas is not Christmas without mince pies, it just isn't!
  • They appear in the supermarkets round about October time and get everyone in a "too soon for Christmas" tizzy.
  • Everyone says "This is my first mince pie this year" when they have their first of the season (forgetting all the ones they ate up in January!) 
  • WAY back in the day they contained meat but no more - they are a mix of dried fruit, fat and alcohol in a pastry case - sounds good huh!
  • The home made ones are so much better then the shop ones (too much of a weird gloopy stuff inside and not enough fruit)
  • When a friend pops round for a cuppa in December it's the law that you offer them a mince pies (well, maybe I made that one up but it's almost/should be the law!)
  • Mince pies (shortened to minces) is Cockney rhyming slang for eyes
  • They can be served hot or cold, as a pudding or dessert or as a snack instead of a biscuit/cookie
  • You can have them on their own or with cream or ice cream. Then on Christmas Day only (ok, maybe Boxing Day too if you have leftovers) with Brandy Butter or Brandy cream
  • At some point every one has bought a box of posh mince pies, taken them out of their foil cases, sprinkled them with icing sugar and tried to pass them off as home made!
This is the recipe I've always used, it's a rich, sweet pastry and it's just so much better than regular shortcrust for mince pies.
My mum used to make her own mincemeat too, I have never tried so I use the shop bought stuff. I have included her recipe here though, in case you can't get it ready made in the shops where you are.


A "no frills" printable version of this recipe is here

Best Ever Mince pies

Makes 18 basic mince pies (or 24 if half have lids and half don't *)

1 jar of mincemeat (I used Robinsons and used half of a 411g jar)
A tablespoon of Brandy (optional)
9oz (255g, 2 1/2 cups) plain flour
6oz (170g, 3/4 cup) baking margarine or butter
2oz (55g, 1/3 cup) caster sugar
1 egg yolk (If you're in the UK always look for eggs with the British Lion Eggs quality mark)
2 teaspoons cold water
icing sugar to serve (optional)
  • Sieve the flour into a bowl, add the chopped up margarine or butter
  • Rub in
  • In a jug, place the egg yolk, sugar and water & mix with a knife
  • Pour this mix into the flour/fat mix and stir with the knife until mixed
  • Squeeze together with your hands then turn out onto a lightly floured surface
  • Kneed lightly until smooth then wrap in cling film and pop in the fridge for 1/2 hour
  • Heat the oven to 180 c, 350 f, gas 4
  • Cut the pastry in half and roll out one half to about 4mm (3/16")
  • Cut out as many circles (mine are 6.5cm, 2.5" that's my largest pastry cutter!) as you can and press them lightly into a muffin tray
  • Stir the brandy into the mincemeat if using
  • Put a teaspoon of mincemeat on each pastry base. Don't overfill or it will go everywhere but don't be mean and underfill either! The photo above shows a good balance between the two
  • Pop the scrappy bits of pastry to one side and roll out the other half of the pastry
  • Cut slightly smaller circles (mine are 6cm, 2.25") this time
  • Pop a splash or two of cold water in a dish. Wet your finger with the water and run it all round the end of the pastry circle, then pop it onto the base and press lightly down to seal the edges
  • Repeat for all the bases you have so far
  • Squeeze all the scrappy leftover bits of pastry together, knead lightly and roll out again
  • Continue cutting circles and making pies until you either have 18 lidded pies or 12 lidded pies and 12 open ones*.
  • Take a pair of kitchen scissors and make 2 snips in the lids. Some people stab holes with a fork or sharp knife, my mum always snipped with scissors so that's what I do.
  • Bake in the oven for 15 - 20 mins until light golden brown
  • Cool on a wire rack
  • Dust with icing sugar to serve - or not, either is fine!
If you make some pies without lids you can then top them with a thin layer of marzipan, or fondant icing or a criss cross drizzle of glace icing. Traditionally mince pies have lids but I usually do some open pies as it just makes your pastry go further.


This rich sweet pastry is also perfect for jam tarts.

Adding egg to a shortcrust style pastry like this is a little bit different so before taking a trayful to a party or something you might want to consider if anyone has an egg allergy. If you are concerned, there is some really useful information about egg allergy from British Lion Eggs.
If you are taking home made mince pies to a Christmas party maybe just add a label "contains gluten, eggs" etc, especially if people are not familiar with mince pies. If you choose a mincemeat with alcohol or add the brandy like I do guests might like to know that too!
I hope you try them, they really are good - Best Ever - honestly!
You might also be interested in:
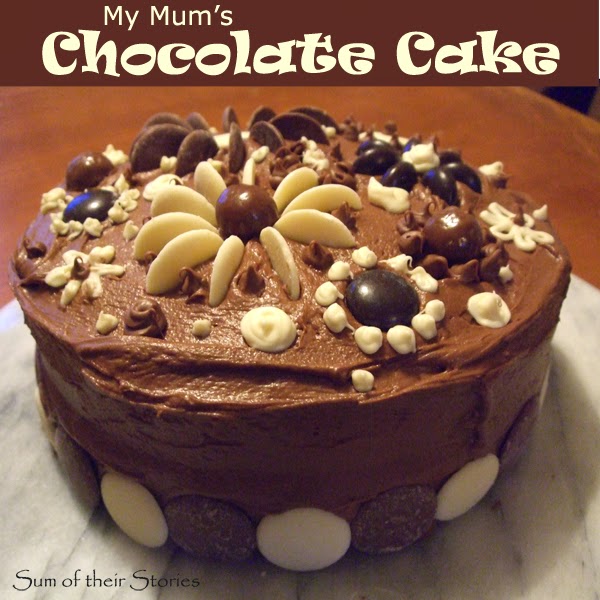
My Mum's Chocolate Cake Recipe
Christmas Chocolate Buttons
Chocolate Fudge Dip
Chocolate Fudge Dip
My Nan's Shortbread Recipe
I'll be linking up at all these great link parties, check them out!

read more

Thursday, 5 November 2015

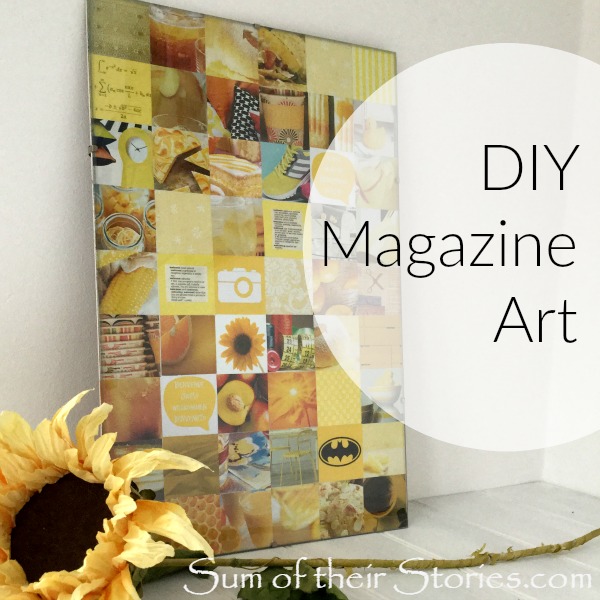
Recycled Magazine Collage Art

Blank walls need art (in my opinion) so I've been making art on the cheap over the last few months to add to the blank wall space in our new home.
Simple to make art from recycled magazines and junk mail

My latest effort is this super easy collage made from old magazines and junk mail. I made it to go with the yellow table and mirror in our hall and, as I already had the frame, it was completely free! 
The story of little yellow table that started the whole "yellow" thing is here:
Today I'm over at The Pinning Mama sharing the full instructions to make this simple, cheap, recycled artwork. It's another project that has almost endless variations in terms of colour and style. 
Easy to make art from old magazines and junk mail

You might also be interested in:
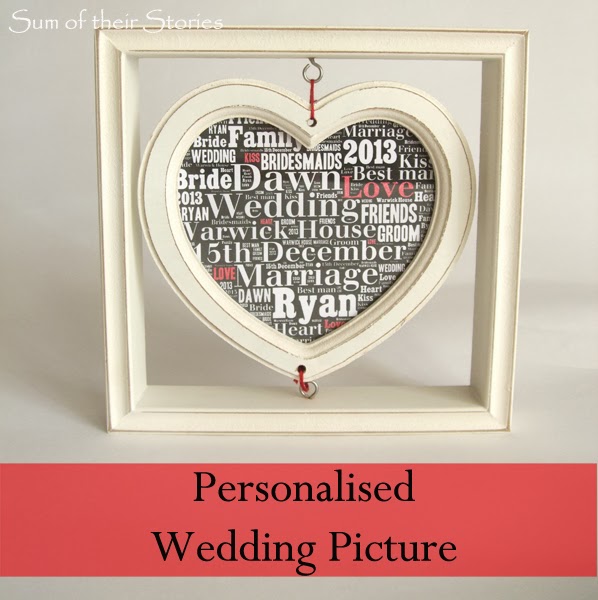
Personalised Wedding Picture
Geometric DIY art
DIY Geometric Art
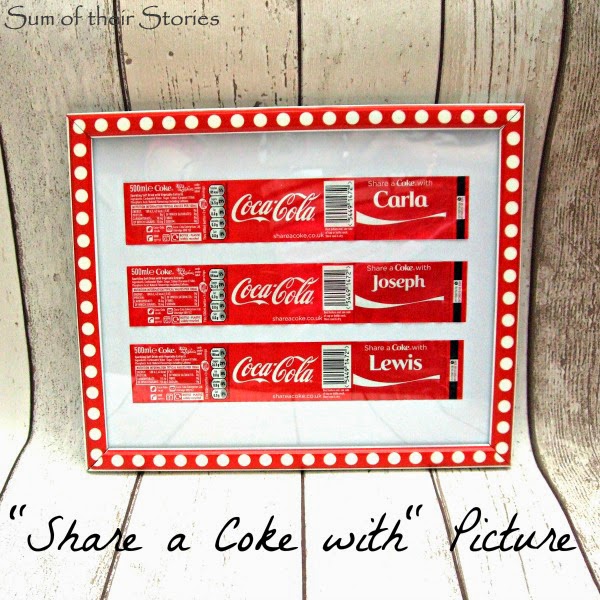
Share a Coke With Picture
Wall of Wisdom
Wall of Wisdom
I'll be linking up this project at all these lovely link parties

read more