Saturday, 31 October 2015

Mini Yarn Wall Hanging

Mini yarn wall hangings to decorate your tree this Christmas, they are easy and quick and cost next to nothing!
Mini yarn wall hanging Christmas Tree Ornaments
Yes, I know it's October and AGES till Christmas but I'm bring you an easy peasy Christmas ornament idea today as the very last day of a fabulous month long extravaganza with 31 - yes 31 amazing make it yourself Christmas ornament projects. 
I love the gorgeous yarn wall hanging I've seen over the last few years, I've admired all sorts of DIY and shop versions and toyed with the idea of making one of my own. Rather than making a full sized one for Christmas I thought maybe little mini ones would be cute for the tree.
Mini yarn wall hanging Christmas Tree Ornaments
To make one (or two - they are so quick and easy!) you will need:
Cocktail sticks
Scraps of yarn, wool, thread, ribbon, twine, string, lace, whatever you have/like
PVA glue
Beads that fit on the cocktail stick
Good sharp scissors
2 clothes pegs - optional but I found they made it easier
  • Put a clothes peg on each end of the cocktail stick. I found this just lifted it off the table, made it easier to thread the yarn through and stopped things slipping off the ends when I wasn't ready
  • Cut lots of lengths of your yarns and thread, about 8 - 10 inches or so but it doesn't matter too muchHow to make Mini yarn wall hanging Christmas Tree Ornaments
  • Fold a piece of yarn in half and poke under the cocktail stick
  • Poke the ends of the yarn through the loop you've made and pull the ends tight and towards you. DO NOT PULL TOO HARD OR YOU COULD SNAP THE COCKTAIL STICK! (yes I did that!)
  • Repeat with more lengths of yarn until it's almost full and you are happy with the look. How many you need will depend on the thickness of the yarn
  • Take a longer length of yarn and tie it on each end as shown to form a handle
  • Trim across the yarn with your sharp scissors at whatever angle you wantMini yarn wall hanging Christmas Tree Ornaments tutorial
  • Add a blob of PVA glue to the end of the cocktail stick and pop a bead on
  • Leave to dry then using scissors that are not your good dressmaking scissors trim the sharp spike of the cocktail stick off.

Mini yarn wall hanging Christmas Tree Ornaments

I tried one using thin strips of festive fabric:
Mini fabric wall hanging Christmas Tree Ornaments

I made a blue and sparkly "Frozen" inspired one:
Mini Frozen yarn wall hanging Christmas Tree Ornaments

Lastly I tried making one with just ribbons and a sophisticated colour scheme of just black, white and silver:
Mini ribbon wall hanging Christmas Tree Ornaments
I imagine this would be nice for those who have one of those super trendy black or white artificial trees. In our house we tend to go for more traditional colours, but I do like the colour themed trees when I see them.
The ribbon was a bit more springy than the yarn so I didn't try to cut a sharp wedge shape on this one.

They can be any colour scheme and basically be made using scraps of anything long and thin! I imagine lace or metallic thread would be nice or maybe pom pom trim and ric rac.
Mini yarn wall hanging style ornaments tutorial
Visit the other handmade ornament ideas from all the other super creative bloggers from the links here:


Here are all 31 Bloggers in order of their appearance over the 31 Days.

read more

Wednesday, 28 October 2015

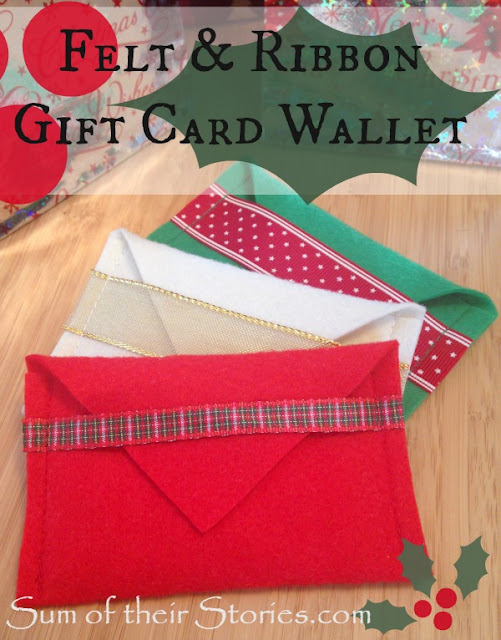
Felt Envelopes for Gift Cards

Gift cards make such an easy gift but it's nice to wrap them in a way that makes them a bit more special.
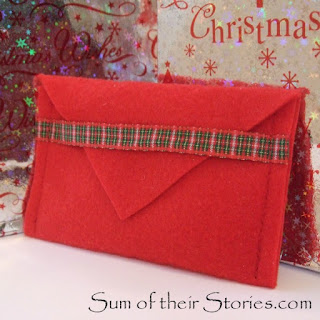
Felt envelopes fro gift card giving
Today you can find me over the The Pinning Mama, with a tutorial showing how to make these simple little felt and ribbon gift card envelopes.
The ones I'm sharing have a Christmassy feel (yes, I know it's October - I'm sorry!) but if you want to make handmade things it's nice to have a bit of time to plan. Of course these don't have to be Christmassy at all, a different felt and a different ribbon and they would be great for any gift card giving occasion!
Felt gift card wallets

You can find the full tutorial here.
You might also be interested in:
Knitted Mini Christmas Tree
Scrabble Christmas Sign
Christmas Scrabble Sign
Mini Yarn Wall Hanging
Mini Yarn Wall Hangings
Christmas Pudding Chocolate Buttons
I'll be linking up at these great link parties, pop over and have a little look round at all the lovely ideas.

read more

Thursday, 22 October 2015

Bits and Pieces Cards

Here is a really easy DIY greeting card idea that uses up some of those little bits and pieces that all crafters collect and can never quite throw away!Mixed media greeting card

To make something similar you will need:
a square 15cm card blank
Scraps of textured tissue paper
Scraps of ribbon
Other embellishments - sequins, gems, whatever you have really. 

Rip some squares/rectangles of the tissue paper and glue onto the card. I used Pritt Stick for this.
Add a little cut out paper message
Attach scraps of ribbon, I used pva glue.
Now add other embellishments, again I used pva for this.
I used sequins, gems, lace, cut out card shapes, bits of broken jewellery - all sorts.
Card made from scraps
I also added some glitter glue and puffy paint. 
The hardest thing when making these is knowing when to stop adding more bits. 
Bits and pieces card
I tend not to throw anything away so I have hardly made a dent in my stash of bits and pieces. I always go through cards we have been given on birthdays and pull of anything I think I can reuse before they go into the recycling bin. Some of the messages here were just cut off old cards.
Mixed media greeting card
Stash busting greeting card
Mixed media greeting card
This is also a great way to use those ribbons that come on new clothes, they don't tend to be great quality but they are idea for something like this.
Mixed media birthday card
I've even used some peel off stickers. I have a few sheets that have come as a free gift on magazines but hardly ever use them.


You might also be interested in:
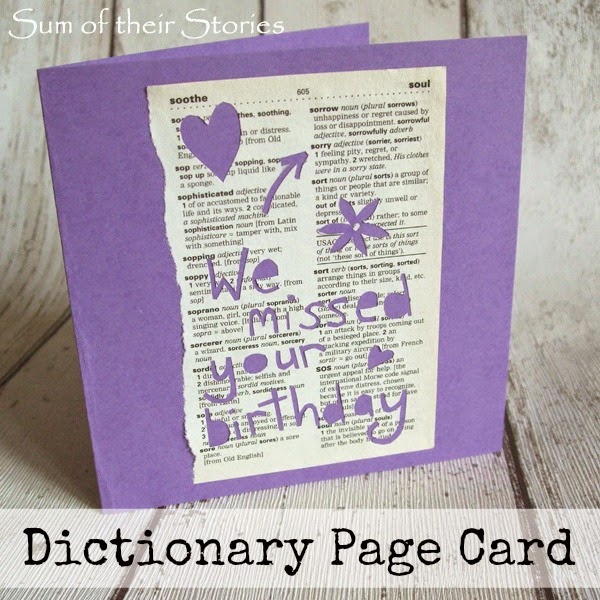
Dictionary Page Card
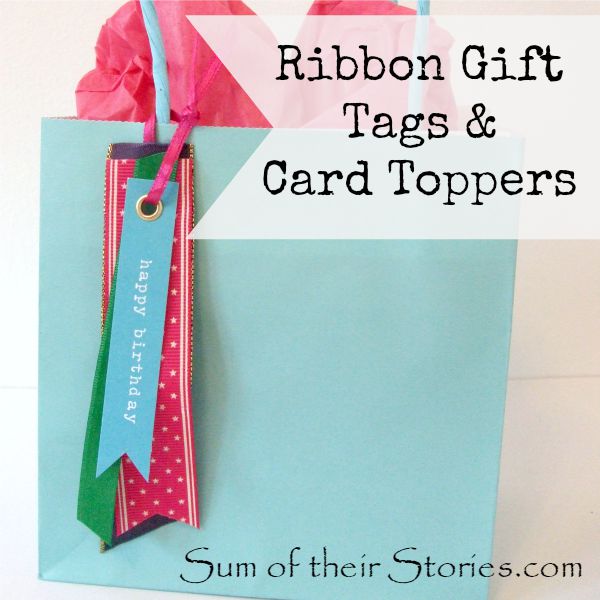
Ribbon Gift Tag and Card Topper
Simple Speech Bubble Cards
Photo Earring Gift Card
I'll be linking up this project at these lovely link parties.

read more

Monday, 12 October 2015

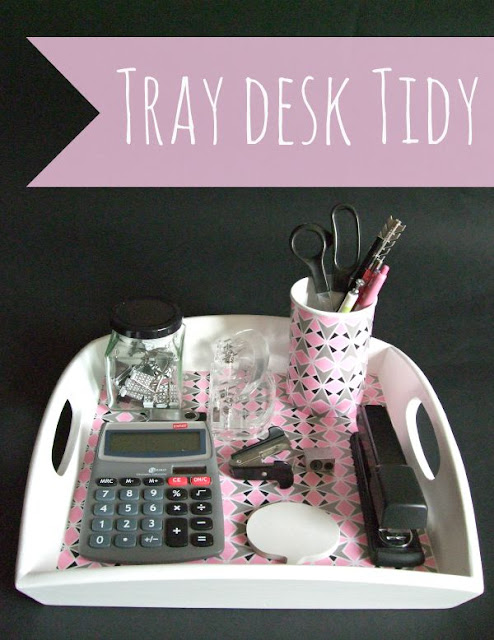
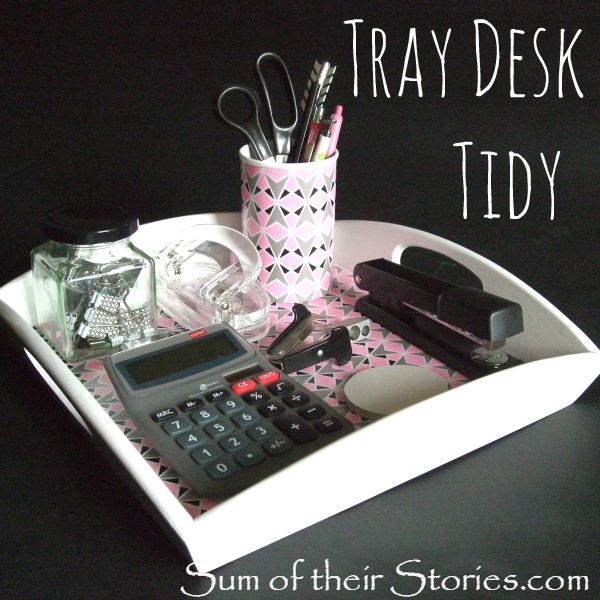
Tray Desk Tidy Tutorial

Mod Podge and paper tray
This is a project that I originally shared over at the Pinning Mama in January. It's something I use everyday so I thought it was high time I shared it here with a little "how it looks now" update.

When I'm not here, doing this blogging malarky, or doing family things, I work in an office doing spreadsheets, pulling database reports and other admin type stuff. Last Autumn I moved desks so I wanted something to both beautify my new area and help keep all my bits and pieces together. You know the idea, a place for everything and everything in it's place - well I can try...

I found this fab wooden tray in the Charity shop for £1.59 - oddly priced but I am not one to argue so I snapped it up.
I gave it two coats of white gloss paint. I think spray paint would be great for this but I was having some problems with the spray paint I had, so gloss and a paint brush did the job.
As you can see I did give the base a quick coat but then remembered I was covering that with paper so it was completely unnecessary! The gloss gave it a lovely shine look and is pretty hard wearing so all is well.

Next I measured and cut some patterned paper roughly to the size of the tray base.
This paper is the same that I used for some of the Speech Bubble Cards I made ages ago.
I'd done that thing when you buy something lovely then think it's too nice to use so it just sits in a cupboard, now I know I can't be the only one who does that!
Anyway, I digress! I just used my finger nail to push it right into the edge and crease the paper to exactly the right size.
Then I turned it over and cut along the creases.
Next I Mod Podged all over the base of the tray (no photo - I did take one but you couldn't see it on the streaky paint!) Then carefully glued the paper on, smoothing any bubbles and creases.
I let that dry, then gave it 2 coats of Mod Podge over the top.
Lastly, just to make it super hard wearing, I gave it 2 coats of clear sealer spray.
This stuff stinks to high heaven so I highly recommend doing this outside!
I made a little pen pot to match, just like I did here from an empty gravy granules tub.
DIY Desk tray
How organised is that!
So to summarise, to make something similar you need:
A wooden tray
Paint
Wrapping paper (not too filmsy)
Mod Podge
Clear Spray Sealer (optional but advised)

Now finally a little confession. Those photos are showing a few desk items, tastefully chosen to match with the paper.

I've been using this in real life for just over a year now and this is the slightly less tastefully arranged reality.
Hummm, I think I may need to make another in my elusive quest for tidiness!
The good news though is that it remains undamaged. The layers of Mod Podge and sealant are doing their job. I throw my stapler (yes - that is my name taped to the top, what a cliché!), calculator and all sorts of other bits onto it every evening as I pack up and not a scratch, rip or dent. I just need to give it a bit of a sort out.....
You might also be interested in:
Comic Book Glasses Case
IKEA Cactus Gift Wrap
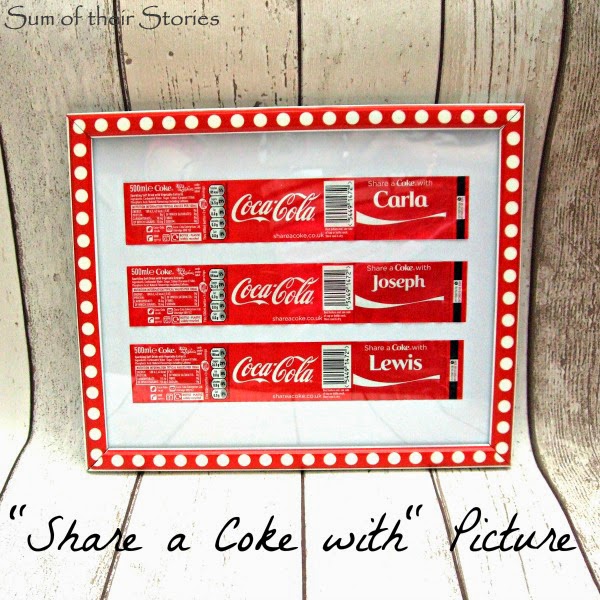
Share a Coke With Picture
Washi Tape Berry Boxes
I'll be linking up this project at all these lovely link parties

read more