This is the second of my button key rings. I made it with ThermoMorph (the stuff I used to make the little Ring Dishes)
I have these old cookie cutters that used to belong to my Nan.
They are kind of rusty so I don't use them for food any more but they come in for craft projects now and again.
For more detailed instructions on using ThermoMorph check out the ring dishes post here, where I took a few photos of the process, what I found worked, what didn't etc.
I melted about a tablespoon of the ThermoMorph and pressed it into the 5.5cm cutter. Then I pressed the 4.5cm cutter into it centrally upside down to make a dent.
Before the ThermoMorph set I used a cocktail stick to make 4 central holes and another at the top for attaching to the keyring.
Then I let it cool and set.
Like I said, if you want to see a bit more about using the ThermoMorph check out the ring dishes post here.
Next I painted it with a couple of coats of gold spray paint. At this point I nearly abandoned this idea as it suddenly looked a bit lot more lumpy that I wanted, however not one abandon anything too quickly, I put it one side for a day or two waiting for inspiration to hit me!
I was actually making this at the same time as the little ring dishes and whilst playing with that idea I covered one of the bowls in glitter. It came out really well so out came the Mod Podge and glitter again and the giant button got the sparkly treatment too.
It needed 2 coats of glue and glitter to make it really sparkly and then another coat of Mod Podge to make sure it doesn't drop glitter where ever it goes! After each layer of glue and glitter I used a cocktail stick to keep the holes in the button clear.
I like how the glitter makes the slight lumpiness ok - does that make sense?
To finish I added a keyring through the hole at the top.
I was thinking of trying to make this kind of keyring out of clay or a fimo type product originally. This ThermoMorph stuff is really lightweight though so the keyring is not heavy at all. It's also pretty tough, you could drop this without fear of it cracking or breaking.
If you fancy having a play with ThermoMorph you can get it from Amazon. It costs £19.95 ($19.97) for a 500g tub.
It seems quite expensive for a tub but I've made loads of stuff with it and barely made a dent.
If you had a cute button mould I think this would work even better. The lovely people at Button and Paint made some and they came out pretty cute. Claire from Claire's Crafty Creations also used Thermomorph in moulds and her lovely results can be found here.
You might also be interested in:
 |
| Cardboard Tube Pillow Pouch |
|
 |
| Patchwork Gift Box |
|
 |
| Button Cluster Key Ring |
|
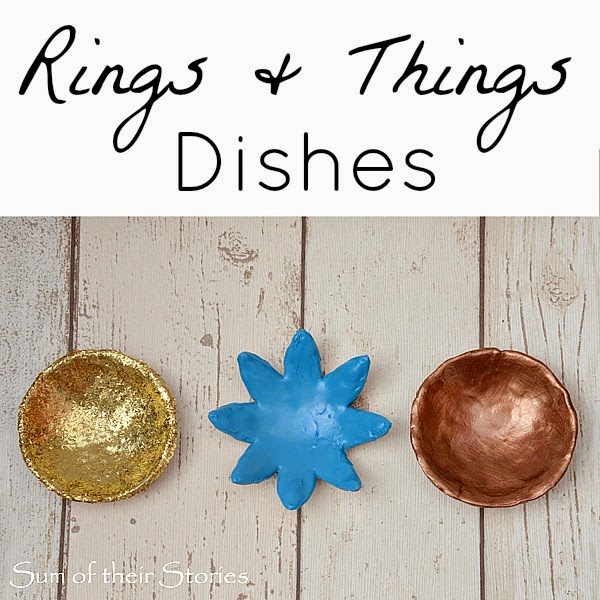 |
| Rings and Things Dishes |
|


Hi Julie, wow your keyring is amazing, I love it! I would never have thought of using circle cutters like that but its a genius idea. I'll definitely be having a go at making one. Thanks for the link too
ReplyDeleteClaire xx
Hi Claire, so please you were able to stop by. Happy that you are happy with the link, I assume you still have loads of your Thermomorph left for more experimentation, the tub is pretty big isn't it?!
DeleteThis looks so effective Julie. I'm glad you persevered through the thinking it was too lumpy stage, the glitter really adds to it!
ReplyDeleteThanks Clare, I often have to put things to one side and "let it marinate" before having another bash at them later!
DeleteWow, this is the first time I have heard of Thermomorph! It looks great especially with the addition of glitter. I'm really hesitant about glitter as my son threw it everywhere and it was such a massive clean up for me!
ReplyDeleteOh the joy of glitter! How does it always seem to go everywhere? I always end up with some on my face somehow, sometimes even days later!
DeleteI've never used thermomorph, but it looks like it has a few possibilities for sculpting.
ReplyDeleteIt's fun stuff to play with, I'm sure it can do a lot more than I have tried with it so far.
DeleteI am a total sucker for both glitter and buttons, so this is just perfect!
ReplyDeleteStella Lee
It looks great, and its funny how sometimes it takes a few days of looking at an item for the best way to continue/finish it off pops into your head. I think the glitter is a fabulous addition to the button.
ReplyDeleteThanks Lucy, it was definitely an improvement!
DeleteI love thermomorph, it is so versatile. I have bought some little button moulds off Amazon so I can make card embellishments. Your key ring is super cute
ReplyDeleteI've not tried that but have seen some lovely results on other blogs. It is so lightweight I can imagine it being great for cards.
DeleteThis looks like such a fun project. I have a set of those cutters from my great aunt Johanna and I cherish them. Your finished key ring came out great!
ReplyDeleteIt's lovely to have a special item from a special person isn't it? I feel my Nan would approve of me finding something to use the cutters for, she never knowingly wasted anything.
DeleteThis is so adorable! Gold and glitter always get my attention :) I found you at the Wednesday Round-up!
ReplyDeleteA little bit of bling can be nice can't it?!
DeleteWhat a creative idea! Thanks for sharing with Hump Day Happenings. I hope you will join us next week!
ReplyDeleteThanks for sharing your post at the Say G'Day Saturday Linky Party. I've just tweeted about it!
ReplyDeleteBest wishes and hope to see you again this weekend.
Natasha in Oz
Such a great idea. Love the results!
ReplyDeleteSo cute! Love the sparkly touch. Thanks for sharing at On Display Thursday, come again!
ReplyDelete-Leia @ Eat It & Say Yum