Showing posts with label recycling/repurposing. Show all posts
Showing posts with label recycling/repurposing. Show all posts
Wednesday, 15 November 2017

Wednesday, 11 October 2017
To make you own DIY Abstract Art you will need:
The first thing you want to do is get rid of any colour you don't want.
I wanted our new art to be shades of white & grey with a touch of blue and pink. So I painted the whole canvas with 2 coats of regular household emulsion paint (I believe you call it Latex in the US)
Now you are going to create your masterpiece.
It's all about splodging on layers of paint until you are happy. How you do this will depend on the look you want and the paint you have.
I had a very small bit of spray paint left over from something else in the perfect shade of blue so that's where I started.
It may be hard for you to believe but this is not the final look I was going for!!! My husband pulled a doubtful face at this point, I don't blame him!
You can see I also had a teeny tiny bit of silver spray paint hanging around so I squirted that on too. If I had had more silver I think I would have done much more of that and much less of the blue. But this is ok, because we are working in layers these early stages don't really matter too much. Just keep going!
Next I mixed my grey acrylic paint with the emulsion (latex) and just painting in on randomly. I gave the middle a bit of interest with a band just the grey on it's own and a bit of a line up the right side. I just left a few bits of blue showing properly, but there are a few areas where the white/grey mix is pretty thin and the blue shows through lightly.
Once you have the bare bones like this I'd recommend letting it marinate. You want to leave it to dry anyway, but give yourself a day or so to look at it again with fresh eyes.
I decided this needed to be lighter all over and it needed some proper points of interest.
I added a few areas of pink, a few grey and white lines with the finer brush. It was all very add hock, just a few bits here and there. Stand back every now and again, make a cuppa then return to your art and see what you think it needs more of.
Just keep going with random blocks, lines or even dots and whirls if you like. Stop when you think it's enough.
To finish I used the larger of my brushes, with just the smallest amount of white paint to go over most areas. This softened the whole thing and lightening up some of the areas that felt too dark.
You can see here how the almost dry brush softens the pink area.This is probably the busiest part of the artwork. Those lines through the white blob were done with the thinner brush and grey paint whilst the white shape underneath was still wet, to give a variable effect.
You can see the almost dry brush effect in this close up too.
And here it is in all it's glory in situ.
I'm sure the light balance is all off in this photo, the sun was streaming in the window - hooray! But it gives you an idea. One day I'm going to paint those wooden chairs white.
... and those are my Autumn Apothecary jars on the table
I really enjoyed making my unique piece of abstract art and as a complete bonus, I hardly spent a thing.
The main rule seems to be there are no rules, it's art so you can do what you like.
If you paint a bit and the next day decide you don't like it you can just paint over it. Have fun, I can honestly say it was much easier than I thought it would be to create something that's not embarrassing to hang on the wall. Do you fancy having a go?
Wednesday, 4 October 2017
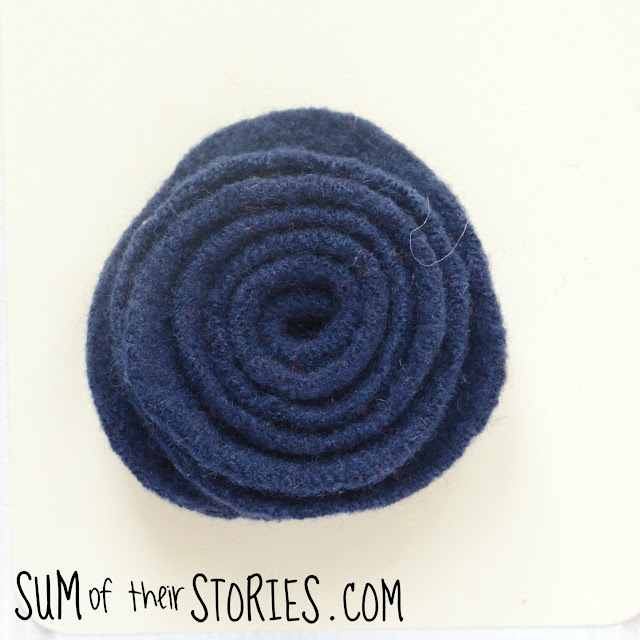
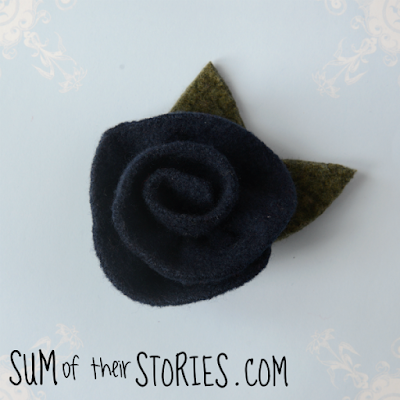
The Rolled Rose
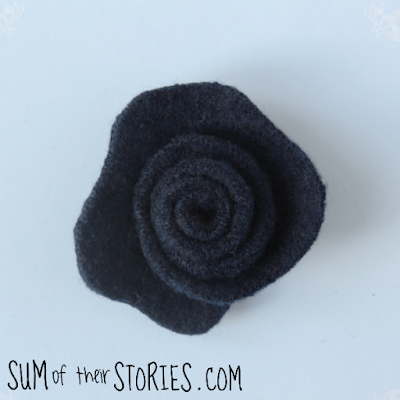
Rolled Rose take 2
This rolled rose is the same as the one above except this time it was a little bit smaller and the spiral cut was wiggly.
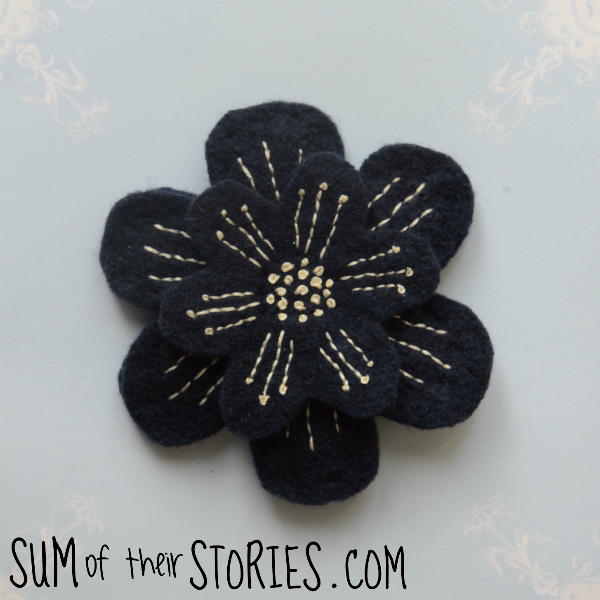
Simple Embroidery
Take a piece of scrap paper and fold it in half.
Fold in in thirds, then mark just over 4.5cm from the point and 2.5 cm on each side.
Draw a curve joining all the points and cut out.
When you open it out you should have a flower shape with 6 petals.
For the smaller flower just make your marks 3.75cm and 2cm from the point respectively.
Cut out 2 large and 1 small flower.
To finish it off I used the 2nd of the larger flowers and stitched the 2 together using a navy blue sewing thread and an oversew stitch to cover the back neatly and added a brooch pin.
Gathered Rolled Flower
Button Centre Flower
I added a button to cover the small hole left in the centre.
These are the 5 methods of making felt flowers that I've tested so far but there are loads more. I've got a Pinterest Board dedicated to all kind of flower making which you can check out. Plus I've found some more lovely ideas from other websites:
These roses from Pillar Box Blue are also made from old felted knitwear. There are great step by step instructions to show you how to make these.
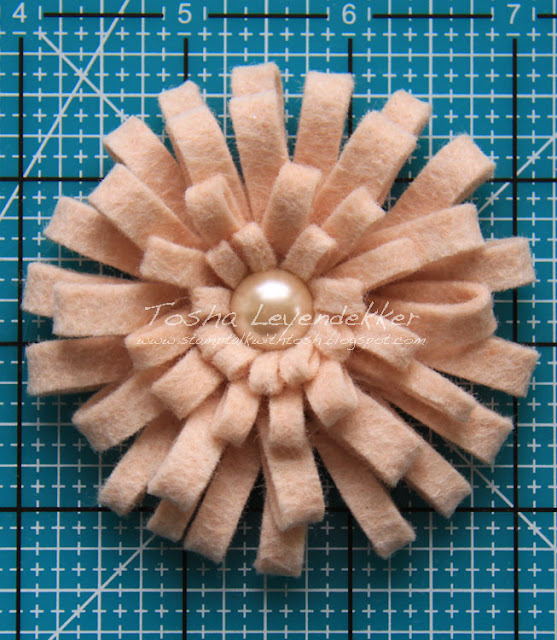
These loopy flowers from Stamp Talk with Tosh are so much fun, they look really easy to make too.
What about these lovelies from Craft your Happiness? You can make them in just 5 minutes, I love a quick craft don't you?
Just look at these embellished beauties from Sewn Up, so pretty.
Last but by no means least what about this stunning faux succulents vertical hanging wall garden from Julie Measures. Julie has mixed felt and pinecones, what a brilliant and completely mess free idea.
So much choice!
Do you have a favourite?
Subscribe to:
Posts (Atom)
Labels
Air Hardening Clay
Blogging
Christmas
Clever ideas
Craft show
Crochet
Doctor Who
Easter
Felt
Geekery
Gift Wrap
Gifts
Hand Lettering
Handmade Monday
Home Decorating
Kids activities
Knitting
My Favourite Finds
Needle case
Party ideas
Pattern review
Pinterest Challenge
Sewing my Stash
Silent Sunday
Valentine
Wedding
accessories
art
bags
buttons
cakes
cooking
cushions and pillows
doodle
embroidery
gardening
gift ideas
greeting cards
jewellery
organising ideas
papercraft
papercutting
pretty ideas
recipes
recycling/repurposing
refashion
sewing
their stories
thrifty tips
tutorials
what can go wrong


