Showing posts with label accessories. Show all posts

Wednesday, 4 October 2017

10 ways to make Felt flowers

Simple and beautiful flowers made from felt.
10 easy ways to make flowers from felt
It's really easy to make brooches and corsages from old felted jumpers and cardigans, but with so many different ways to make them it can be confusing. So I've been testing out various methods to see which I like best.
This is what I started with, the scissors give some sense of scale, this cardigan had shrunk down pretty small!
felted cardigan repurposed into felt flowers
I cut the cardigan along the seams so I could see what useable pieces I had.
Then, with the help of my pinterest board, I just started making flowers

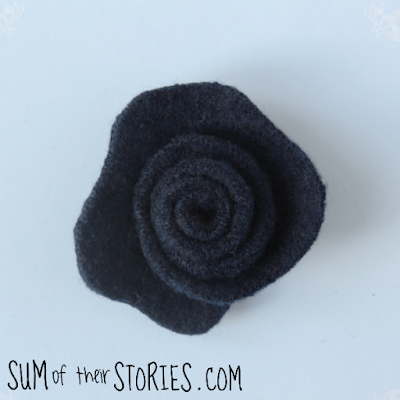
The Rolled Rose
10 easy ways to make flowers from felt

This one is fun and fairly difficult to get wrong. 
Draw around something round, a side plate or lid of something is ideal.  
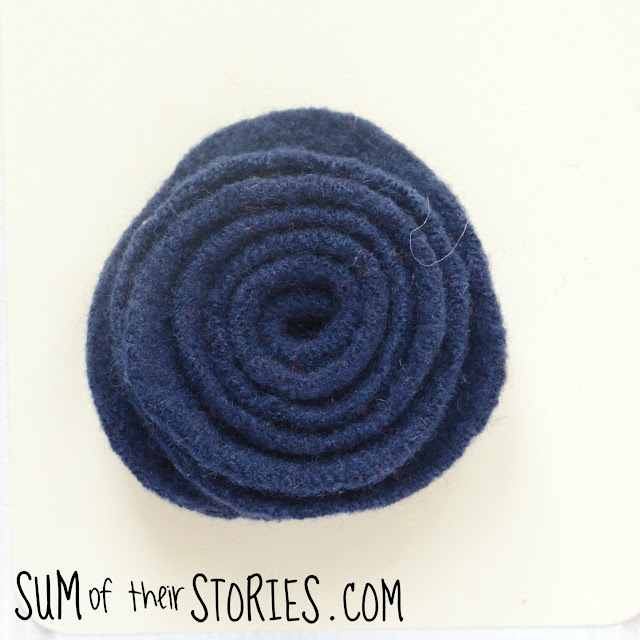
Cut out the circle and the cut a spiral, leaving a bit of a round in the middle. I forgot to photograph this stage so you have to manage with a picture instead!
 
Now roll the spiral up starting from the thinnest point, the outside of the circle. You can glue every few cms with a hot glue gun or stitch the layers together with thread the same colour.
When you get to the end, the round in the middle forms a nice tidy base. Glue or stitch round it.
Then you can add a brooch fastening or glue or stitch it to something else.

Rolled Rose take 2
10 easy ways to make flowers from felt
This rolled rose is the same as the one above except this time it was a little bit smaller and the spiral cut was wiggly.

Simple Embroidery

10 easy ways to make flowers from felt
This time I made 2 flower patterns. The larger is 9.5cm in diameter and the smaller one 6.5cm. 
Take a piece of scrap paper and fold it in half.
Fold in in thirds, then mark just over 4.5cm from the point and 2.5 cm on each side. 
Draw a curve joining all the points and cut out.
When you open it out you should have a flower shape with 6 petals. 
For the smaller flower just make your marks 3.75cm and 2cm from the point respectively.

Cut out 2 large and 1 small flower.
Embroider using 2 strands of embroidery thread as takes you fancy on the petals then use french knots through both layers to join them together. Just don't waste too much time on embroidery that won't be seen on the larger flower underneath.
To finish it off I used the 2nd of the larger flowers and stitched the 2 together using a navy blue sewing thread and an oversew stitch to cover the back neatly and added a brooch pin. 

Gathered Rolled Flower

10 easy ways to make flowers from felt
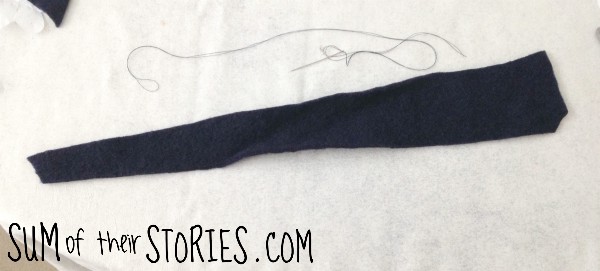
I tried this out to use a long scrap of felted cardigan (the sleeve) than wasn't big enough to make a rolled rose.
I simple cut a length about 5cm at it's widest point by 45cm and made it taper off at one end. Using sewing thread doubled up for strength I stitched a line of running stitch all along one side and pulled it up to gather the strip of felt.
I rolled it up and stitched it together to secure.
I added a leaf shape of green felted jumper to the back of this one to tidy it up, then stitched on a brooch pin. 

Button Centre Flower

This flower is made from separate petals so is great for using even the tiniest scraps. 
10 easy ways to make flowers from felt
Make yourself a petal template, this photo gives you an idea of the shape you are aiming for. 
Cut 6 petals from felt, then pinch each petal in half at the flat end and stitch or glue them together. Then you just attach all the petals to one another in a circle. I didn't seem to take any 'as I go along' photos here but it's pretty self explanatory.
I added a button to cover the small hole left in the centre.
I tidied up the back with a circle of felt and added a broach fastening. 

These are the 5 methods of making felt flowers that I've tested so far but there are loads more. I've got a Pinterest Board dedicated to all kind of flower making which you can check out. Plus I've found some more lovely ideas from other websites:

These roses from Pillar Box Blue are also made from old felted knitwear. There are great step by step instructions to show you how to make these.


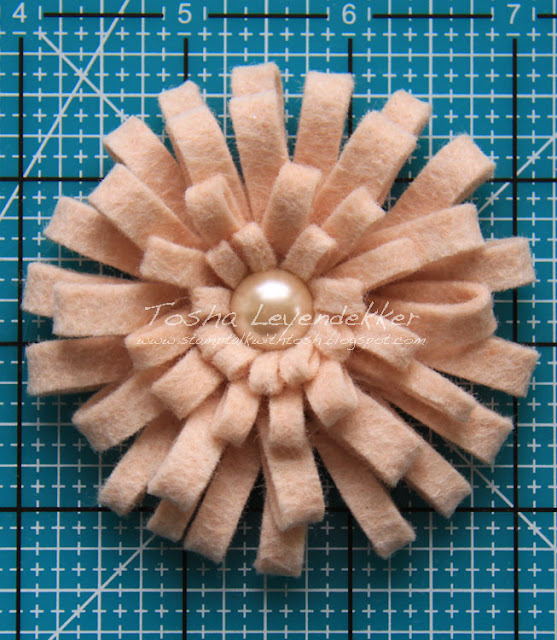
These loopy flowers from Stamp Talk with Tosh are so much fun, they look really easy to make too.
What about these lovelies from Craft your Happiness? You can make them in just 5 minutes, I love a quick craft don't you? 

Just look at these embellished beauties from Sewn Up, so pretty.

Last but by no means least what about this stunning faux succulents vertical hanging wall garden from Julie Measures. Julie has mixed felt and pinecones, what a brilliant and completely mess free idea. 

So much choice! 
10 easy ways to make flowers from felt
Do you have a favourite?


read more

Wednesday, 19 April 2017

Cork & Fabric Keyring

A simple little keyring made with scraps of cork and fabric.
Cork and fabric Keyring
Yesterday I shared this cork passport holder I was able to make using the contents of the Craftiosity Craft Kit box I was sent. 
Cork and fabric Keyring and passport holder
As I mentioned, and you can see in the photo, I had a little bit of the cork fabric left, enough to make a little key ring.
Cork and fabric Keyring
To make your own cork key ring you will need:
A scrap of cork fabric 16cm(6") x 2.5cm(1")
A piece of fabric 28cm(11") x 5.5cm(2.25")
A D ring and clip - mine was in my stash saved from an old lanyard

Press a hem on each long side of the fabric and press with an iron. You want the fabric strip to measure 2.5cm - the same as the cork. As you can see in the photo I did one narrow hem and one wider one. I'm not sure why. You could make them even if you like! Press a small hem on one short end too.
Cork and fabric Keyring
Place the cork strip onto the end of fabric strip, wrong sides together, holding with clips. Top stitch down one side, along the short end hem and back up with other side. Cork and fabric Keyring
Bring the fabric end up to just overlap the end of the cork and clip to hold in place.
Cork and fabric Keyring
Fold the cork end over so the cork is facing out forming a loop and the 2 cork ends are level. Slip the D ring onto the fabric end then loop the fabric back to cover the uncovered end of the cork. Wow this is difficult to put into words! Just look at the photos, I think that is much easier to work out!
Cork and fabric Keyring
Now stitch a square to hold all this in place. This is asking a lot of your sewing machine so go slow and use the handle to turn the needle really slowly if you need to. You are aiming for something like this.
Cork and fabric Keyring
Trim off any loose threads and you are done.
Cork and fabric Keyring
I love finding ways to use up little leftover scraps.

read more

Monday, 28 December 2015

Popular Posts of 2015

Well here we are again, the end of ANOTHER year - wow! Last year I really enjoyed looking back at what had been my most popular posts of the year so though it would be fun to do again.

1) I was quite surprised at this but the most popular post this year was the Adipose Cushion I made for my nephew's birthday. It's such a niche Doctor Who thing, I guess there are a lot of Who fans out there (of course there are - best TV show ever! Except maybe Downton Abbey, it's a tie)
adipose cushion tutorial

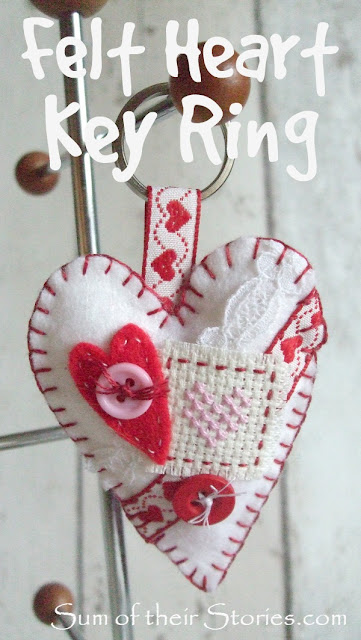
2) I made these little felt heart brooches and key rings back in February. They are easy to make and great for using up little bits and pieces of lace, ribbon and other trimmings that are too good to throw away.
http://www.sumoftheirstories.com/2015/01/felt-heart-brooch.html

3) This geometric gold DIY art was next popular. I had a few issues with this project and made it much harder for myself than I needed to. However I am happy with the end result and I wake up every morning and look at it (it hangs on the wall directly opposite the bed!)
DIY art gold geometric

4) I really enjoyed making this cluster drop necklace. The funny thing was it turned out quite differently from the idea in my head originally - better thankfully! (and it's red, I love red)
http://www.sumoftheirstories.com/2015/07/cluster-drop-necklace.html

5) I made this little crocheted house and turned it into a card for a friend who loves all things craft related. Links to the free pattern are in the post.
granny square house


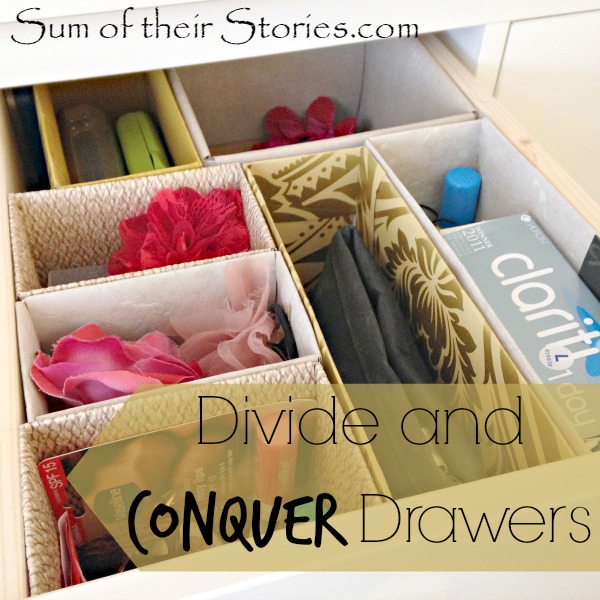
6) Next was an idea I had seen on pinterest, I think everyone has seen this, dividing up your drawers to organise your stuff better. Cereal boxes and sample bits of wall paper was all it took. I don't think I could manage without them now, this was definitely one of the most practical things I did this year.
drawer organisation


7) Succulents are still really popular house plants and I have a few that are REALLY easy to take cutting from, that's making plants for free - who doesn't like free stuff?
succulent plants taking cuttings


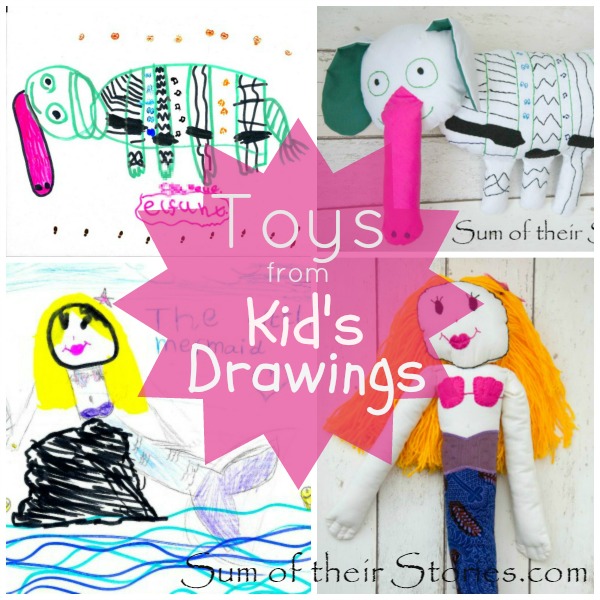
8) Making toys from kids drawings, sounds simple enough right? NO, it's really not! However it was fun and the toys are much loved so worth the effort. Impossible to give a tutorial for as every one would be unique so here I just shared a few tips that I picked up along the way.
how to make toys from children's drawings


9) I keep my make up brushes and mascara in this little gold heart pot, it started it's life full of a popular brand of chocolate spread. 
gold heart pot


10) Lastly my absolute favourite project of the whole year, our Wall of Wisdom. Hard to photograph to show it off well, this is a collection of quotes and sayings in our little downstairs toilet. Everyone who visits and uses the facilities comments on how much fun it is. We have quotes from everyone from Shakespeare to Dumbledore. Wise words from Star Wars, Doctor Who and Winnie the Pooh along side traditional expressions and saying.
displaying quotes as art

Happy New Year
Wishing you every good thing for 2016

read more

Friday, 26 June 2015

Scrapbusting Fabric Twine Bracelet

For the Pinterest Challenge this month I've made a bracelet from fabric scraps.
bracelet made from fabric scraps

Some of the products I used to make this bracelet were provided by Pandahall.

Quite some time ago I pinned this idea to make twine by twisting fabric scraps from My Poppet Makes.

Cintia from My Poppet Makes also has some fun ideas of what to do with your twine once you've made it, she's made a mat for the floor but also suggests wrapping presents, making coasters, tablemats and more.
I made a bag full - just because - and then put it to one side, moved house and forgot all about it (like you do...) Then a few weeks ago when I made this ribbon and bead bracelet ...
Ribbon bracelet tutorial
... using ribbon end jewellery findings, I thought of my bag of fabric scrap twine and dug it out.
So if you would like to have a go at making your own fabric twine bracelet you will need:
  • scraps of fabric - longish strips are best
  • a Selection of Jewellery Finding:
  • 2 Ribbon Ends (mine are these silver colour 6mm ones from Pandahall)
  • 2 small round jump rings (mine are these 4mm from Pandahall)
  • 1 larger jump ring (mine is a 7mm oval, from my stash)
  • 1 lobster clasp (mine is this one from Pandahall)
  • strong glue (I used Superglue)
  • jewellery making or small pliers
and
  • to go to My Poppet to find out how to make your twine
Once you have a length of twine, make the bracelet in exactly the same way as the Ribbon and Bead bracelet - the tutorial is here. I used 2 strands of my twine but you could include more if your twine comes out thinner or if your ribbon ends are bigger. You just don't need to add any beads, and I found I didn't need to use the tape to hold everything together either.

I find bracelets very hard to photograph, here is an awkward selfie just so you can see how it looks on (I took loads of these and this is the best - not my greatest photographic achievement!)

When I wear this bracelet I've found I like it best if I twist it before doing up the fastening, the two strands slightly twist together naturally and it lies nice and flat on my wrist. 

My favourite thing about this project is how each and every bracelet made this way will be unique, it all depends of the combination fabric used.
I also love that it uses up scraps, so good for those last precious fragments of a favourite print AND if it gets a bit grubby you can just gently handwash it and it will be good as new.
It would be lovely to make a bracelet to match a dress, skirt or shorts that you've made with the little leftover fabric scraps.

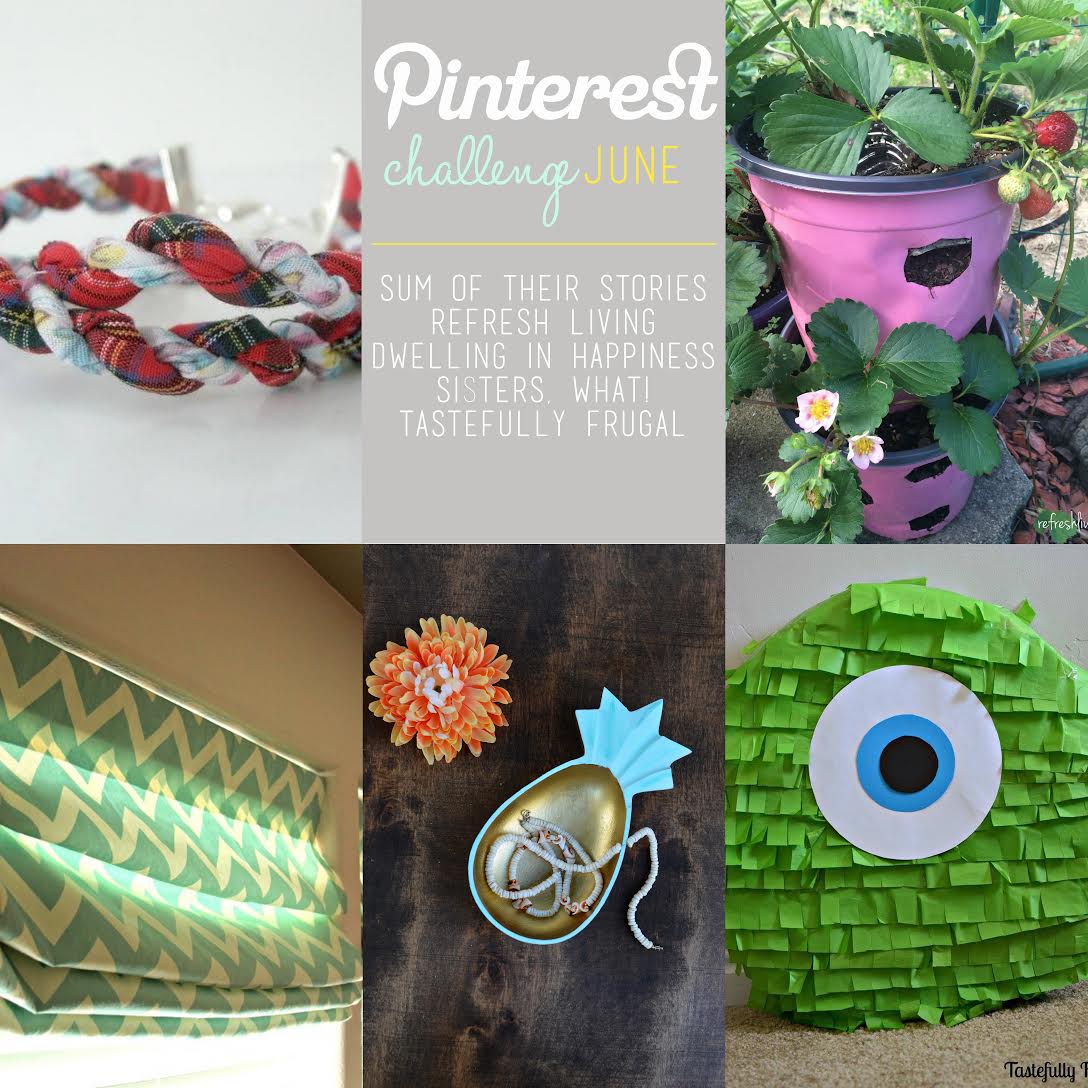
Here are the other great Pinterest Inspired projects in this month's Pinterest Challenge.
Scrapbusting Fabric Twine Bracelets || Sum of Their Stories 
DIY Strawberry Planter ||Refresh Living
DIY No Sew Faux Roman Shades || Dwelling in Happiness 
Wood Pineapple Bowl Revived || Sisters, What!
Mike Wazowski Pinata || Tastefully Frugal


You might also be interested in:
3 Pink Bracelets
3 Pink Bracelets
Earrings Organised Update
Earrings organised Update
Old Bracelet to New Statement Necklace
Old bracelet to new statement necklace
Crocheted owl Brooch
Crocheted Owl Brooch
I'll be linking up at these great link parties,

read more