

This post contains affiliate links
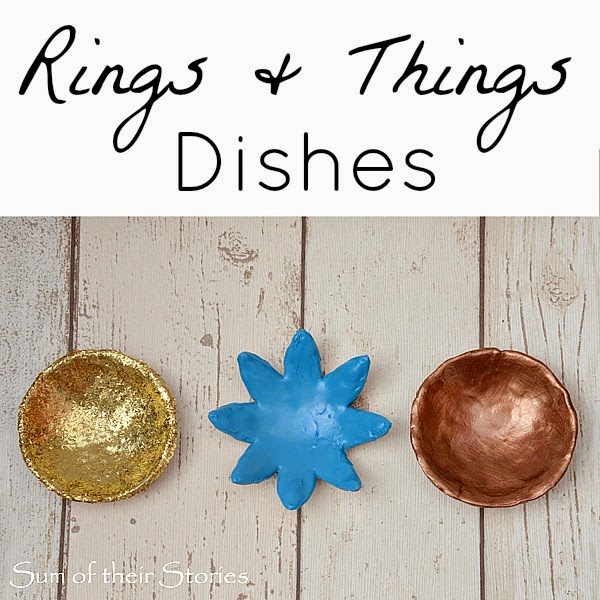
If you like are like me and like to take your rings off when washing up, washing your delicates by hand or just at night when you go to bed, then you need a safe place to keep them. I've been using a little ring dish for the last few years but when I received some air hardening clay from Cass Art for their #BeInspired campaign, I thought I'd try making something new.I'd seen some ring cones in the shops a while ago and though this simple shape might be easy enough to make from clay for a beginner like me. It was! You can find details of the materials I was given by Cass Art here in my post about the Marbled Jewellery I made first.
To make a clay cone shaped ring keeper you will need:Clay - mine is DAS air hardening clayMarbling Mix - again mine is from DASA piece of scrap card to form a cone mouldA sharp knifeVarnish - mine is Vernidas from DASGlitter
- Roll the scrap card into a cone and secure with tape. Ideally use card that is glossy and roll so the glossy side is inside.
- Marble a lump of clay using the marbling mix.
- Push the clay into the cone, really squishing it in there to get as many air pockets out as possible.

- Cut the tape and unwind the card from the clay.

- Wet your fingers with a little water and smooth the cone, you can roll it gently as well to remove any creases and improve the shape.
- Cut off the excess with a sharp knife making the bottom level.

- Roll and smooth it again just to make sure you are happy with the shape.
- Leave to dry and harden - this took about 2 days.
- Varnish and leave to dry.
- Apply another coat of varnish this time concentrating round the bottom of the cone, just dabbing a little varnish here and there as you go towards the point.

- Holding the cone over a plastic container sprinkle with glitter.
- Leave to dry again, I found it easiest to pop it in a cotton reel.

- Once dry, brush off any loose glitter and cover the whole cone with one last coat of varnish to seal and stop the glitter leaving a trail wherever it goes.

Of course the glitter element is entirely optional. I just fancied a little sparkle. You could mask off part of the cone and spray paint a section, or real gold leaf just dabbed here and there would look fabulous. Or you could just leave the marbled effect of the clay, which is really pretty by itself.

I've been using this for a few weeks now and I have to say it's actually easier that a little ring dish, you can pick your rings up in a stack and just pop them on the right fingers so quickly - I think I must be saving at least 2-3 seconds every day. At this rate I'll have an extra 15 minutes or so every year, what on earth will I do with all that extra time!


You might also be interested in:
|
|
|
|


That is gorgeous!
ReplyDeleteThanks Nancy, I'm glad you like it.
DeleteSo pretty! What a great idea. I love the final addition of glitter at the bottom.
ReplyDeleteThank you Caroline, it was pretty with just the marbled clay but I do love to glitter things when I can!
DeleteThat's brilliant - thank you. I think I'll have to have a go. x
ReplyDeleteGlad you like it Mrs Tiggywinkle, thanks for stopping by.
DeleteI agree such a good idea and in some ways simple. The glitter adds to it and they would make great gifts
ReplyDeleteI was thinking about giving them as gifts too, I think they might need a little card explaining what they are though. I can imagine my friends saying "oh, nice cone..... is it a Christmas tree? !"
DeleteWhat a pretty little thing that makes life just that much better!
ReplyDeleteExactly Jenny, sometimes it's just nice to have a pretty thing that makes life a little bit better.
DeleteThat is a really cute project Julie. The glitter adds so much to the overall blingy effect!
ReplyDeleteThats Mary, I am partial to a little bit of bling now and again!
DeleteWhat a fun and easy project! Would love to have you share it at the Pleasures of the NW's DIY party!
ReplyDeletehttp://www.pleasuresofthenw.com/do-it-yourself-crafty-linkup-40/
This is a great idea, it looks lovely :)
ReplyDeleteThanks for sharing at Creative Mondays
Neat idea. Thanks for sharing with us at #CCBG
ReplyDeleteEvery two to three seconds is precious:)!!!! Looks great.
ReplyDeleteHa ha, Ain't that the truth Vicky!
DeleteSuch a lovely DIY Thanks for sharing at the Inspiration Spotlight party @DearCreatives
ReplyDeleteThis is really cute! I would never know you made that out of clay!
ReplyDeleteThis is a really cute project. Adding the gold glitter to the bottom adds just enough bling to make it match the rings. Beautiful sapphire btw.
ReplyDeleteEnjoy your week. Leanna
This is such a clever Craft idea Julie - I need one of these I am forever misplacing my rings. Thank you for sharing with I am Pinnable
ReplyDelete