Sunday, 7 February 2016

A little tribute to Jenny part 3

February 7th was my Mum's birthday and so each year I share a photo of something she made as a little tribute to her and her crafting skills.
This year's treat for your eyes is another awesome photo of me when I was younger. For some reason I appear to be strangling the cat but as this cat lived a long and healthy life I'm sure that's not what is happening here! 
The cardigan I'm wearing was knitted for me by my Mum, I remember it well. It was a long length, with a bit of a collar which you can just about make out in the photo. I'm guessing this photo is early 80's probably 1982/3, those glasses give me a bit of a "Harry Potter" look don't they!
The cute thing is that I think Mum had one of these cardigans too, I'm sure we had matching ones even though I've not been able to find any photos of us wearing them together.
So today I'm remembered my Mum and her brilliant knitting skills.

You can read more of the tributes to the women who encouraged all my crafty antics as I grew up here

read more

Friday, 5 February 2016

Red and White Heart Decoration

A Christmas decoration with a bit missing turned out to be just right for a decoration we can hang all year round.
Red and White Heart Decoration
After Christmas the house can seem a) super tidy or b) a bit bare.
We have a door going from the kitchen to the rest of the house, it's always open and apart from a rather lovely chicken door stop it's a bit plain. I was thinking in January that a wreath of some sort might look nice, maybe something with red flowers (we have red accessories in the kitchen) so I was checking out the sales of Christmas decorations in the shops to see if I could find anything suitable.
We have a shop in the UK called The Range, they basically sell everything apart from food and clothes. By the time I got there their Christmas decoration sale was pretty dire but I did find this:
old Christmas decoration re purpose
It was originally £3.99 and obviously had something hanging in the middle though I have no idea what. I assume something Christmassy otherwise it's not really very festive. I asked if it would be reduced further as it was not all there and got 80% off - I got it for 80p, bargain!
I removed the little metal thing from the centre (I looked them up and it's called a "screw eye" but that seems a bit wrong somehow) and the rope that reminded me of a hangman's noose.
Then I set about decorating it somehow.
I tried to cut a red check scrapbook paper to fit the middle section, I thought I would just glue it on. After 2 attempts (thankfully with scrap paper - no scrapbook paper was harmed in my experiments!) I had to abandon that idea. It was just too hard to get a good fit all the way round.
I thought maybe a really simple design drawn on would work better and that's when I thought of my nail varnish pens. 
I doodled a few ideas then just drew an easy line, leaves and dots design on with the nail varnish pen.
drawing with a nail pen
Turns out it's hard to hold a nail varnish pen and take a photo at the same time - sorry!
I imagine you could get a similar effect with a fine permanent marker pen or paint and a fine brush, I was just using what I had.
red and white hanging heart
A length of red ribbon to hang it and it's done. 
I had already popped a drawing pin on the top surface of the door for a Christmas decoration so I was able to just reuse that, it can't be seen at all and I'm not peppering the door with holes.
Christmas decoration re purposed for all year round
It's got a bit of a Scandinavian feel to it I think, definitely not Christmassy anyway.
If you decorate your house for Valentines day then on sale Christmas decorations might be a great source of materials. In our house we don't really do anything more than a card and chocolates/flowers for Valentines day so I'm planning for this to stay up all year round in a "pretty decoration on the door" kind of way. 
You might also be interested in:
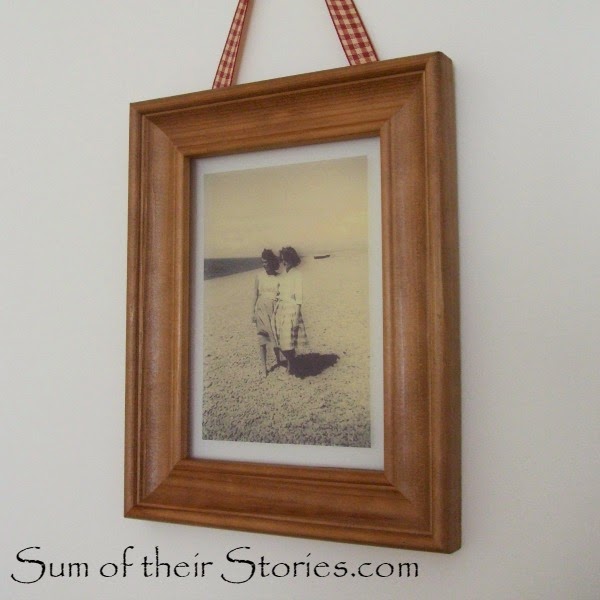
Floating Photo Frame
Floating photo frame
IKEA Cactus Gift Wrap
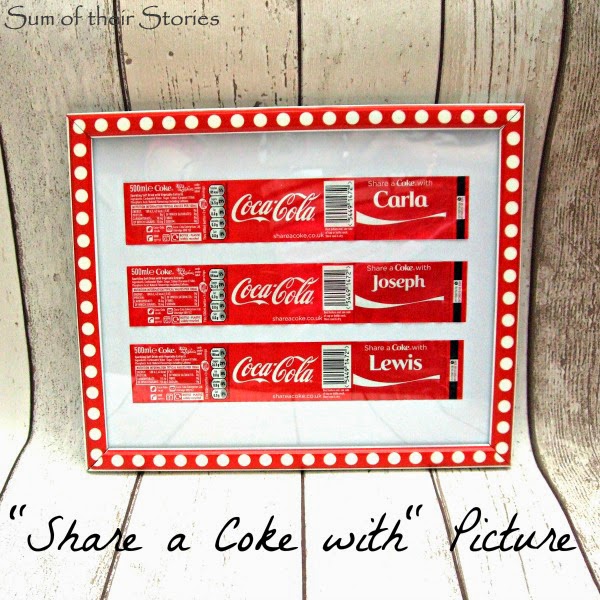
Share a Coke With Picture
Gold Heart Pot
Gold Heart Pot
I'll be sharing this project at these link parties

read more

Friday, 29 January 2016

Pancake Day recipe and tips

Shrove Tuesday, or Pancake Day is on the 9th February in 2016. 

Pancake day traditional recipe and tips
I gather this is a UK, Ireland, Canada and Australia thing - do you have Pancake day where you are?

The pancakes that we have here in the UK on Pancake day are similar to French crepes, just not quite so thin and delicate and they are traditionally served with lemon juice and sugar. They are SO simple to make, SO cheap and SO delicious I invite you to give them a go - wherever you are in the world.

Just in case this whole Pancake day thing is new to you, here's the basic recipe I've always used. We usually make double mix or more.

Pancake Batter - makes 12
8oz (225g, 1 3/4 cups) Plain Flour
2 x Eggs
1 pt Milk (any kind is fine)

You will also need:
Cooking oil - I use sunflower, I guess a spray would be fine
A frying pan or 2 (see tips below)
Toppings - lemon juice, sugar, honey, syrup, jam, fresh or dried fruit, chocolate spread, chocolate sauce...

  • Put the flour in a big bowl, add the eggs and half the milk. Mix well with a whisk. Add the rest of the milk and whisk again.
  • Put the batter in a jug and leave it in the fridge for a bit if possible (1/2 hour minimum, 2 days maximum) but if you are in a hurry and can't wait then don't worry too much, they will still work.
  • Heat a teaspoon of cooking oil in a frying pan and when it is really piping hot pour in enough batter to just cover the base of the pan. It should sizzle straight away. You have to swirl the pan with one hand as your pour with the other. You want them thin, just a couple of millimetres of mix. 
  • Somewhere between 30 seconds and a minute, lift the edge of the pancake with a spatula and peek at the underneath. If it's brown then your pancake is ready to toss. 
  • Give it a shake to make sure it's loose then hold it a little away from your body with your elbow slightly bent and flick the pan up slightly so the pancake flips over. (then pick the pancake up off the floor or unfold it in the pan, call that one practice and try again!)
  • It will only need another 30 seconds to 1 minute to brown the other side and it's ready to slide onto a plate and start again with the next one
  • You need to add the teaspoon of oil for each pancake, give a few seconds to get hot then pour, swirl etc as before.
    Tossing pancakes is very traditional and kind of fun but if you just want to eat them it can slow you down. You might well want to just flip them over with a spatula after a while. It's perfectly alright and not cheating at all!
    Here are a few hints that you might find helpful whilst we are on the subject.
    • Get 2 pans on the go, each pancake may only take a few minutes but when you are making a heap you really do what 2 pans, unsurprisingly it then takes half the time! If you have enough space, frying pans and people helping have more than 2!
    • Put your jug on a small plate so the worktop doesn't get in a mess
    • You want your pan really hot before you start, but even then the first pancake will take WAY longer than the rest. You only need to adjust the heat if they start to burn. My hob is gas and I generally have it on about 3/4 of the way
    • As they are ready pile the pancakes up on a plate. You don't need to put greaseproof paper between the layers, you don't need to keep them in the oven. With 2 pans going you have another pancake ready every 60 seconds or so - they keep each other hot
    • Serve them as soon as the last one slides out of the pan, you can warm them up but they are nicer when fresh
    • Count them before you start so you know how many there are each!
    Personally I don't feel a proper meal is necessary before the pancakes. We have cheese and ham or chicken to make some savoury ones and fruit options as well as chocolate spread, syrup and the traditional sugar and lemon. It's once a year and we do make A LOT of pancakes.

    If you want to have your Shrove Tuesday pancake the proper traditional way pop your pancake on your plate, sprinkle about a teaspoon of sugar (granulated or caster is fine) evenly over and then add a good splash of lemon juice. We use the ready to go stuff in a bottle. Roll it up then eat with your fingers or cut up with a knife and use a fork. Make sure you hold it and your mouth over the plate as it WILL drip - it's supposed to!

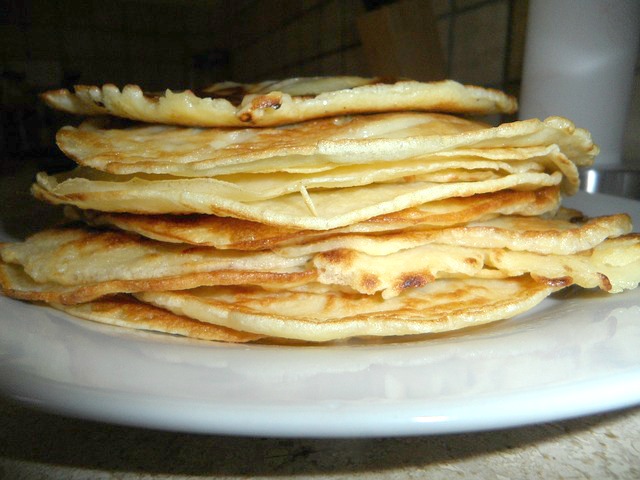
    I found a few photos I'd shared on facebook of Pancake days gone by, taken on my phone.
    Not great photos but at least you know if yours look like this then you've done it right. 

    Are you tempted to have a go and join us for Pancake day?

    read more

    Saturday, 23 January 2016

    Star Stitch Sweatshirt Refashion

    This grey star sweatshirt was just a little to monochrome for my taste so I've given it a little stitching makeover to add just a touch of colour.
    Star Stitched Sweatshirt refashion
    This was my "before" sweatshirt.
    I bought it about at the end of last winter from a large UK supermarket chain, I actually think it was being sold as Pyjamas. It was in the sale, it is warm, soft and fluffy, it's ok.... It's just a little bit un-colourful for my taste. Each time I wore it I felt like it was someone else's top.
    The stars are actually sparkly close up which makes it a little bit nicer than my photo shows.
    I thought about covering some of the stars with colourful fabric to start with but in the end I tried something a bit more subtle.
    I fired up the sewing machine and just stitched round a random selection of the stars in different coloured basic sewing thread.
    colour stitching refashion
    That bottom photo is just so you can see what it's like on the inside.
    I went round each star twice and the whole thing took maybe an hour and a half with tea breaks. In all I stitched round 20 of the stars in 5 different colours. 
    Star Stitched Sweatshirt refashion

    Star Stitched Sweatshirt refashion
    This has been extremely difficult to photograph in a way that shows you the difference, which I admit is subtle. I wear it with bright jeans and a scarf usually. Here I'm wearing it with the infinity scarf that I shared a while back on The Pinning Mama. It's made from an old T-shirt and covered in little bright tassels.
    You can find the tutorial with full instructions on the Pinning Mama here.

    This sweatshirt makeover was what I was doing MONTHS ago when I instagramed this picture.
    I also shared it as a Silent Sunday photo way back in May 2015! 
    I don't know if this little tweak can really be called a "refashion" but I'm not sure what else to call it. It was a simple, cheap way to add just a touch of colour to a grey top. Best if all it can still just bung in the washing machine, no need to worry about colours running as the thread is completely colour fast.
    Star Stitched Sweatshirt refashion before and after photos
    The difference in colour in these photos is because they were taken about 3 months apart and probably at completely different times of the day - I promise they are the same sweatshirt!
    It's not a massive difference but now when I look down I see colour so the top feels like mine! Maybe you have a top that needs a tiny pop of colour adding and a row or two of machine stitching in a bright colour would work for you?
    You might also be interested in:
    Lace Top Refashion
    Lace Top Refashion
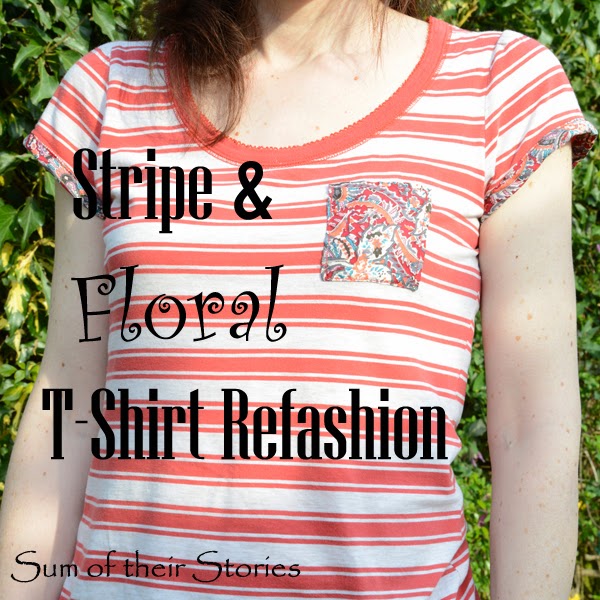
    Stripe T Shirt with Floral Trim
    Stripe T Shirt with Floral Trim
    Check and lace shirt refashion
    Check and lace shirt refashion
    Stripy T shirt Refashion
    Stripy T shirt Refashion
    I'll be linking up to all these great link parties, why not go and have a look!

    read more

    Wednesday, 20 January 2016

    Recycled Plastic Valentine Hearts

    We seem to collect dozens of plastic tubs in our house so I was happy to find a way to recycle them into pretty valentine heart decorations.
    Marbled Valentine hearts
    I'm over at The Pinning Mama today with a tutorial to turn an old margarine tub into these pretty hanging hearts using the popular "marbling with nail polish" technique. 
    Over the last year or so I've seen so many objects beautified with this technique I've been itching to try it out on something. 
    recycled plastic marbled valentine hearts
    They are super inexpensive and such fun to make, this nail polish marbling is like magic. It is a bit messy though and you have very little control over how your heart comes out - for me that was part of the fun!
    Pop on over to The Pinning Mama now to see the full step by step tutorial here
    recycled plastic marbled hearts
    Use them as decorations, gift tags, card toppers or anything else you can think of! Enjoy!

    read more