Sunday, 9 November 2014

Chocolate Fudge Dip

Chocolate fudge sauce recipe
This is such a nice, easy, healthy(ish) dessert for a special occasion.

My kids don't like Christmas pudding so every Christmas I would try to find them an alternative, something a bit fancy but fairly light after all that dinner.
We tried a few different things but then one year had Chocolate fondue and haven't looked back.
For basic Chocolate fondue you just melt some cheap and cheerful chocolate in a bowl in the microwave with a splash of milk. Add the milk before you start warming or it goes all funny. Stir till it's all smooth and VoilĂ ! Easy Peasy, serve with cut up fruit so you feel like a good parent, giving your kids healthy food.

We've had this basic "just chocolate" version for special occasions for years, the fruit varies according to what's available but the melted chocolate bit has always been the same. Nothing wrong with melted Chocolate but I fancied a change.
I found this recipe for Hot Fudge Sauce on 2 Kids and Tired Cooks I thought I might have found a tasty alternative.

I'm in the UK and so sometimes have a little confusion with quantities. I have a set of cups so that's all fine and dandy but what is a cube of butter? The internet gives different answers depending on who you ask! How big are cans over there? They come in all different sizes here! All very confusing. 
Anyhow, I had a go, added what I had/what I thought, tweaked it a little here and there and made this:
Chocolate fudge sauce recipe
Chocolate Fudge Dip/Sauce. Oh my giddy aunt, it is delicious! 

Chocolate Fudge Dip

Makes 2 dessert sizes bowls for sharing in the middle of a fruit platter or 6 little ramekin sizes individual portions as photographed.

4 oz Butter
12 oz or 1.5 cups Sugar (I used caster sugar which is somewhere between granulated and icing)
1 small tin evaporated milk (170g which is just over 1/2 cup)
4 oz inexpensive chocolate

Melt all the ingredients in a microwave (don't overheat or the chocolate goes weird) and stir well till smooth.

Easy as that! You can serve it hot or cold with fresh fruit like we did here, or pour it like a sauce over a sponge pudding (not quite so healthy)

Holly from 2 Kids and Tired Cooks has updated her recipe to show the quantities more clearly for us "across the pond", turns out her version is more evaporated milk and sugar and less chocolate.

I think you should try both and see which you prefer! Or try your own version, imagine this with a slosh of liquor (for the grown ups only) or maybe a little coffee essence, or mint? Not both obviously, I'm thinking one or the other! 
Chocolate fudge Sauce recipe

You might also be interested in:
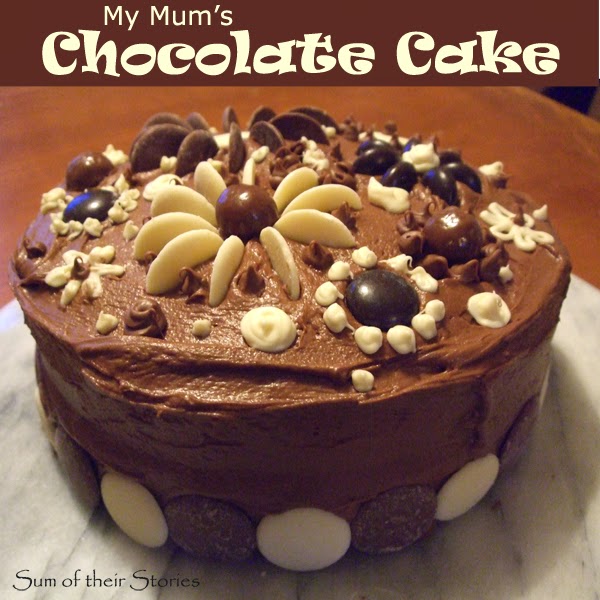
My Mum's Chocolate Cake Recipe
Easy Peasy Banana Muffins
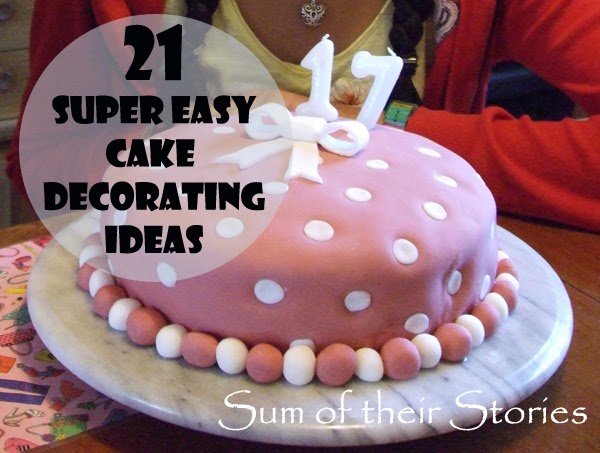
Easy Cake Decorating Ideas
My Nan's Shortbread Recipe
I'll be linking up at all these great link parties, check them out!

read more

Sunday, 2 November 2014

Camera Lens Cloth Pouch

how to make a pouch for your camera lens cloth
I may have mentioned my photography student daughter just now and again! She is lovely, clever, talented and very good at dropping/loosing her lens cloth. Once those babies have been on the floor you really don't want to be wiping your lens with them. Can you even imagine, a tiny bit of grit - oh the scratches! Doesn't bear thinking about!
So when I saw this brilliant idea on Fearlessly Creative Mamas to make a little pouch for your lens cloth:
- one where the cloth stays attached and therefore virtually undroppable - I knew I would have to make one for her, and then another for her friend.
I read the tutorial by Kathleen on Fearlessly Creative Mammas then ended up trying a slightly different way on constructing it.

If you want to have a go have a read of this, pop over to Fearlessly Creative Mammas and see what they did and then decide which you want to try. Or try both and give one to a friend!

I made two with different fabrics and the photos here switch between the different versions - I was just picking the best photos, the method is the same.

You will need:
2 pieces of fabric 6" x 7.5" (15cm x 19cm) I used 2 different fabrics but they could be the same. 1 will be the outside, 1 the lining.
3" (7cm) length of ribbon
A lens cleaning cloth (I used the kind meant for glasses)
A little piece of velcro
A carabana clip type thing - that's its technical name obviously!

Place the 2 pieces of fabric right sides together and pin the longer side.
Stitch, press the seam open and then turn so the right side is up. Mark the centre with a pin then position the velcro pieces on the lining fabric as shown. Mine were each 2cm in from the centre. Then just stitch round them.
Now fold the fabric in half, right sides together.
At this point you need to add the ribbon, the clip and the lens cloth. Fold the ribbon in half,
Add the clip now if using (yes I did forget on the purple one - doh!)
Pin it in place between the layers of outside fabric about 1" from the seam.
The ends will be sticking out like this.

Place the cloth between the lining fabric, most of the cloth inside, just a little corner poking out.


Then stitch along the short side of the outside fabric and the long edge. 
Don't stitch the lining short edge like I did in the photo - that was by mistake and I ended up un picking it. Just stitch the 2 sides.
I went over the ribbon a couple more times just to make it extra secure.


Snip off the corner as shown here then turn the whole thing out and press.
Should look something like this!

Now shove the lining back inside but leave the cloth out.
Using your fingers, scissors or a ruler to smooth the lining fabric out, then pin across the bottom to secure the lining in place.
Camera lens cloth case
 Stitch this seam and you're done! 
Camera lens cloth pouch
The cloth pushes neatly into the pouch when not in use. The velcro is slightly to one side which makes it easier. The clip/ribbon attaches it to a camera bag or pouch.
make a pouch for a camera lens cloth
Whoop whoop! No more dropped, gritty, wet lens cloths.
And just to finish here is a slightly poor quality photo from my phone of it being used!
how to make a camera lens cloth pouch


You might also be interested in:
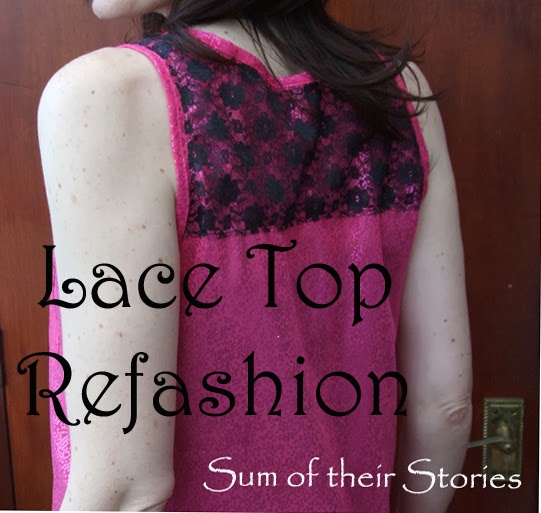
Lace Top Refashion
Lace Top Refashion
Cornishware Ruffled Shopping Bag
Easy to Sew Top
Easy to Sew Top
Tea Towel Totes
Tea Towel Totes
I'll be linking up to all these great link parties, why not go and have a look!

read more

Saturday, 25 October 2014

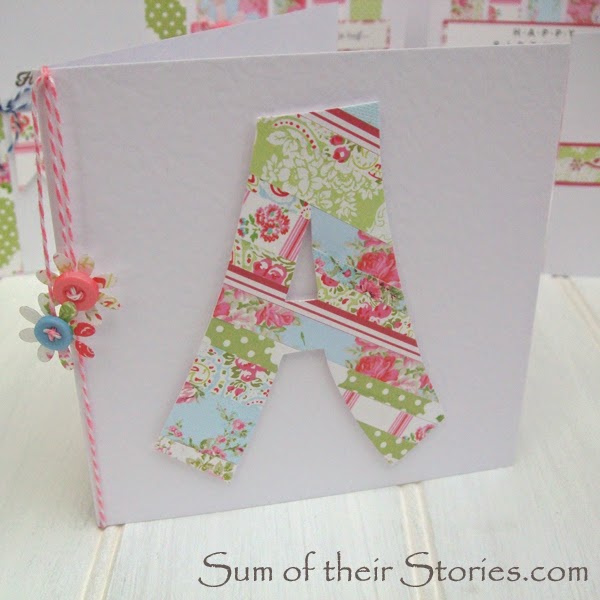
Flowery Letter Birthday Card

Tutorial for initial birthday card
This is my last post (for now anyway) about the contents of my Crafty What Nots box. You can read all about the box, what's in it and how to get one here.

Surely anyone who enjoys any sort papercraft is bound to have a whole heap of little bits. Too good to throw away but kind of tiny to make anything with. I had these sort of bits left.
It's my niece Anya's Birthday soon so I thought I could get all ahead of myself and make a pretty card for her with her initial.

I used:
a 6" square card blank
A piece of scrap cardboard about 6" square - not too thick
Scraps of pretty paper
Foam pads
Bakers twine
2 buttons
2 die cut paper flowers 
Everything except the card blank was from the Craft What Nots box

First I drew a big chunky A on the scrap cardboard
Then I held it up to the window and drew it on the back of the card as well. This just made it easier to cut out later.
Then I just started glueing paper strips over my A.
When I finished it looked like this.
I turned it over and cut it out with scissors.

When I got to this point I had to switch and use my craft knife to finish off.
I attached it to the card blank with the foam pads. Then I tied a length of bakers twine round the card and threaded buttons on each end.
I slid the pink button up so they hang at different lengths and then trimmed the twine off close and fixed it with a blob of pva.
I fixed the two dies cut flowers to the buttons whilst the pva was still wet.
button and flower trim

Ta Dah!
Tutorial for initial birthday card

Easy, pretty and it's another one of those "options are almost endless" ideas. Any sort of different papers would give a totally different effect. Most of all though I love saving those scrappy bits from the bin.
You might also be interested in:
Paper Cutting First Attempt
Paper Cutting first attempt
Flower Collage Canvas
Washi Tape Berry Baskets
Flowery Papercrafting
Floral Papercrafting
Linking up at all these lovely link parties

read more