Wednesday, 14 May 2014

Stripe T-shirt with Floral Trim

I love this "mixing prints" fashion I am seeing everywhere at the moment. I saw a lovely outfit the other day in a magazine, a striped t-shirt with a floral skirt. I fear, however, that I am probably 10 - 15 years too old to really carry the whole look off, but I thought maybe just a little touch of print mixing might work for me.
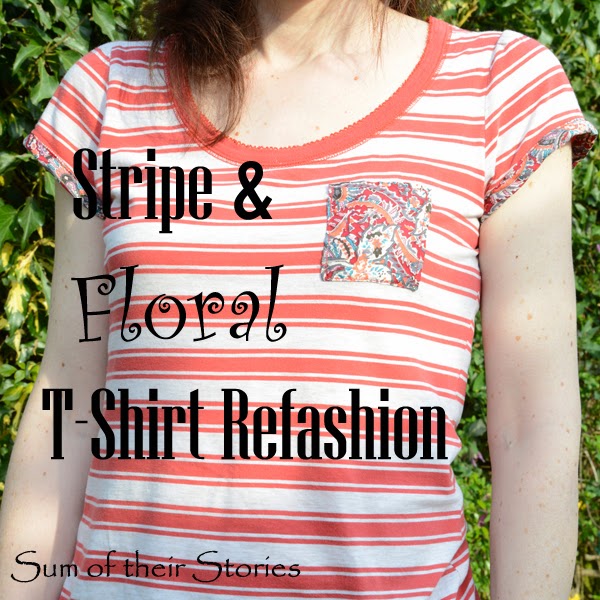
Stripe and Floral T Shirt Refashion

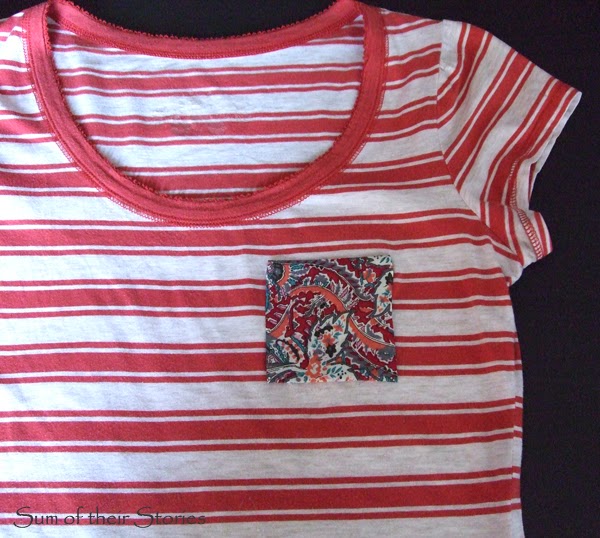
I've had this striped T-shirt for years.
Stripe and Floral T Shirt Refashion
It's pocket was hanging off a bit, I could have just fixed it but it made me think maybe a flowery pocket would be nice.
Stripe and Floral T Shirt Refashion
 So off it came!
Stripe and Floral T Shirt Refashion
I went through my fabric stash to see what might work. These were test squares of my possible candidates:
Stripe and Floral T Shirt Refashion
The little flocked strawberries are cute, but I just don't think the print is small enough. 
Stripe and Floral T Shirt Refashion
I like this more abstract print but it's not quite what I was thinking of.
Stripe and Floral T Shirt Refashion
This is a piece of a waterfall jacket that is in my "waiting to be refashioned" pile. It's lovely but enormous, hopefully one day I will make it over and you will see it, but for now I've just sliced a bit off the front that I know I won't need for it's refashion.
Of the three I had I like this last one best so that's what I went with.

I cut a rectangle 10cm x 11cm, and ironed a 1cm turning on each side then turned one short side down again (this is going to be the top of the pocket)
Stripe and Floral T Shirt Refashion
For the bottom corners, I folded and pressed a bit of a mitre to make it nice and neat.
Stripe and Floral T Shirt Refashion
I gave the pocket top a line of top stitching, then pinned it in place on the t-shirt and top stitched it round the three remaining sides.

Next I thought a bit of trim round the sleeves might be nice too. So I cut 2 long strips of my flowery fabric on the bias, 5cm x 45cm to make some fat bias binding. 
Stripe and Floral T Shirt Refashion
To do this you iron it in half, wrong sides together. Then unfold and fold the long sides in to that centre fold and press again. Look at the picture - it's hard to describe!
Stripe and Floral T Shirt Refashion

I pinned this binding in place carefully all round the sleeve edge.

Stripe and Floral T Shirt Refashion

Stripe and Floral T Shirt Refashion
I didn't measure, I just started at the underarm seam, and pinned carefully making sure I wasn't pulling it tight. When I got back to the beginning I allowed about 2cm for turning and chopped the rest of my binding off. Then I folded the turning under.

The whole thing got a row of top stitching to hold it in place. My top stitching is not very neat and close to the edge but this way I knew for sure I was catching the layer on the inside too.

Stripe and Floral T Shirt Refashion

Stripe and Floral T Shirt Refashion
This is the overlapped bit under the arm, I did warn you it's not very neat, but it is tucked away under my arms where no one will see it! (and I appear to have painted my nails mid sewing session - actually I realised some useful close up pictures were missing a few days later!)
Stripe and Floral T Shirt Refashion
You might also be interested in:
Lace Top Refashion
Lace Top Refashion
Infinity Loop Scarf
Infinity Loop Scarf
Pom Pom Scarf Refashion
Stripy T shirt Refashion
I'll be linking up to all these great link parties, why not go and have a look!

read more

Friday, 9 May 2014

Dotty Card Tutorial

I like giving handmade greeting cards whenever I can and this idea dotty idea is so quick and easy.
Dotty Card Tutorial
Here in the UK we had a Bank Holiday Monday this week so I spent a whole day card making, got loads done, made loads of mess! 
One of the cards I made was a very simple dotty card inspired by this card by Katie Gehring
and this Sharpie Mug by My Blissful Space

It was so easy and I like it so much I thought you might like to give it a go to.
Start with a blank card, mine was a 5"x7". Cut another piece of card just a little bit smaller.
Dotty Card Tutorial
I had the extra layer because my pens bleed through the cardboard a little, see:
Dotty Card Tutorial
If your pens don't then you could just do your design straight onto the blank card.
Now I like to do a little coloured edge round the extra layer, seeing as I'm using it anyway. I recommend doing thing first - before you go any further.
What can go wrong This is the bit most likely to go wrong, so better to stuff it up at the beginning and have to turn the card over and start again, than mess up all over your lovely finished design!
Don't let that put you off, it's not difficult - just place the card on a bit of scrap paper and draw down the edge with a felt pen.
Dotty Card Tutorial
Maybe practice a bit first on scrap card, you want to be fairly quick and decisive with the pen. If you do it too gingerly you wont get a nice finish. If the pen slips onto the card you end up with a rubbishy line - been there, done that! Just turn it over and have another go. Or skip that step altogether!

Now add your wording.
I don't have lots of fancy die cutting machines or a Cricut or Silhouette (poor me!) but I do have a very cute little Quickutz squeeze with a set of alphabet dies (lucky me!) so that's what I used. I save coloured envelopes, which are a fantastic source of free coloured paper, and so punched my letters from them.
Dotty Card Tutorial
I arranged them in the centre of the card and glued them down. (I'm flicking from card to card in these photos, sorry! I've just picked the clearest pictures, it's all the same method)
Dotty Card Tutorial
You need to cut a circle of scrap paper big enough to cover your wording, this one is 8.5cm in diameter.
Pop it over the words, grab a pen and start dotting.
Dotty Card Tutorial
Dotty Card Tutorial
More dots near the paper, less further away.
Dotty Card Tutorial
Change colour and dot some more. Use as many colours as you like, stop when you think it looks done. Remember, you can always add more but once they are on you can't take them away!
Dotty Card Tutorial
What can go wrong Don't rush, when I got carried away some of my dots turned into slightly less attractive flicks.

Because it was so quick and easy, I made a load more and tried out some variations on the theme.
Dotty Card Tutorial
I used my stamps instead of the die cut letters, and added more dots on some, less on others.
Dotty Card Tutorial
Dotty Card Tutorial
I did one with my best "fancy" writing and added little gems to dot the i's. The colours on screen are a bit off on this one, it's pinks,purples and gold in real life.
Dotty Card Tutorial
Stickers would work well in the middle too. The kids could make these without too much bother I reckon.
Dotty Card Tutorial
Easy, quick, fun, do-able with stuff you probably already have & almost endless variations! Enjoy!

You might also be interested in:
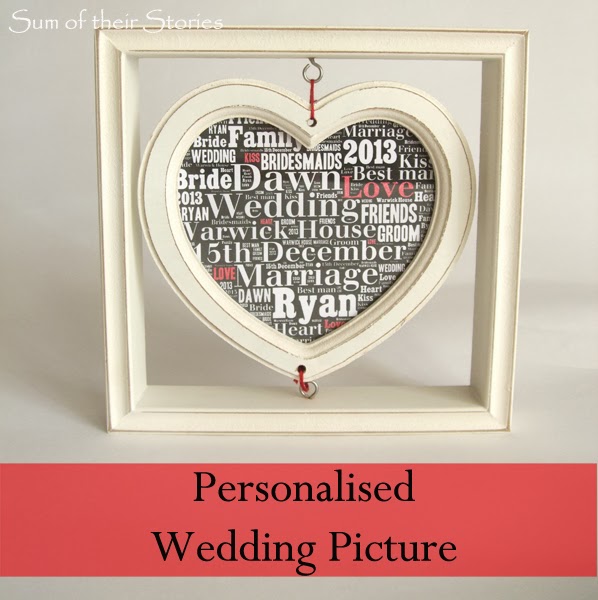
Personalised Wedding Picture
Recycled Business Cards
Recycled Pen Tub Tutorial
Simple Speech Bubble Cards
I'll be linking up this project at all these lovely link parties, pop over for a look at loads of projects from other blogs

read more

Thursday, 1 May 2014

Make it Yours Clutch Bag Competition Entry

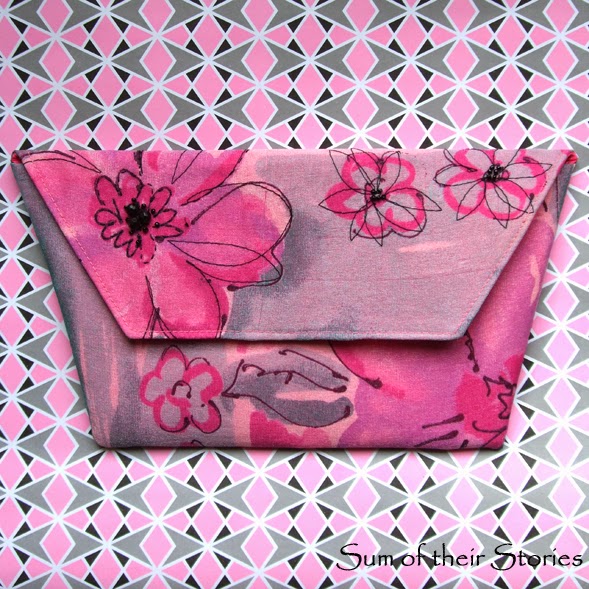
Make it Yours Clutch Bag
One of my favourite things about blogging is connecting with other craft bloggers. I've found the whole craftybloggy community to be a very friendly place, full of like minded people all over the world. Visiting other craft blogs is something I try to do every day if I can. 
One blog I love is So Sew Easy where the very talented Deby shares her amazing sewing talent, tips and patterns. She is running a competition which ends on 30th May 2014 to make a clutch bag using her pattern and 'Make it Yours' with embellishments etc. The pattern is free so even if the 30th May has passed when you read this I highly recommend checking it out.
Make it Yours Clutch Bag
I am very happy with my lovely new clutch bag.
First I downloaded Deby's lovely pattern. You can get it from here. It comes with full instructions and I definitely needed them, I've never made a bag like this before!
I used an old scarf that I inherited from my Mum as my starting point.
Make it Yours Clutch Bag
My Mum had loads of scarves, some I wear, some I've Charity shopped and some are waiting for inspiration to strike.

The scarf was sort of chiffonish, very flimsy and see through so I also used some plain bright pink cotton. I had a big piece that I bought about 5 or 6 years ago to use as a table cloth for my daughter's "Legally Blonde" birthday party (everyone dressed in pink, ate pink food, watched the films etc)
I cut the pattern twice from the pink (lining and outside) and once from the scarf (outside 2nd layer)
Make it Yours Clutch Bag
I cut the scarf a bit bigger than the pattern, it was so slippery I thought I would allow in case it slid about a bit. 
I also cut the pattern twice from iron on interfacing which I just ironed onto the pink cotton as per Deby's instructions.
Just working on the outer layer for a bit I tacked the cotton/interfacing to the scarf all over to make it secure.
Make it Yours Clutch Bag
Next I added a little bit of machine embroidery, just over the flowers on the scarf material. I'm not very good at machine embroidery so I kept it very basic!
Make it Yours Clutch Bag
I added a few beads by hand too.
Make it Yours Clutch Bag
Then I just made the bag up following the instructions. (you can see the reverse of my embroidery here on the interfacing side)
Make it Yours Clutch Bag
I loved this method, it really is just like magic. I couldn't for the life of me see how it was going to work, I just did as I was told and then suddenly I turned it out and Ta dah! A fully lined bag - very cool!
Make it Yours Clutch Bag
To hold the flap in place I used big poppers, rather than the magnetic fasteners that Deby recommends, only because that's what I already had. When I make this again (and I will be for sure, probably as presents for my lucky friends!) I will invest in proper fasteners.
Make it Yours Clutch Bag
The green on the scarf looks grey here against the pink cotton, in real life it catches the light and is a bit shimmery. Perfect for a going out bag!
When I make this again I will add a little inside pocket of some sort too (the instructions tell you when to do this if you want to) I think that will make it even nicer.
Now I'm looking forward to seeing all the other entries on SoSewEasy.com, I think it will be very inspiring to see how others have made this pattern theirs.

You might also be interested in:
Lace Top Refashion
Lace Top Refashion
Infinity Loop Scarf
Infinity Loop Scarf
Inserting elastic into jeans waistband
Inserting Elastic into Jeans Waistband
Cornishware Ruffle Tote Bag
I'll be linking up to all these great link parties, why not go and have a look!

read more