Friday, 21 March 2014

Bangle Storage Idea

Just a quick idea today. 

How do you store Bangles?

My bangles were in a right mess. I kept them in a shoe box - oh dear!

I love bangles, I have a few from when I was a teenager, some bought to go with special outfits and some just because! They were especially good when the children were small, you can't really wear much jewellery with a baby but a plastic bangle is ideal, they can pull on it, chew it, whatever and you and they are still safe at the end of it.

I needed a better way to store them more neatly so I could see what I had.

I googled for ideas and found a few pretty clever ideas:

Dimi at Style Scoop uses a bamboo cutlery tray
Jessica at Chronically Vintage has some beautiful vintage lingerie boxes 
Catherine at Stuff you can't have used kitchen roll tubes
Jan at a thousand words upcycled a mug tree

Can I just say, I thought I had a lot of bangles but compared to some people out there......

All these ideas are beautiful but I don't really have any space at the moment to have them out on show like that so:

These food tubs turned out to be ideal. They were £1.49 each from TK Max.
Divide and conquer, not pretty but effective.
They stack neatly in the cupboard too!
I can't believe I'm letting you see inside my messy cupboard!


I'd love to hear your ideas.


You might also be interested in:


Earrings Organised
Earrings Organised
Recycled Pen Tub Tutorial
Bracelet to Necklace Repurpose
Geometric Bangle Refashion
I'll be linking up at all these great link parties, pop over and have a look!

read more

Sunday, 16 March 2014

Geometric Bangle Refashion

Geometric Bangle Refashion
I fell across this interesting bangle in the Charity shop for just 50p, it shouted out "buy me please" in such a lovely way that I felt it would be rude not to!
Geometric Bangle Refashion
It had that brass metal inside that makes your arm green, but I like the little geometric shapes. (I am reliably informed that these are square based pyramids)

This bracelet has had two makeovers, You'll see why in a minute.


1st - Bright Nail Varnish

I'd seen ideas on good ol' pinterest where people have brightened up old jewellery with nail varnish so I took a selection of bright nail varnishes, some of these are my daughters (she's a good sharer!)
Geometric Bangle Refashion
The bracelet has 14 little squares so I needed a number of colours devisable by 14. I think that's 2,7 and 14 isn't it? Anyhow, I found 6 bright colours and one left plain makes 7 - sorted!
Geometric Bangle Refashion
 Each square got about 3 coats of nail varnish, some needed a fourth coat.
Geometric Bangle Refashion

Geometric Bangle Refashion
It looks pretty good doesn't it?

(what can go wrong) However after about 4 outings this happened:
Geometric Bangle Refashion - pin fail!
Geometric Bangle Refashion  - Pin Fail
Turns out this might be a teenagers project, you know people with plenty of time for messing about re coating their jewellery!

Time for another try.

2nd - Copper Enamel Paint

The nail varnish came right off with nail varnish remover, not that you would expect it not to of course. So the bangle was back to being naked again!

I had this copper enamel paint so tried painting every other square.
Geometric Bangle Refashion
 This time I also painted the inside to stop the whole green arm thing.
Geometric Bangle Refashion
It needed 3 coats of the copper enamel paint and there are a few brush marks if you look really closely. I imagine using masking tape and a spray paint would give fantastic results, but I do like using what I already have whenever possible. 
So far this paint is a lot more hard wearing than the nail varnish. I'll let you know how it gets on over time.


  • Today I'm trying out a larger font size than I've used before - what do you think? Does it look like I'm shouting at you or is it just easier to read? Your feedback is very welcome!

You might also be interested in:
3 Pink Bracelets
3 Pink Bracelets
UK Coin Picture
UK Coin Picture
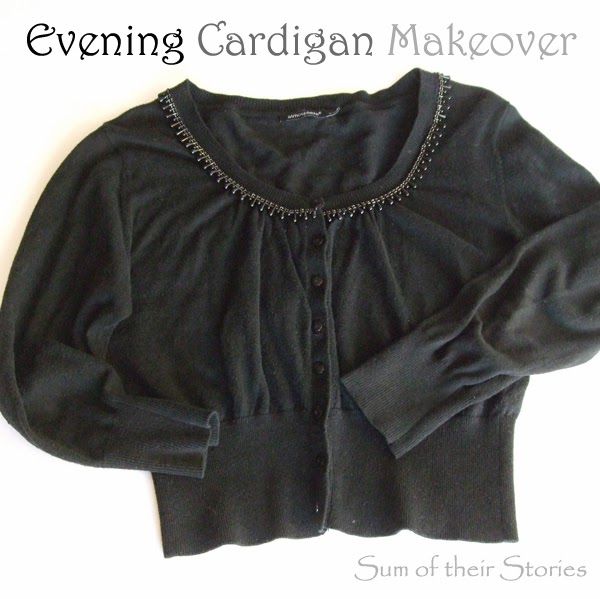
Evening Cardigan Makeover
Bracelet to Necklace Repurpose
Bracelet to Necklace repurpose
I'll be linking up at all these great link parties, why not check them out!

read more

Tuesday, 11 March 2014

Simple Speech Bubble Cards

Simple Speech Bubble Cards from sumoftheirstories
I needed a couple of quick, simple personalised cards the other day. I had just found some lovely geometric, really thick quality wrapping paper in one of my favourite shops in Leamington Spa, Berylune. They have a "tiny but packed with lovely things" shop, a blog and a website. 
There was lots of beautiful paper to choose from, loads of lovely neon colours with stars and shapes and I had to exercise extreme self control to limit myself to just these three. 

The paper is quite busy so I wanted the cards to be simple and modern - at least that is what I was aiming for.
Simple Speech Bubble Cards
If you want to make your own, you will need:
  • Card blank and envelope (mine are just regular little A6 cards)
  • Lovely paper (scrapbook paper or thick matt wrapping paper is ideal)
  • Glue (I used Pritt Stick)
  • Computer - although you could just draw your speech bubble by hand
  • Laminator & laminating pouch - again not essential but this is what I used
  • Sticky foam pads
First make the speech bubbles on the computer in word:

Open up word and make a new document, then click insert, picture, autoshapes then choose callout. There are a few different ones but I like these with the rounded corners.
You just click in the shape to start typing the words you want.
I played around with fonts and sizes (I only have the standard fonts the computer came with but I know you can downloads lovely ones from the internet)
Simple Speech Bubble Cards
I also made the outline of the speech bubble a bit thicker to make cutting out easier later. You do this by clicking on the speech bubble, selecting "format autoshape" then changing the line weight on the "Colors and lines" tab. (mine was 2pt but you could do even more)
Simple Speech Bubble Cards
I added a few non personalised bubbles to the page, so I could make more cards keep them in my stash - may as well fill the sheet of paper whilst I was doing this!
You can also play around with where the triangle-y bit is pointing just by moving the yellow dot at the point. You can make it shorter or longer but it flips itself from side to side if you move to too far across.
When I was happy with them all I printed it on decent quality paper (120 g/ms).
Simple speech bubble cards from sumoftheirstories
Next I laminated the paper. I love having a laminator, it was a present one birthday or Christmas from my Dad well over 10 years ago and at the time it seemed like a slightly strange present (sorry Dad!) Turns out it was a fantastic present, over the years we've used it for all sorts of things.
If you don't have one you could just print your bubbles on card, but I like the shiny plastic effect laminating them gives.

Cut the bubbles out, roughly first...
Simple Speech Bubble Cards
...then neatly and carefully. This is when the thicker black outline really does make it much easier.

Next cover the front of the card blank with patterned paper. I find this easiest to do if you cut the paper out a bit bigger than the card front, put a thin layer of glue all over the wrong side then lay the card front down onto it.
Simple Speech Bubble Cards
Then press it down firmly all over with a bone folder, (mine is the one from my header photo! If you don't have one, a clean wooden lolly stick works fine too) and trim the excess (with cheap Ikea scissors apparently!)
Simple Speech Bubble Cards
(the yellow butterfly and flower paper is some from my stash, which I thought might be nice for the cards for the little girls)

All you need to do now is attach the speech bubble to the card with foam pads to lift it off a bit.
Simple Speech Bubble Cards from sumoftheirstories
The laminated speech bubbles are more shiny in real life than the photos show, which contrasts nicely with the matt of the paper.

You might also be interest in:
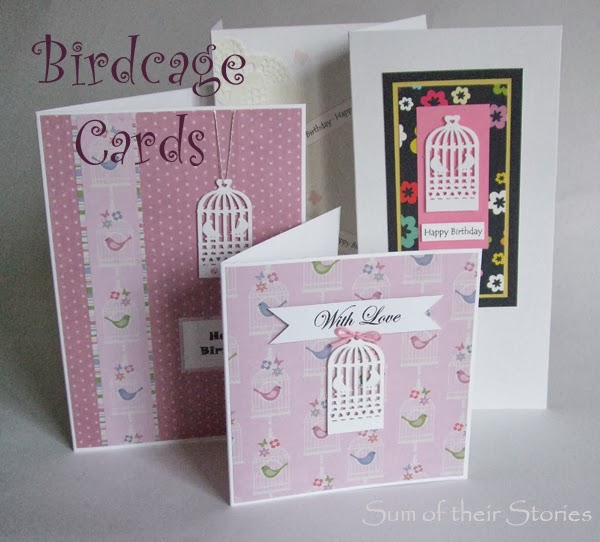
Birdcage Card Ideas
Birdcage Card Ideas
Circle card Crazy
Circle card Crazy
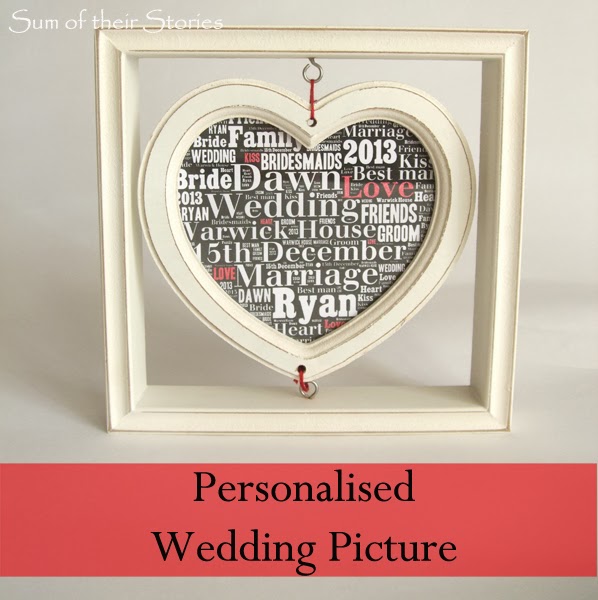
Personalised Wedding Picture
Recycled Pen Tub Tutorial
I'll be linking up this project at all these lovely link parties, pop over for a look at loads of projects from other blogs

read more

Friday, 7 March 2014

Stripy T-Shirt Refashion

Two ill fitting t shirts turned into one well fitting top

I saw this lovely top in very nice department store a few weeks ago.
It's from Dickins & Jones, it's very lovely, and it's £35. Ah.

I already had this stripy t-shirt.
Stripy T-Shirt Refashion
It was a bit too short, a bit too wide and it has 3/4 sleeves. I may have mentioned before, I don't really "get" 3/4 length sleeves. Surely it's either cold enough to need your arms covered or it's not! Anyway, this top has it's faults but it is a really nice quality thick jersey fabric.

I scoured our local Charity shops until I found this little beauty for £1.99:
Stripy T-Shirt Refashion
Ideally I wanted red but pink is nice too. The fabric is a nice thick quality, not quite as thick as my white/navy stripe but almost. The neck is soooo tight, I had to undo the buttons just to get it over my head, but perfect for a t-shirt mash up! 

The pink T-shirt was a good width on me, you can see here how the white top is too wide:
Stripy T-Shirt Refashion

You can also see here the white top has a slightly wonky front edge:
I chopped about 4 inches from the bottom of the white top, straightening it up. That's the good thing about stripes like this, it's easy to get things straight. That brought the bottom of the white top to just below my waist level which is where I want the coloured stripes to begin.

Next I sorted out the "too wide" issue with the white top. The easiest way to do this if it's not too massively ill fitting, is to put the top on inside out. 
Then just pin two new side seams (one each side) where you want them to be. Now take the top off carefully so you don't stab yourself. This can be done with safety pins if you are clever and sensible.

As you can see this only needed to come in an inch or so:

I stitch down these seams, but on the left side I left a gap of about 2 inches at the bottom edge, like so:
This gap is so I can attach the pink border on the bottom.

I chopped carefully cut a 7 1/2" wide strip from the bottom of the pink t-shirt, and then cut off the left side seam to make one long rectangle. I did not photograph this stage. I have no idea why, sorry, you'll have to imagine a long rectangle of stripy pink and white fabric. The old bottom hem of the pink t-shirt will become the bottom hem of the new top, no need to make work for yourself!

Next I attached this long pink rectangle to the bottom of the white top.
Right sides together, I lined up the two intact side seams and pinned - the picture shows it better than I can describe:

I then carefully pinned the pink strip to the bottom of the white t-shirt. Do this carefully, making sure the pins match the strips on both sides, Stripes are good for following when you are cutting or sewing straight along them but if you make a mistake it will show!
This is that same seam opened out whilst still pinned, i.e. before stitching - just to check it's straight.

On the left side seam on the white top - where I left the gap, it looked like this:
This is where I started and finished stitching my carefully pinned seam, I used a very slight zig zag stitch as this is jersey fabric.

I just stitched up the side seam, pressed it all with the iron then gave the join seam two rows of top stitching so it now lies nice and flat. 

Next extending the sleeves. The 3/4 sleeves on the white strip top are 9" wide and 7.5" too short to reach my wrists. So I cut 2 rectangles of the remaining pink t-shirt 9.75" x 10" (this allows for a hem at the wrist and seam allowances)
I turned one long edge and gave it two rows of top stitching to form a cuff. 

Next I turned the rectangle into a tube by sewing up the long edge leaving a 1" seam allowance and then turned it right side out.
I just slid the tube into the white top sleeve, lining up the seams and pinned it in place. At this point I tried it on to make sure the sleeves were the right length, then attached these new sleeve extensions with a simple row of top stitching.
Lengthening 3/4 sleeves with part of another t shirt
Stripy T-Shirt Refashion
You might also be interested in:
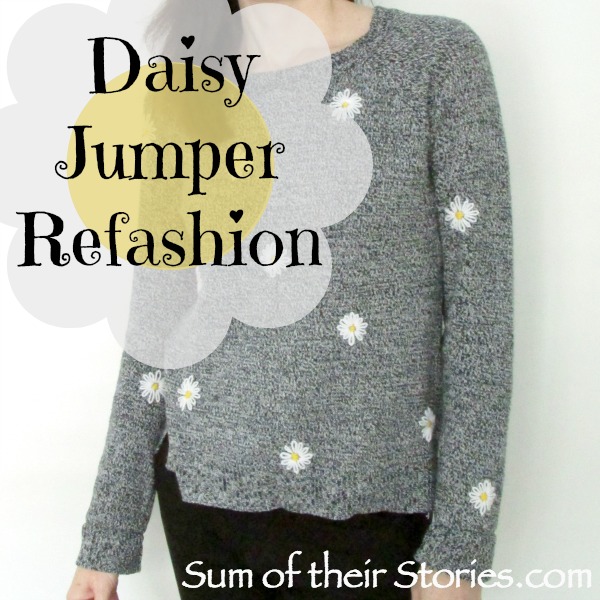
Daisy Jumper Refashion
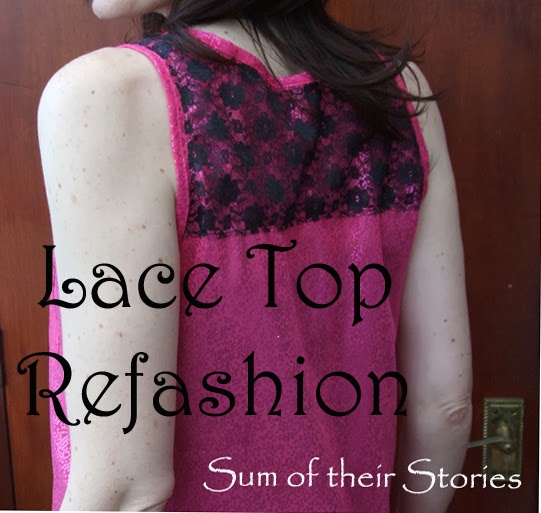
Lace Top Refashion
Lace Top Refashion
Pom Pom Scarf Refashion
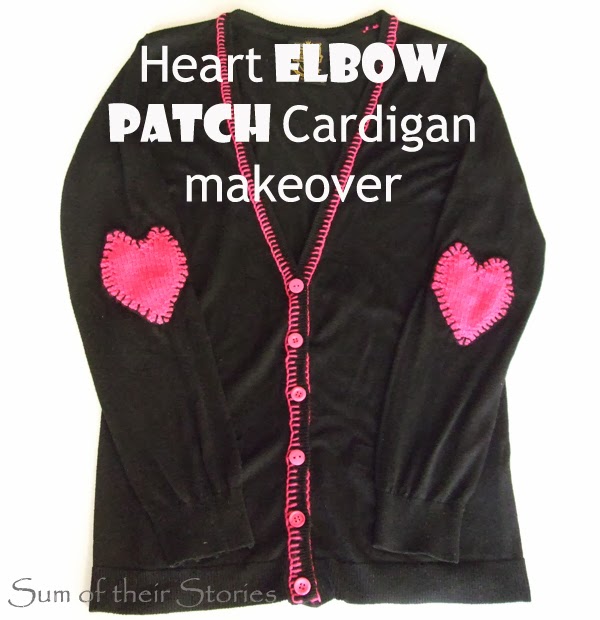
Heart Elbow Patch Cardigan Makeover
I'll be linking up at these great link parties.

read more