I love to recycle and reuse whatever and whenever I can. I also love a beautifully wrapped gift, so I've been trying to combine the two.
I have a few ideas so I'll show them one at a time with some instructions.
Let's start with gift bags from old envelopes.
You can make these from new envelopes in any size or colour but as I like to recycle I am in the habit of opening nice large coloured envelopes carefully - just slice the top off with the scissors like this:
Now measure and mark with a pencil in from the edge on all 3 closed sides. It can be any distance but all 3 sides must be the same. This envelope was 14cm x 20cm so I marked 2.5cm in from the edge.
This has only changed colour because the red envelope photos were fuzzy! Score a line down each of the 3 sides where you have marked.
Fold along the line forwards and backwards.
You may have a little unstuck bit at the top like this:
Just stick it down with glue.
If your envelope has writing on it you can cover it up with something cute/pretty. I save bits from old cards and use them for all sorts of things, I have quite a collection now!
If you do want to stick embellishments onto the bag,now is the time to do it, whilst it's flat and easy to press down on.
When you are ready pop your hand inside the envelope to open it into a bag shape.
Fold the bottom corners flat like this:
Fold the sides inwards at the top edge like this:
Now glue the corner flaps down onto the base.
I hope this picture is not misleading, that is the base of the bag you can see there.
Now stand the bag up with something reasonably heavy in it to hold the flaps until the glue dries. (like this handy vase)
(It looks like I punched the holes in this one before glueing the base, I made loads of these so may have mixed the order up a little here. It doesn't really make much difference)
Punch holes in the top with a hole punch. This one has a paper doily trimmed to the same width as the bag folded in half over the top of the envelope bag. I just punched through all 4 layers.
If your envelope of narrower than your hole punch just measure, and mark with a pencil dot, an even amount from each edge.
Then punch one hole at a time (the other hole will be punched into mid air!)
Now you just need to pop in a pressie and then tie through the holes with ribbon or thread to finish.
Coloured envelopes are not usually made of the thickest quality paper so obviously these gift bags are not especially robust. They are perfect for little light presents: jewellery, sweets, a tie, a keyring, that sort of thing. The thicker the envelope was to start with the stronger the bag will be.
You might also be interested in:
 |
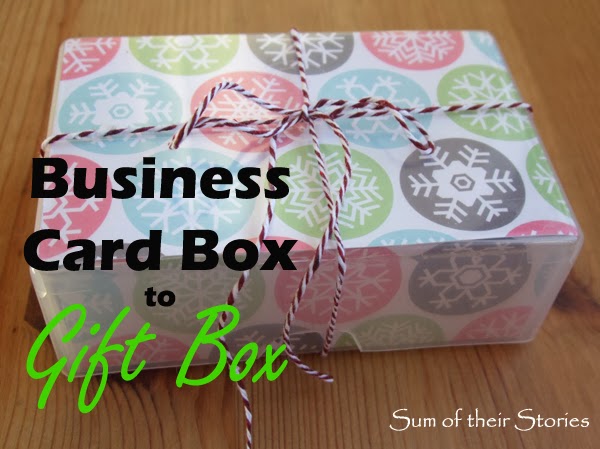
| Gift Box from Old Cards |
|
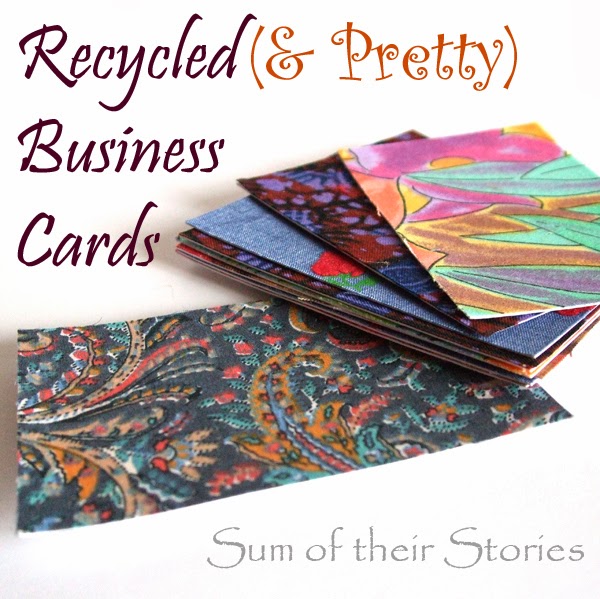 |
| Recycled Business Cards |
|
 |
| Sequin Christmas Trees |
|
 |
| Mini Knitted Christmas Tree Pattern |
|
I'll be linking up this project at all these lovely link parties, pop over for a look at loads of projects from other blogs